

“Necessity is the mother of invention”…or so the saying goes. I’m the artsy-fartsy type who’s always interested in a new dish flower design. So, when I saw pictures of dish flowers with beads for the center, I was curious. It really gives the finished piece some “pop” and makes it look more like a flower. But there’s never been any information with the photo about how to do it.
So, I gave it some thought. The result is this article, and I think you’ll enjoy giving it a try with some of your dish flowers.
NOTE: This is not a complete dish flower tutorial, but rather introduces a new design concept for those who have made them before. However, at the bottom of the post, I’ve included links to all my “how to” posts for beginners: what dishes to use, construction methods, glue etc.
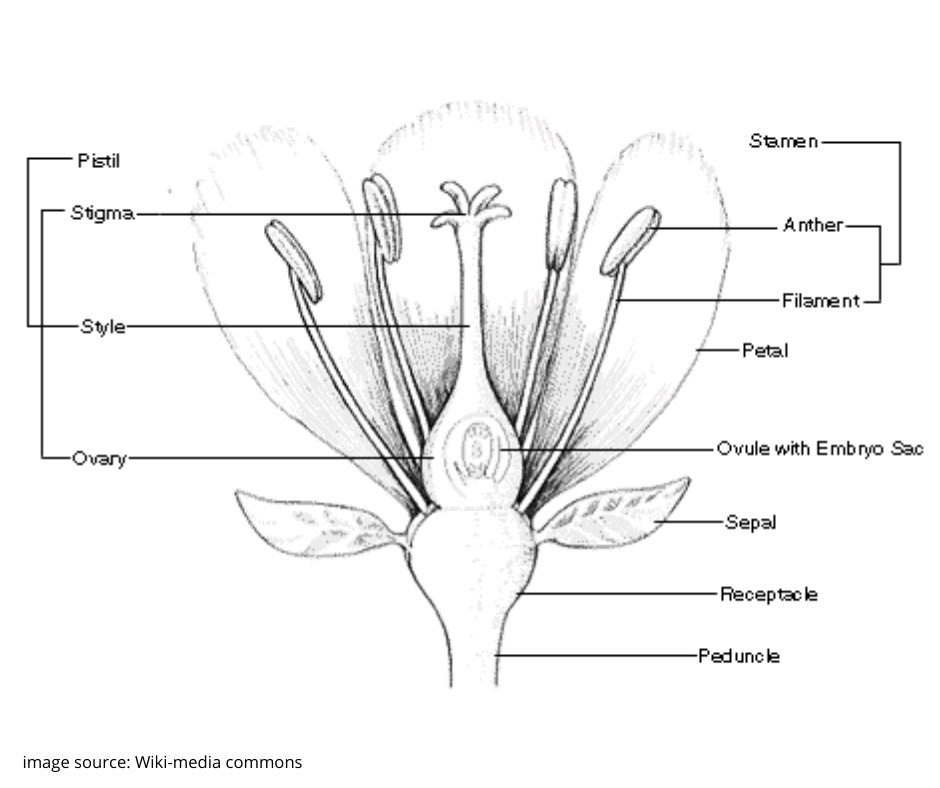
How to make a flower stamen with beads
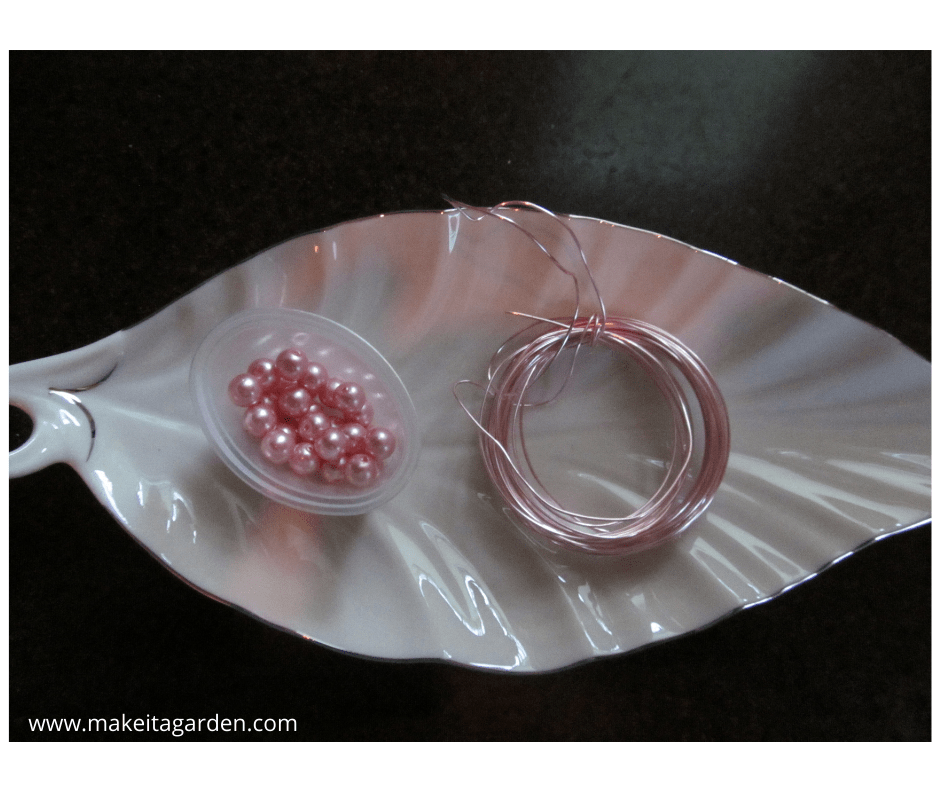
Materials List:
- Decorative bracelet bead with slits (“Strung beads” or “Sliders”)
- round beads
- wire (small diameter that will thread thru the bead)
- wire cutters
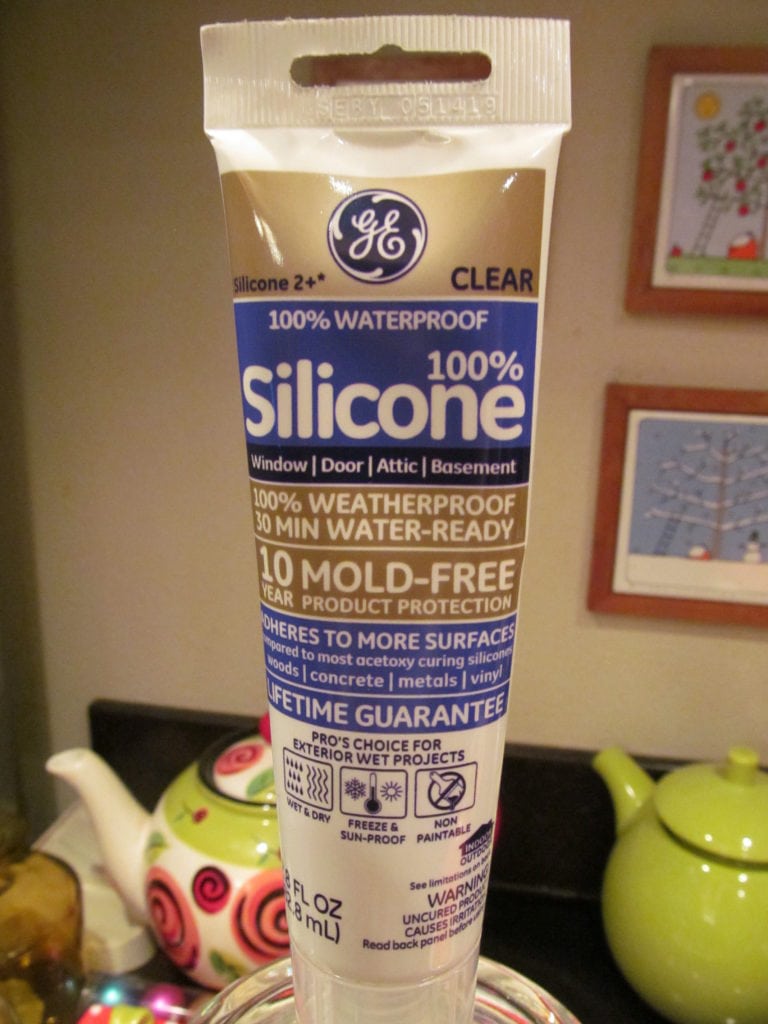
- Tube of 100% silicone glue
- spray paint OPTIONAL (to paint the beads)
STEP ONE:
First select your beads, then the proper-sized wire to thread them. You don’t want a wire that’s too thick to fit through the hole, nor one too thin and light that it won’t support the beads.
STEP TWO:
New Dish Flower Design: How to attach the wire
The quandary for me was, how to attach the wire to the dish I’m using as the center of the flower? And, how to get it to stay upright?
If this was an indoor floral design, a small styrofoam ball might be the solution. But dish flowers are out in the garden exposed to all kinds of weather. Styrofoam would not hold up.
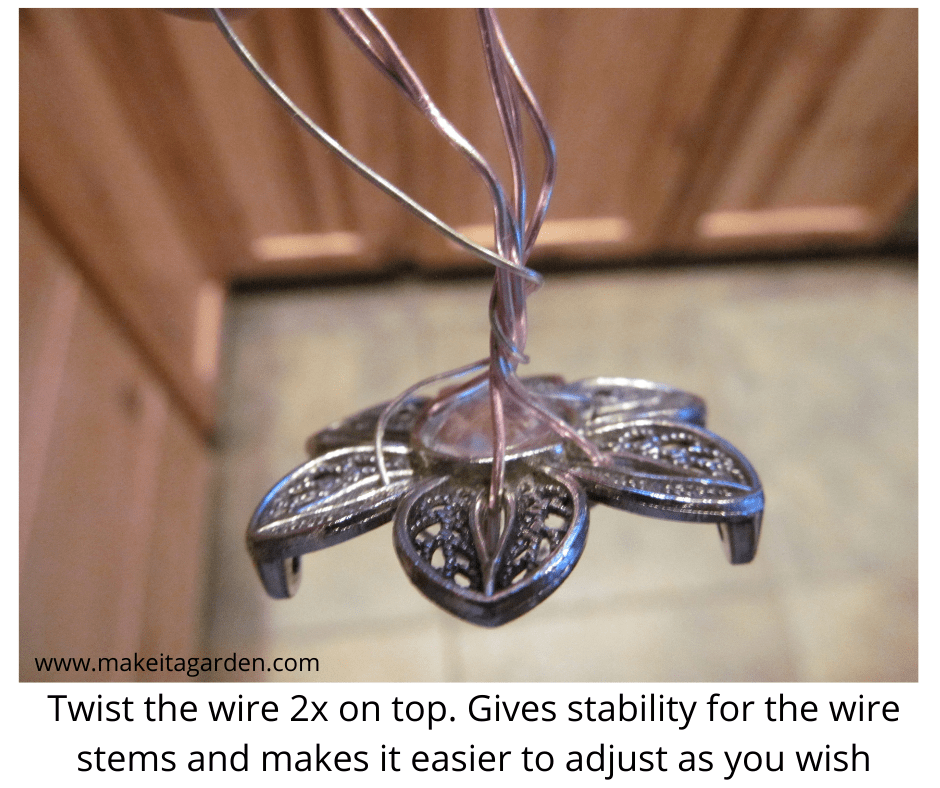
I found the answer in a decorative piece of jewelry called strung beads or sliders. These are commonly found at JoAnn or Michael’s Crafts.
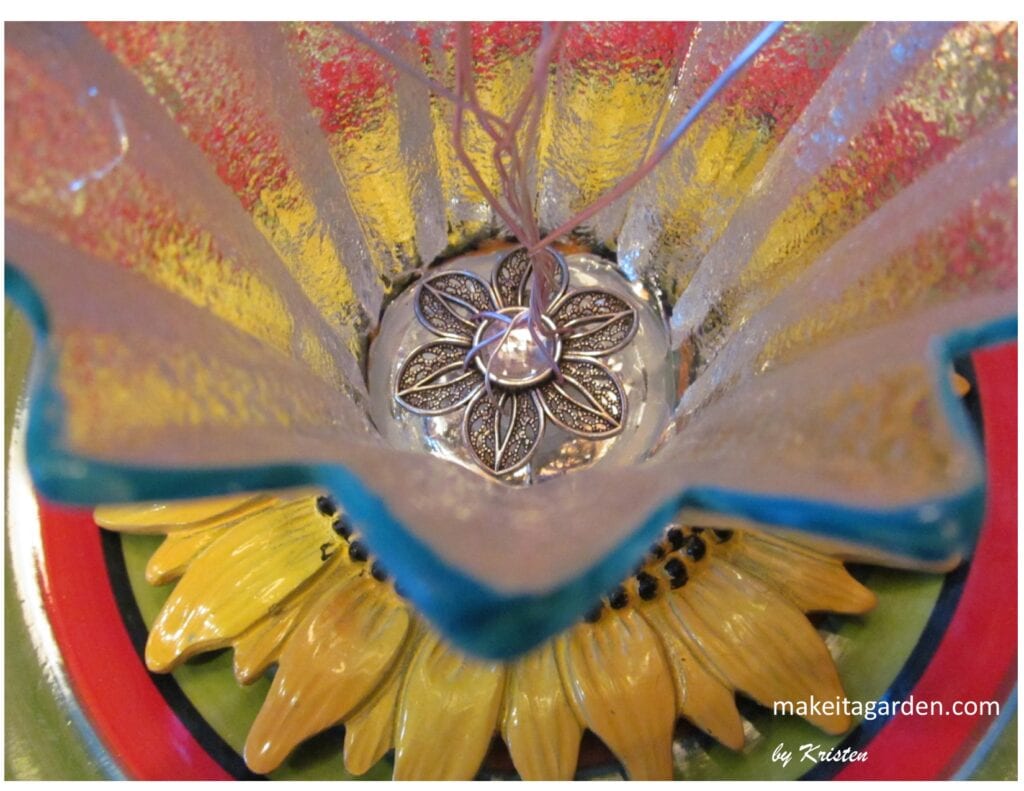
The ‘slider’ jewelry piece with its slits, made the perfect anchor. Then, it was quite easy…”easy as pie”..to slip the wire up through the slits, give it a few twists on top, and glue it securely in place at the bottom of the dish. It stayed perfectly in place while the glue dried.
IMPORTANT: What you use, will depend entirely upon the size and shape of the item you’re using for the center of your dish flower. As you’ll see in the photo below, I’ve had to use a round slider bead for a narrow, trumpet-shaped sundae dish.

TIP: Don’t worry too much about getting the perfect length. Adjust the lengths of wire after the glue has dried and you’re ready to add beads.

STEP THREE:
Glue in place and add the beads
Use the GE Silicone II (for exterior) to glue the piece to the bottom of your dish. Hold it in place for a little until it stands up on it’s own and doesn’t wobble.
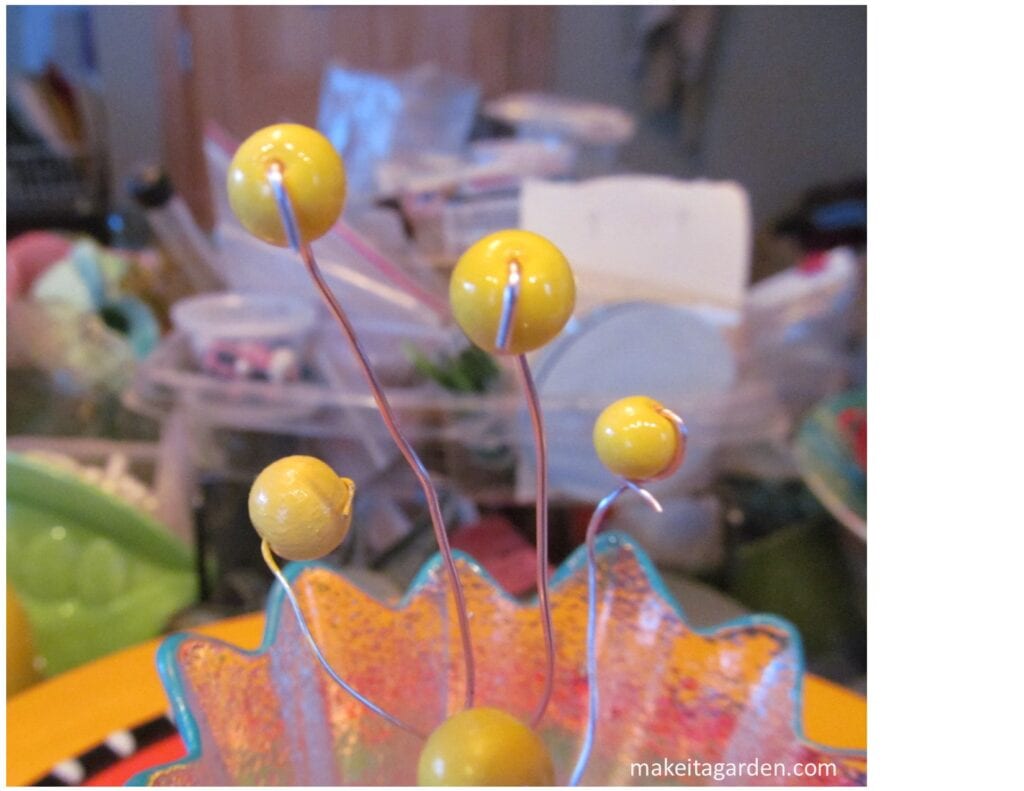
After your flower center piece has dried securely, clip the wires to the desired length. Cut a couple of them a bit shorter if you want a staggered look.
Thread the bead through the wire with just enough of a tip to fold the wire over the bead. NOTE: the wire doesn’t have to be perfectly straight. In fact, a few minor kinks will hold the bead in place and keep it from slipping down the wire.
You could try glue, but I’ve had success with out. Another thing to try might be those clear plastic back stops for earrings if it fits the size of your wire. Get creative and see what you can come up with, too, for this new dish flower design.
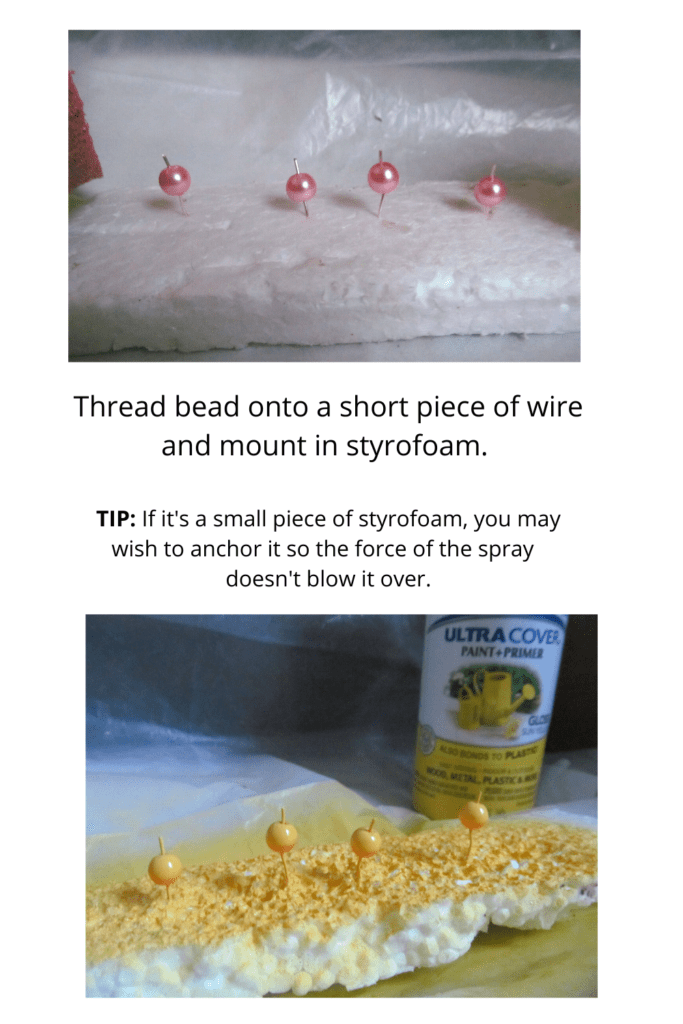
How to spray paint little beads
In case you already have beads at home that will work, but aren’t the right color for your dish flower, you can always paint beads, too. Another good reason to spray paint is that plastic beads tend to fade in the sun. Spray paint will keep it’s color and thus preserve the beauty of your art piece.
I prefer spray paint because it leaves a smooth, polished finish and doesn’t show brush marks. This is the best method I know of to spray paint the beads:
Wrapping it up
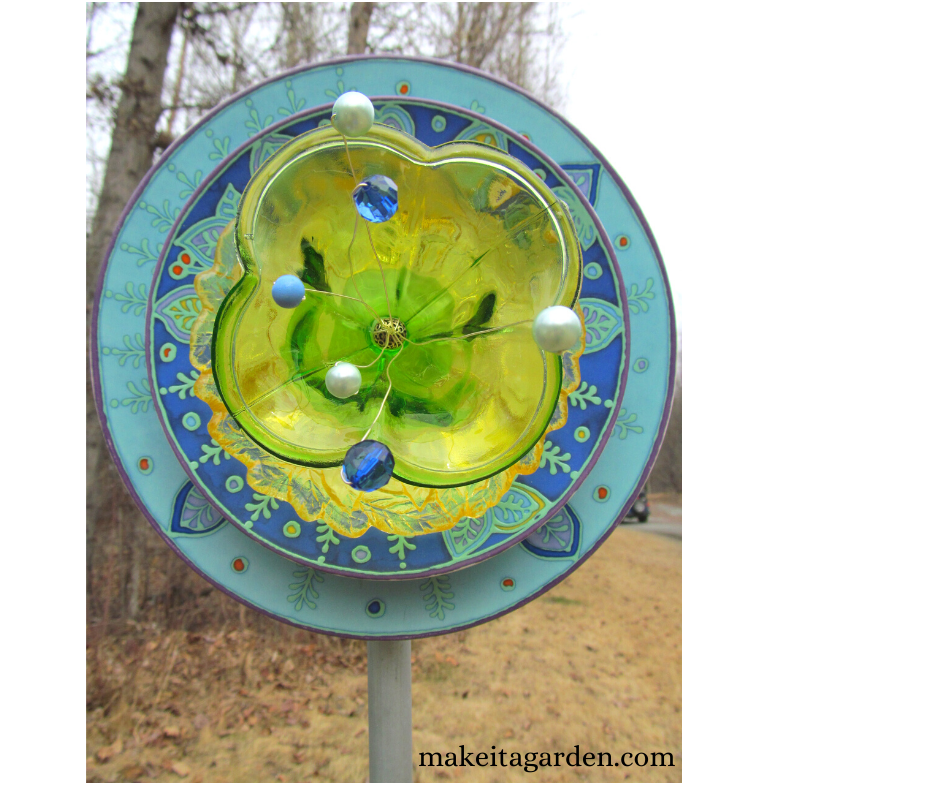
A few round beads , one decorative slider bead, some wire and a dab of glue. What could be easier to give your dish flowers an exciting new look? Whether you make them to sell, as I do, or just enjoy it as a hobby craft. If you like this idea or have questions, feel free to drop me a line by clicking “get in touch”.
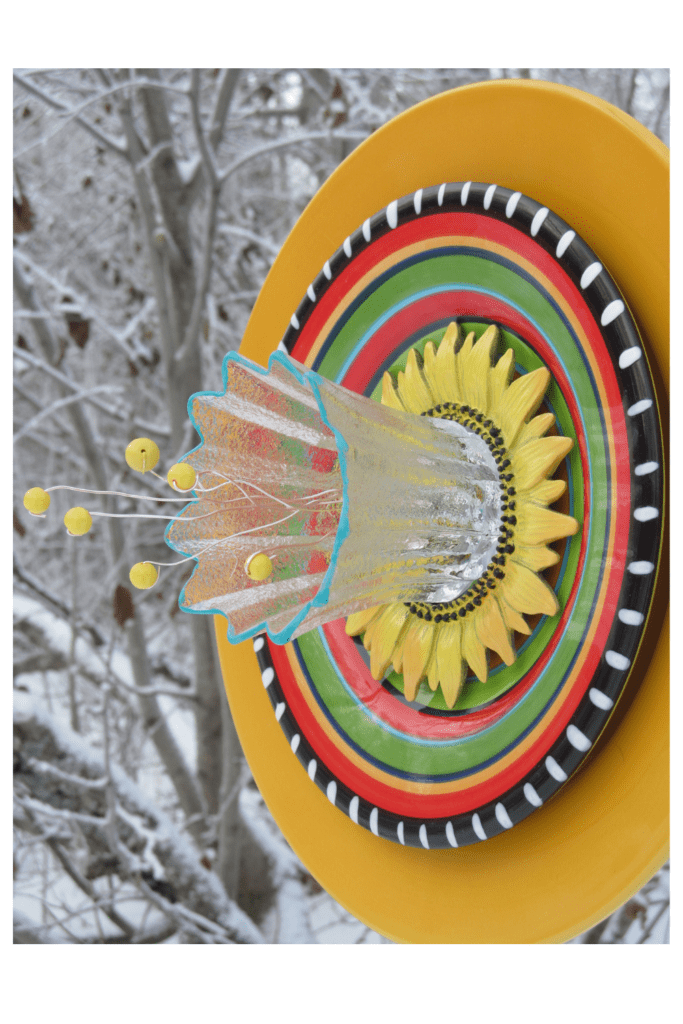
I hope you’ll try this fun, new dish flower design. The beads will give your artwork a new eye-catching dimension with a 3-D pop!
Additional dish flower tutorials
DISH FLOWER TUTORIAL (with lots of details)
How to Drill a Plate Using a Hand-held Drill
The BEST Glues for Outside Garden Art
How to Add a Leaf to your Dish Flower
The form you have selected does not exist.