
You’ve seen ’em at the thrift store. Big, heavy glass or ceramic serving platters. They’re pretty, but what would do with one? I’m glad you asked. Here are three fun ideas for DIY garden decor with plenty of “platter-tude”
Every garden needs a sense of the whimscal. Something a bit out of the ordinary that captures attention. The good news is that many decorative serving trays and platters have bold, bright designs and floral themes, that can easily be converted to your re-purposed fancy.
Here are three of my favorite ideas that you can make yourself for the garden or for your porch or patio.
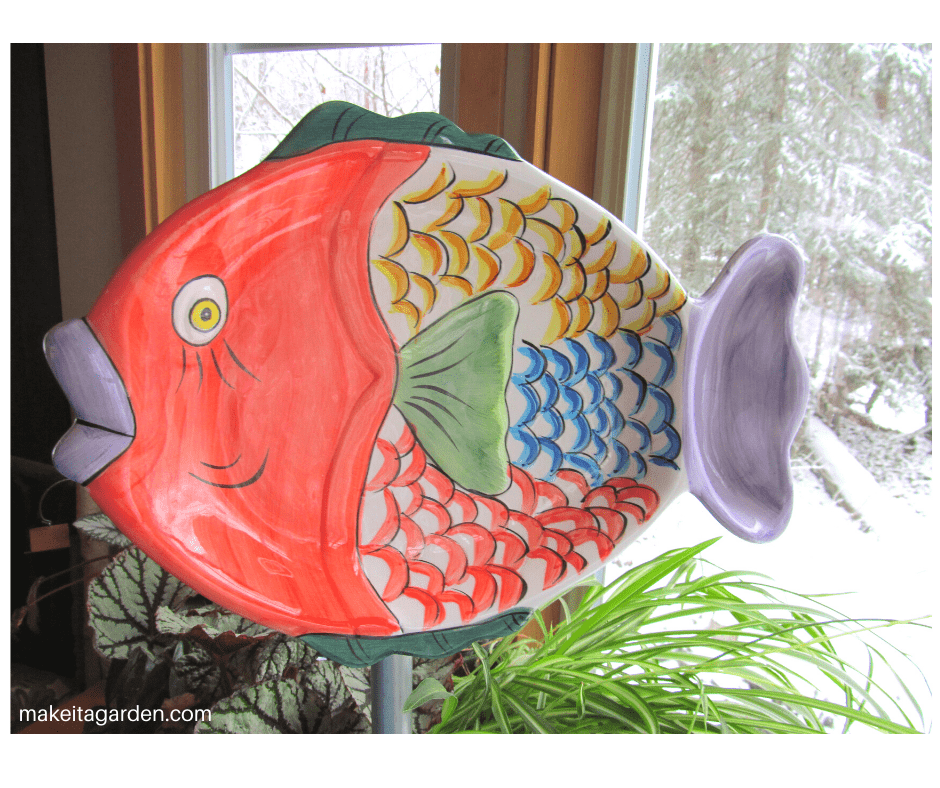
1) Decorative Garden Stake
Keep an eye out for a unique platter or serving tray at garage sales or thrift stores. With hardly any effort, you’ve got an instant garden stake for less than anything you could find at your local garden center. Plus the pride of making it yourself and using your imagination!
Materials:
- 3/4″ plastic plumbing “t” connector
- 3/4″ galvanized electrical conduit
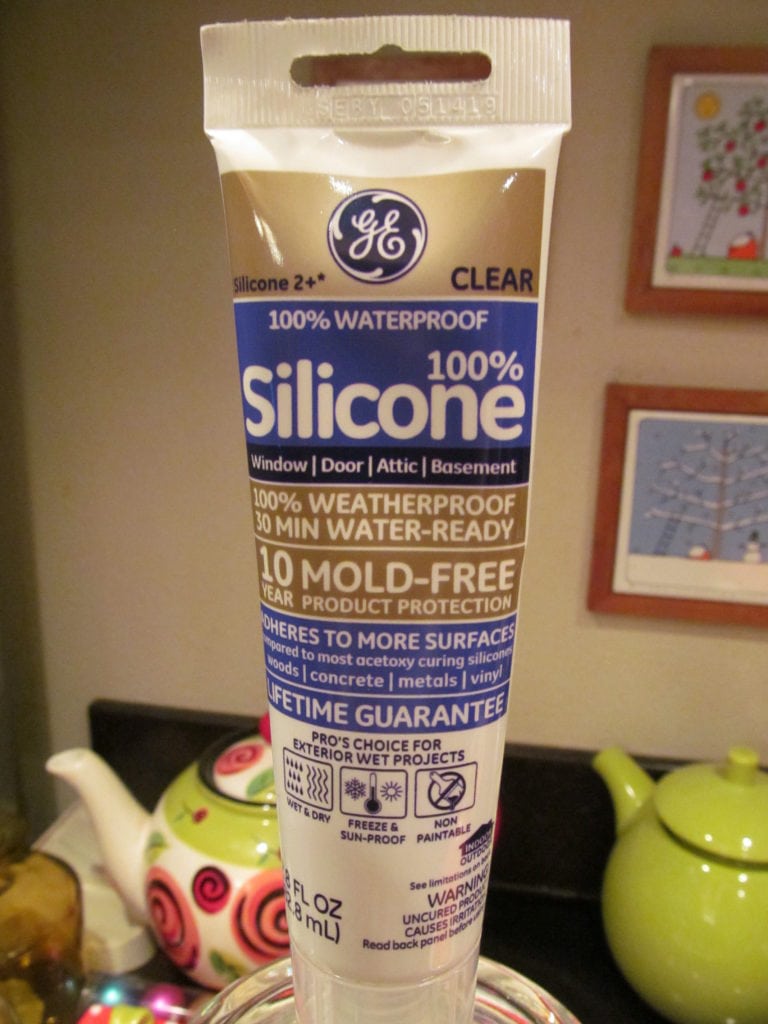
- Tube of 100% GE silicone (exterior)
Material
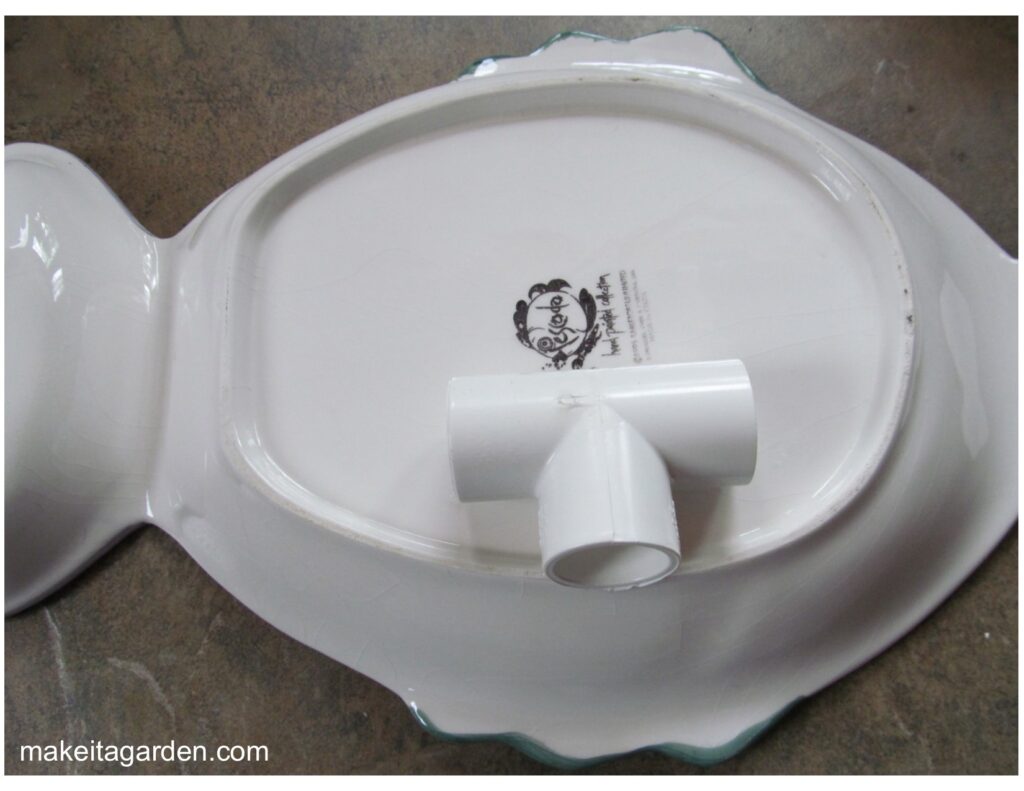
Directions: DIY Garden Decor Stake
Wash the platter or serving tray by hand with warm, soapy water and dry.
Turn it over on the backside to glue the plumbing ‘t’ connector. Silicone now comes in a small handy tube that is easy to apply when making craft projects like this.
Place a thick bead of silicone on every part of the t-connect that contacts the surface of the platter. Let the glue cure a minimum of 24 hours. Personally, I like to let it sit a good 3 days before installing outside, just to maximize the curing process.
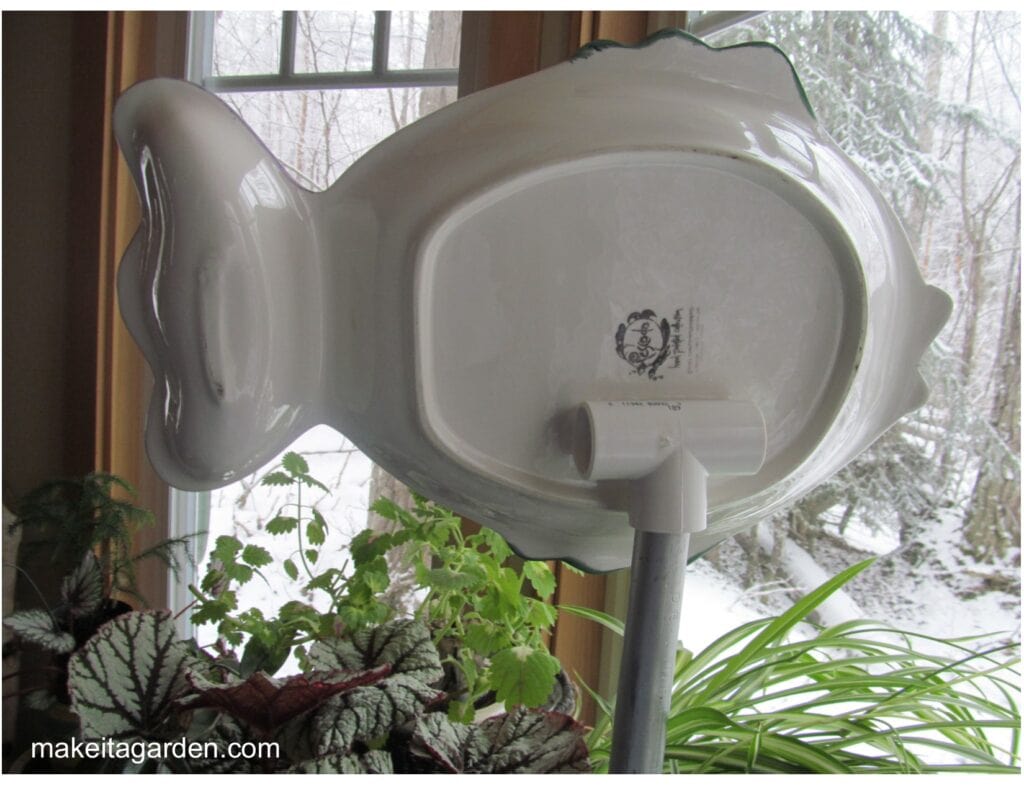
TIP: Each platter or serving tray is designed differently. Before gluing, find the center of balance for your platter. If it’s an even shape, then it probably won’t be an issue. But in the case with my tropical fish tray in the photo, one end was a bit heavier than the other. The ridge also presented a problem for the post, so had to position it a bit differently than I thought. I’m glad I checked first, before gluing!
The Metal Post
Galvanized metal conduit posts cut to 5ft lengths are available at Lowes. They can easily be cut to a shorter length with a hack saw. Galvanized means that the post will not rust. It can also be painted if your prefer, but you’ll need to use a good degreaser on it first, so the paint will stick.
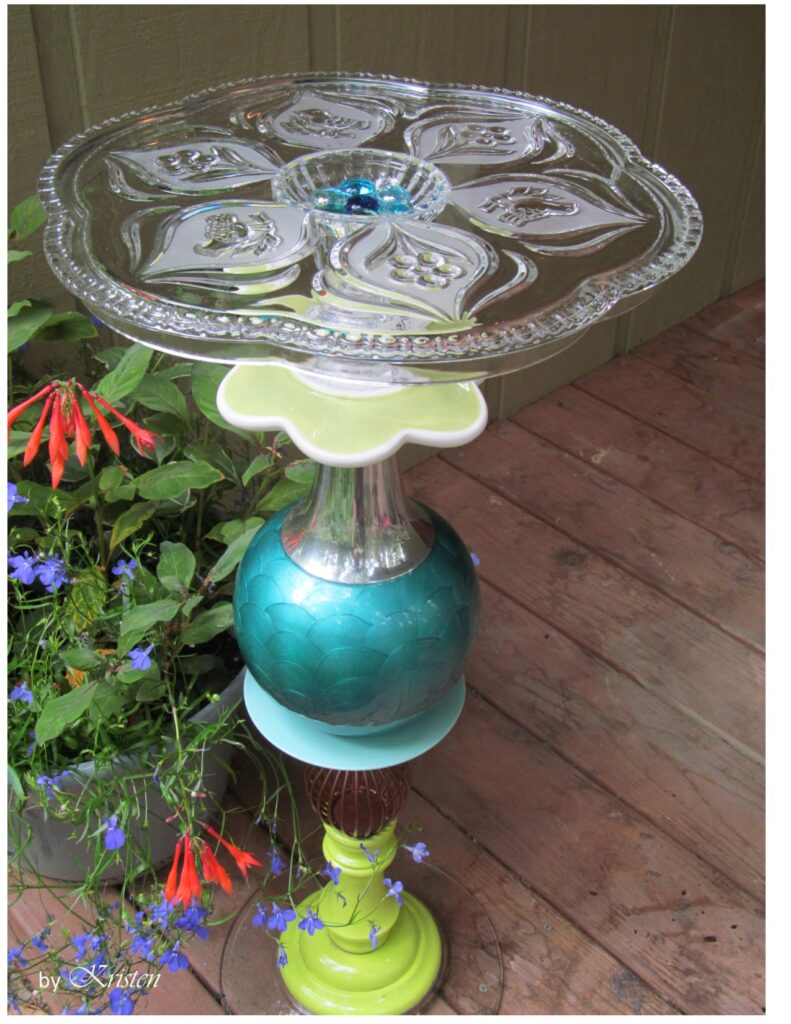
2) Glass Top Side Table
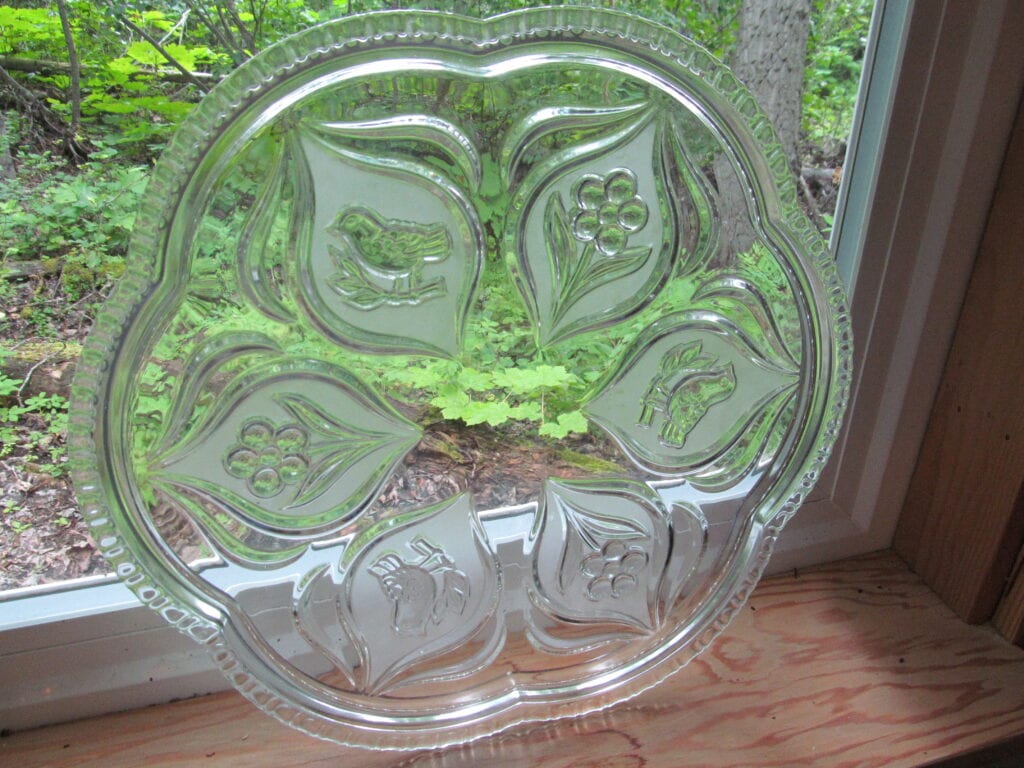
I found this beautiful glass serving tray at a thrift store. The scalloped edge, the leaf shapes and the etched birds and flowers made it irresistible for DIY garden decor. But any platter of any shape or even a large microwave turntable would work.
I used this platter to make the top of a little side table was just what I needed for my small 6×8 porch. Something next to my chair to set a coffee cup and a book.
For the base, I went around to my favorite thrift stores and gathered a candle pillar, a turquoise flower vase, and a couple of saucers. I’m used to making garden totems, but this was the first time I’ve ever made a table.
It’s really important to use pieces that fit well together, have a good balance and be strong enough to support the weight of the glass serving tray. I discovered it would also make a nice plant stand, too.
Link to my tutorial here: Jazzy side table
————————————
MAIG’s Garden & Art Community If you like this kind of stuff, why not join our Garden & Art Lover’s Community? Scroll down just a bit to sign up for our monthly newsletter. No ads or spam, just enjoyable garden and art content, ideas and inspiration.
———————————–
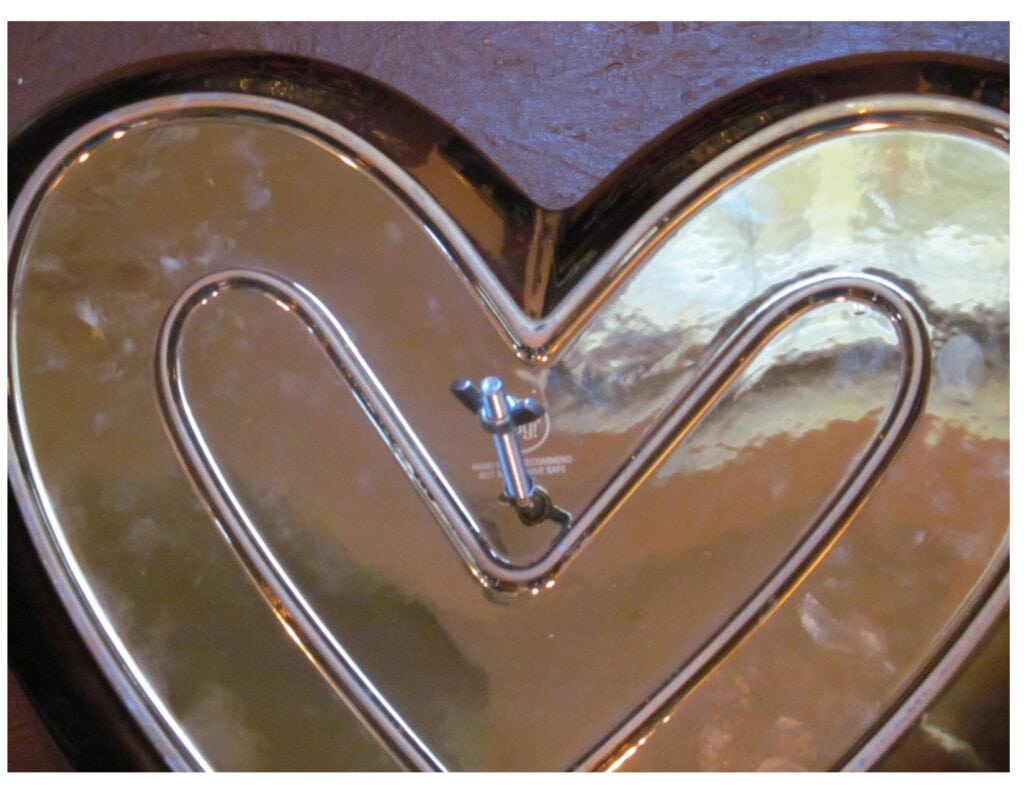
3) ‘Love your Garden’ dish flower
A decorative platter can also make lovely dish flower garden art. Platters come in many different shapes depicting flowers, an animal, a holiday theme, you name it! That’s why they are so much fun to use in the garden.
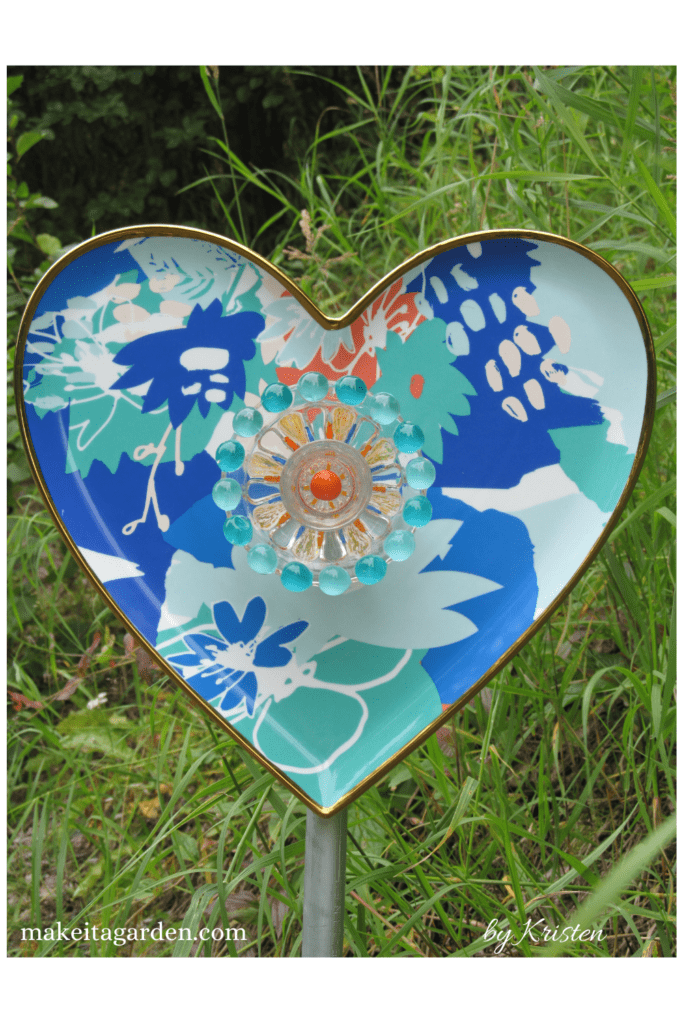
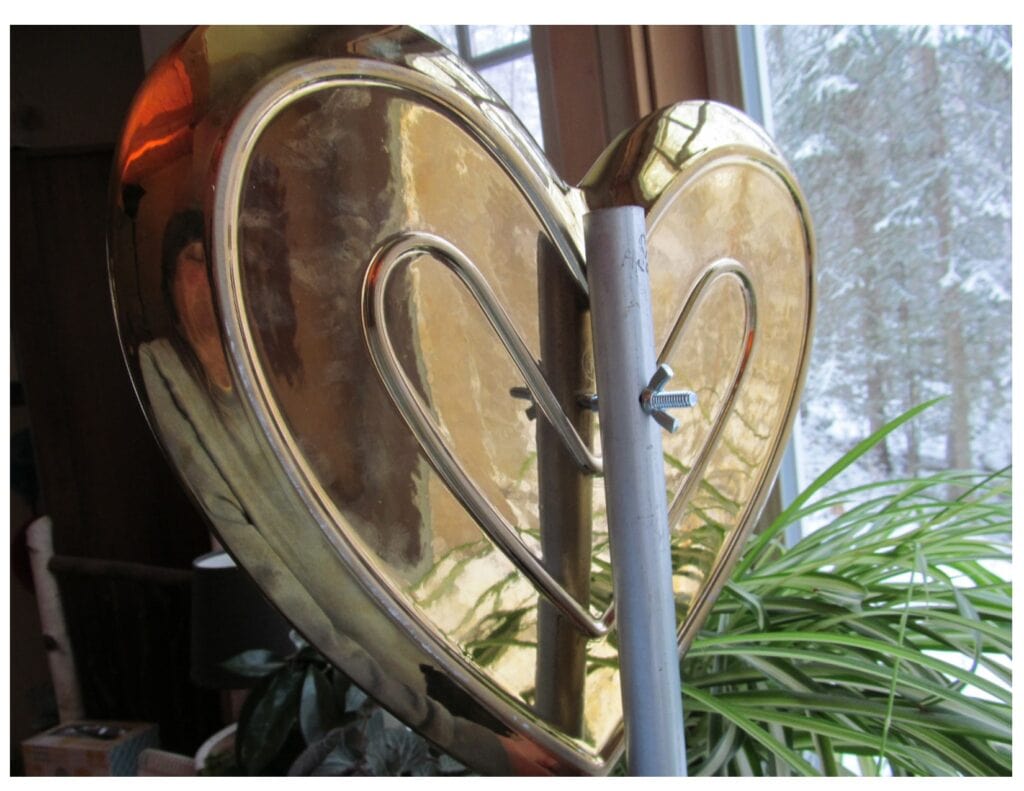
What makes this platter attractive is the unique color. Typically, anything with a heart-shape is always red or pink, which makes everyone think of Valentine’s Day. But with blues and greens this heart can make an entirely different statement. This gorgeous platter that says it all: “I love my garden!”
I added a candle holder to the center for artistic flair. Something I typically do with my dish flowers.
Materials:
- Decorate platter or tray
- hand held drill and 1/4″ round diamond drill bit
- machine screw 1/4″, 20 x 2-1/2 (length), wing nut
- 3/4″ electrical conduit
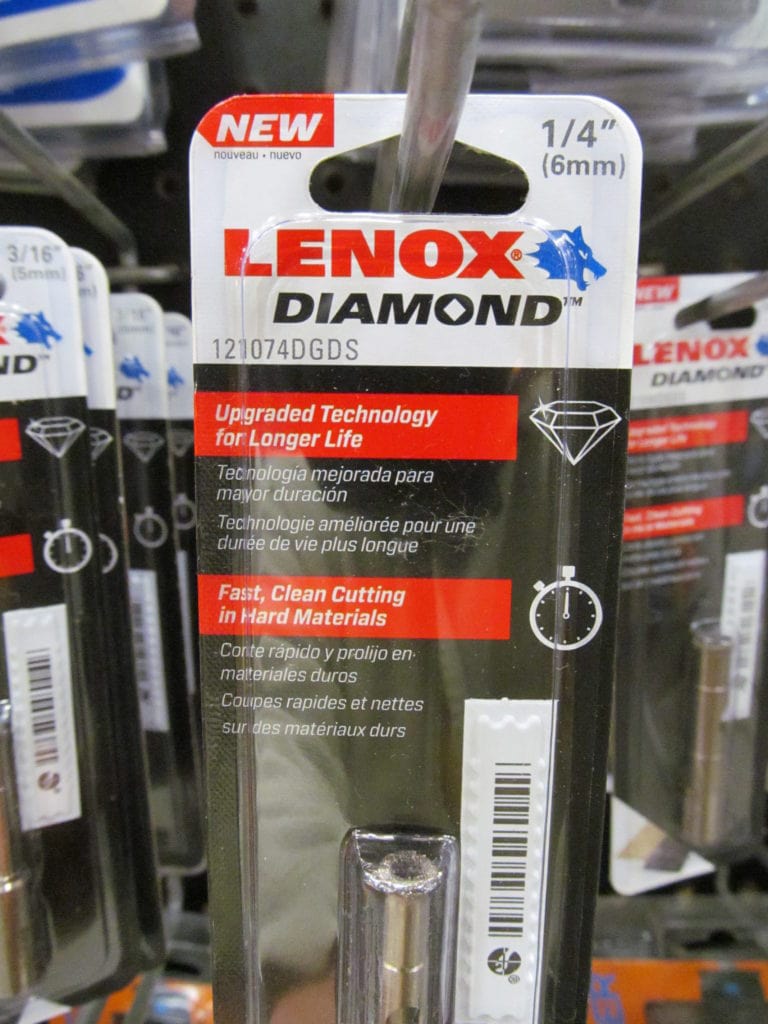
Because some platters have a bit of weight to them, they’ll be more secure if they’re physically attached to the post. This can be done with a hand-held battery operated drill and a specialty drill bit. OR, perhaps you know someone with a drill press who would do it for you.
Otherwise, use this link below to learn the best way to drill a glass or ceramic plate.
How to drill a glass or ceramic plate
The Post:
Next, use a 3/4″ diameter electrical conduit pipe for the post. They come in 5ft lengths at Lowes for around $5 or $6 dollars. You can cut it down further to you desired length using a hack saw. Remember that about 8 inches will go into the ground. For more stability in a windy area, slip the post over a piece of rebarr.
Using a regular drill bit, drill a hole through the post the same diameter as the machine screw.
Final Thoughts
If you love thrifting, be sure to look in housewares for that whimsical platter or serving tray you can re-purpose for DIY Garden Decor. I’ve shown you three (3) different ways to make something unique. Whether that’s a cute little side table, or a garden stake to compliment your flowers, it’s bound to get raves.
Feel free to drop me a line by clicking the “contact” link (right under “get in touch”) if you have questions or comments. I’d love hear from you!
Hope you’ll enjoy learning a new craft and stretching your imagination. Thanks for dropping by the garden.
Kristen

The form you have selected does not exist.
I love the fish platter! Very colorful. I saved a pedestal from an old sink and glued a large rectangular platter on top and use it for holding books, phone, etc., when I’m sitting on the porch enjoying the sun. I also use it for non-contact payments when I have food delivered from a local nursery.
Lorna, what a great idea…VERY creative! It’s fun, isn’t it to have something unique to use out on the porch?
It is ! Very satisfying also knowing I can create something out of something else! Thanks for all the ideas!
Love your ideas! I have made several glass totems & flowers for my garden. I love the whimsy. How can I prevent hard water spots & build up on the glass? Must be from the sprinklers. Can I spray some kind of clear coating on them before putting in the yard? Thank you!
Hi Lauri, thank you for the kind remarks. I’m so glad you’ve discovered the fun of making your own garden art. I have hard water myself. I can’t think of any product that could be applied to prevent water spots. I always worry that something would end up flaking off or in some way detract from the beauty of the piece. All my garden art gets plastered with dust and dirt and bugs from being outside, and I just have to clean them off from time to time. To make the cleaning easier, you might wanna fill a spray bottle with a water/vinegar solution. Or dip your cloth in it. It will loosen the mineral debris and give glass an extra sparkle, too. Otherwise, you might try placing a plastic garbage sack or bag over your art or even moving it before running the sprinkler. Hope that helps. Thanks again for visiting my site. Happy crafting! Kristen