

Who uses them anymore? Visit any thrift store, and you’ll likely find a stack of heavy, glass serving platters. Younger generations don’t typically entertain this way, so Mom or grandma’s decorative glass platters end up at the 2nd hand store. But they don’t have to stay there!
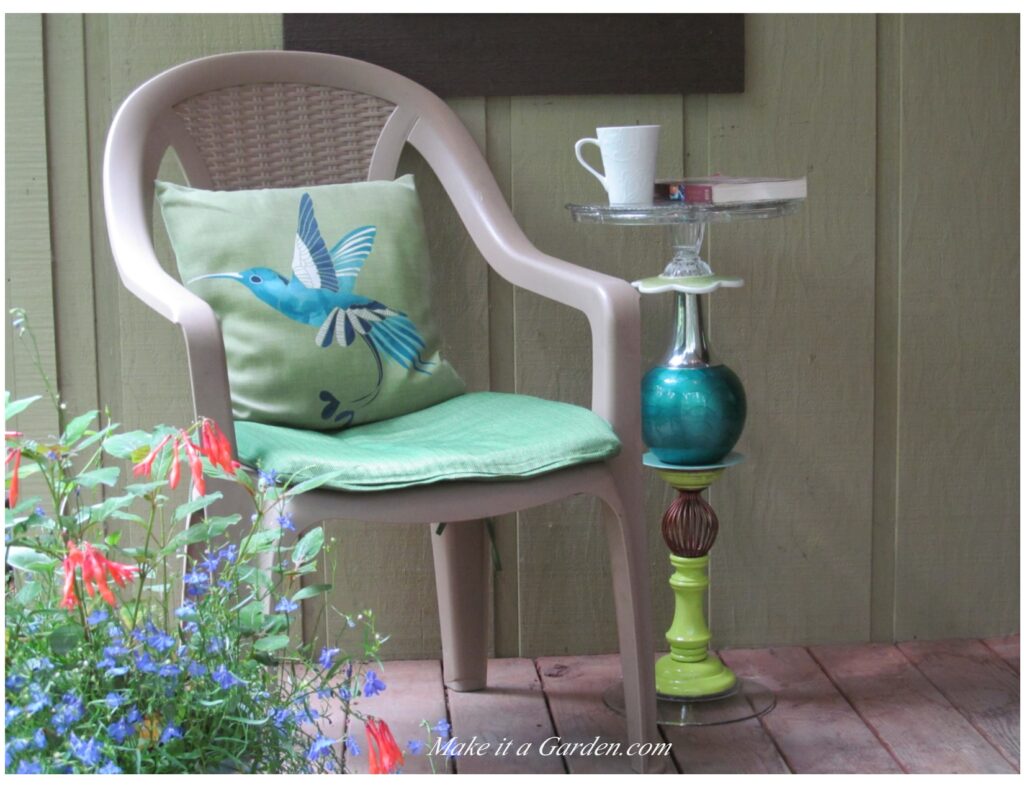
I recently discovered the perfect way to re-purpose a glass platter. And to think it all started off with a problem. It was late afternoon. As I sat on my little front porch relaxing with a glass of ice tea, I realized I didn’t have a table or anything to set it on.
So, out I went in search of one. I had in mind something wooden that I could re-paint and embellish. Instead, I found a gorgeous glass platter. Change of plans!

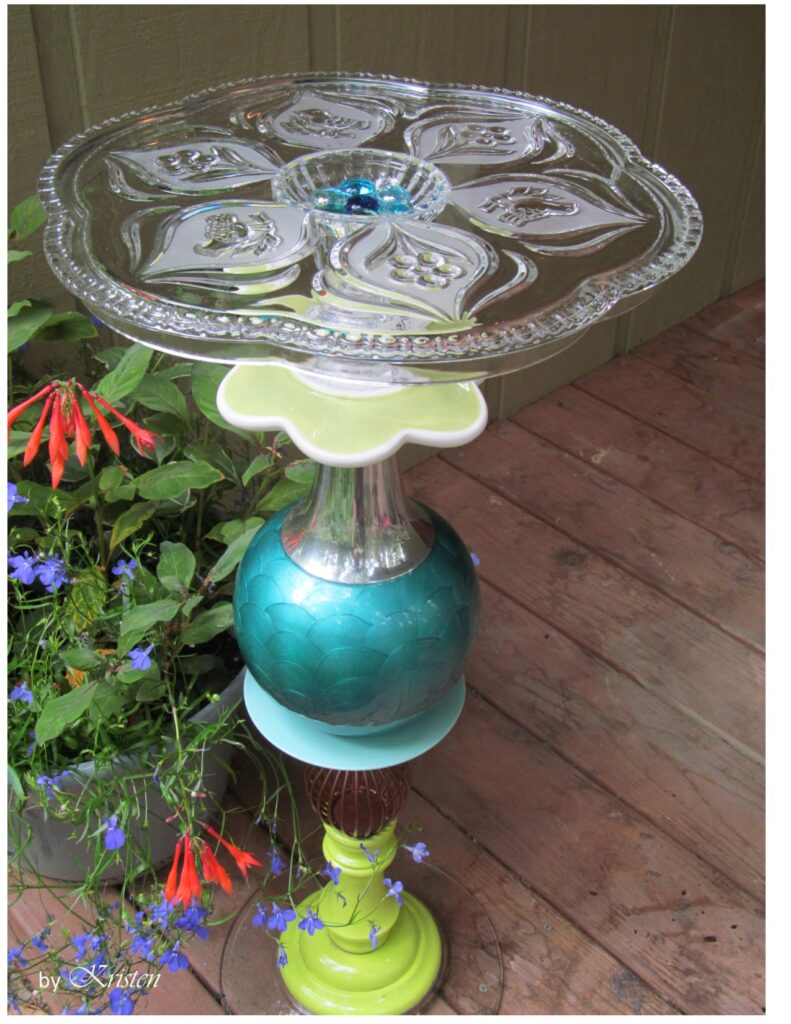
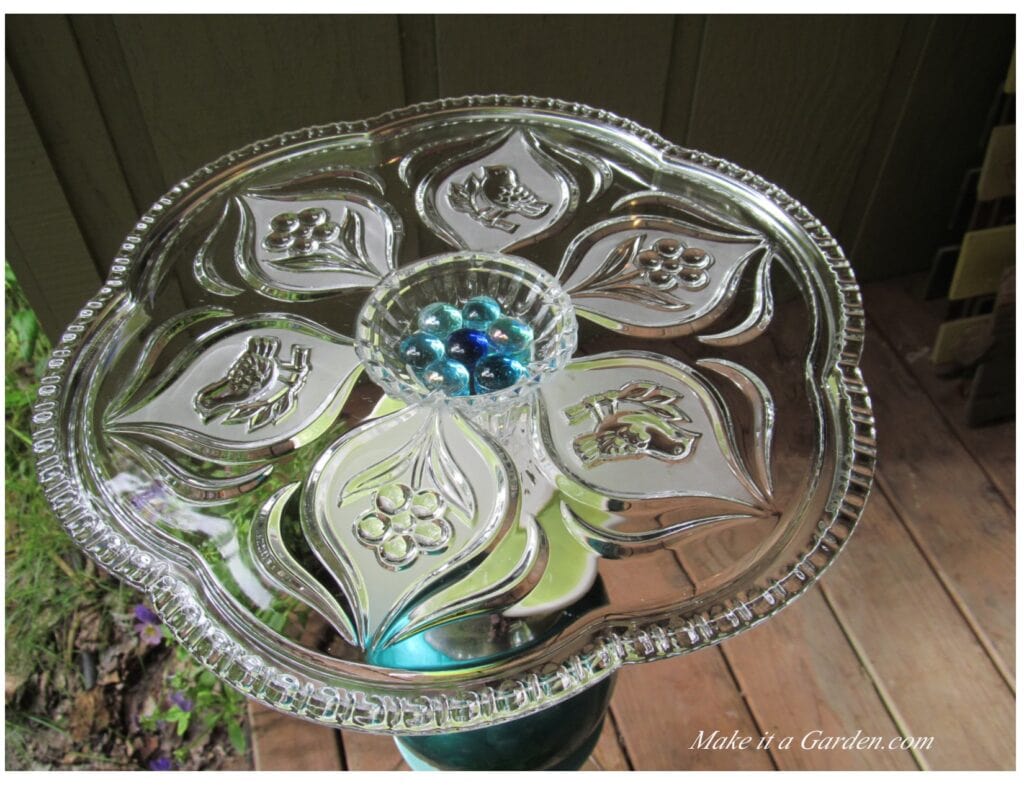
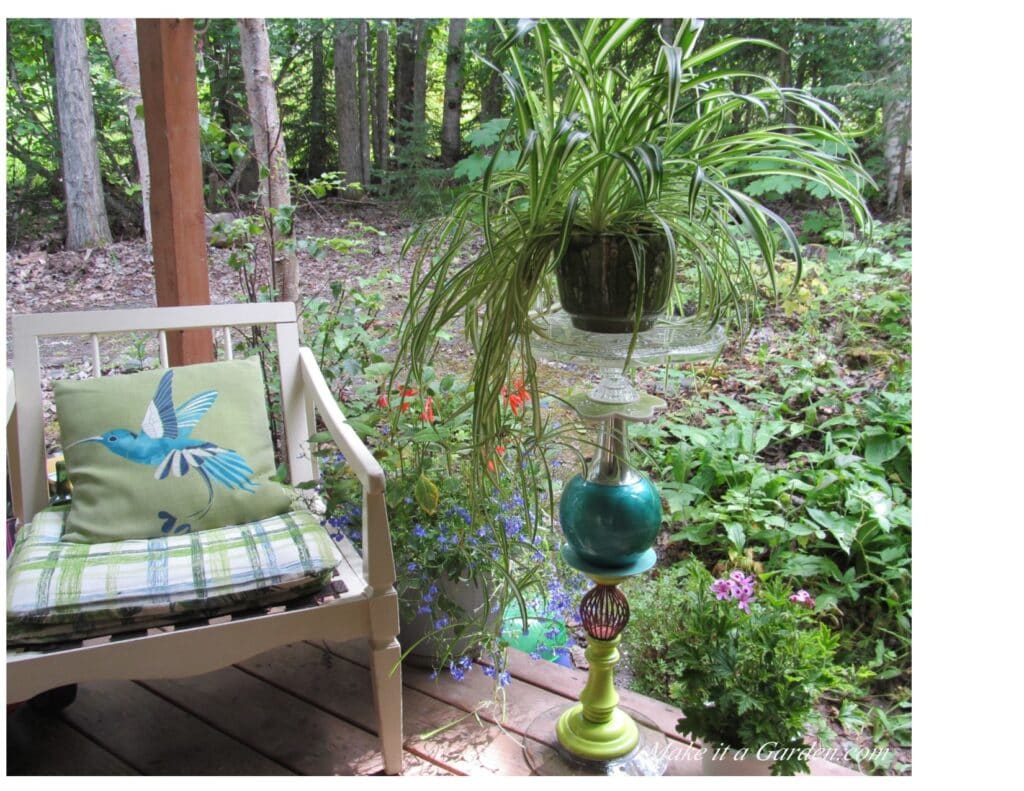
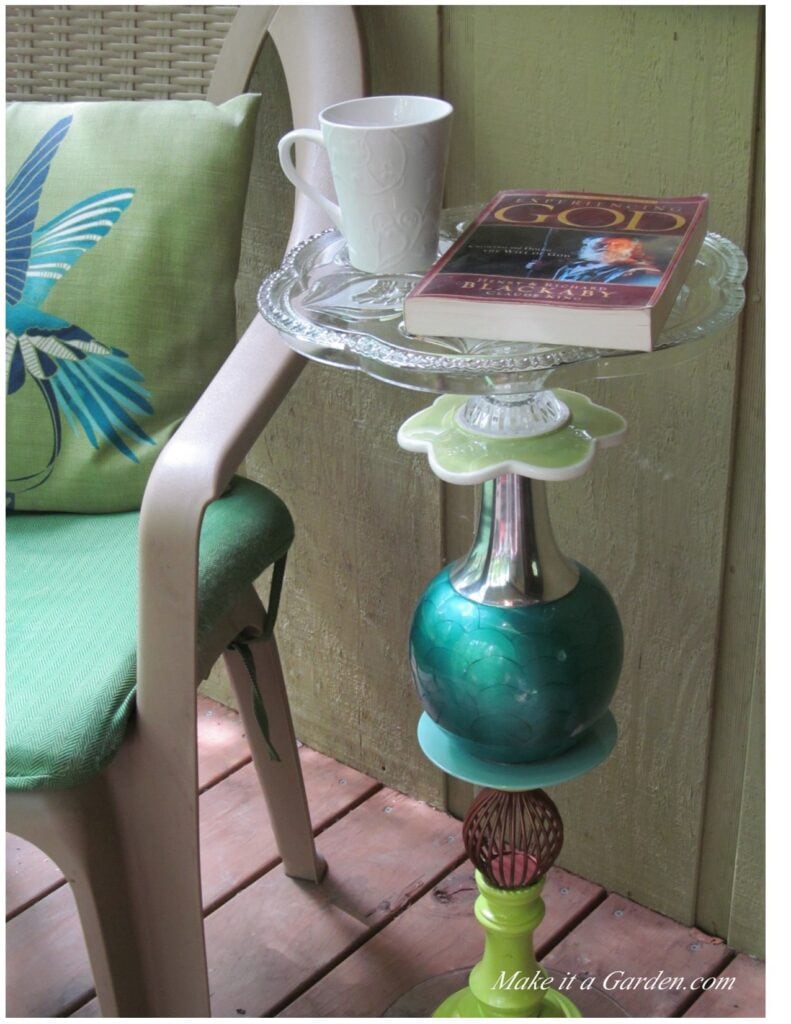
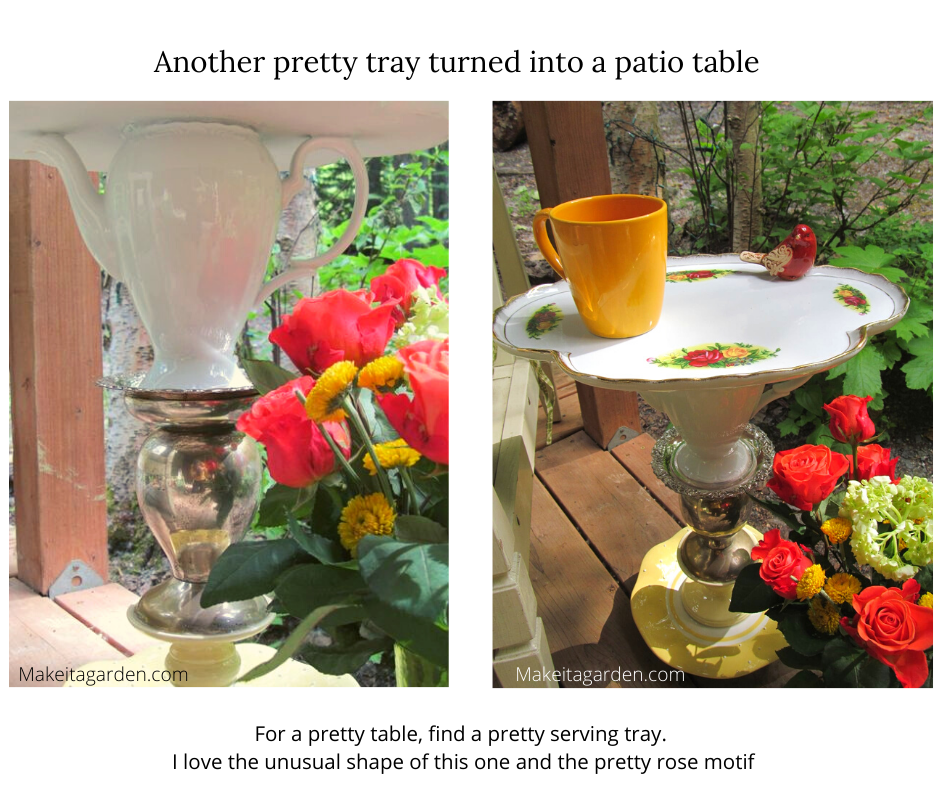
The platter was absolutely perfect for my garden-y motif. I loved the scalloped shape, the texture, the frosted leaf pattern and especially the flowers and songbirds. That’s when I decided that this platter would make a pretty tabletop. It can also be a plant stand or garden pedestal. I’ll show you how to make one for yourself.
You can make this-(updated)
Materials:
- 1 glass platter. A large glass microwave turntable works, too.
- Materials to form the base. Any combination you can imagine: ceramic vase, a unique lamp (pull all the wiring out), a log, a sturdy candle pillar, tea pot, coffee cup or other dishware or household items. Be creative! IMPORTANT: if your platter is heavy, choose your table stand pieces carefully to withstand the weight. Otherwise, your table will be top heavy and support pieces may be too light or not built well enough to handle the weight. Your table may develop a wobble and could come apart.
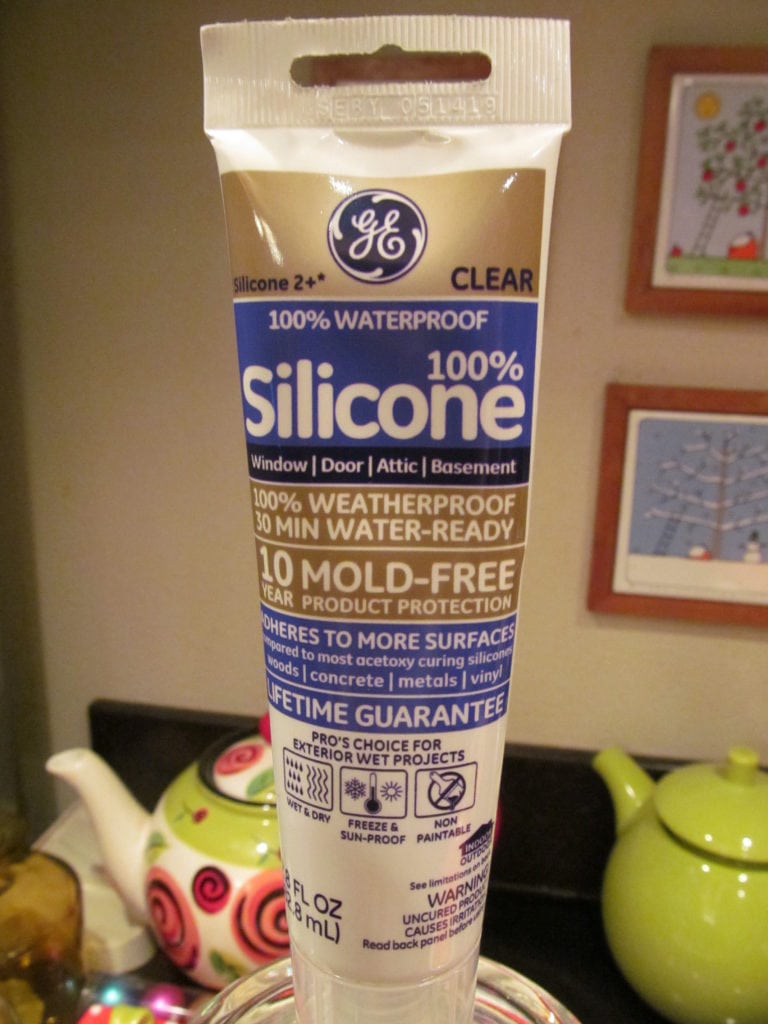
- 1 tube of GE silicone II, clear (for exterior) – hardware store in the paint section
How to re-purpose a glass platter
- Collect Items to form the base of your table
- Measure height you want for your table & decide how to arrange pieces before gluing. Ensure the pieces all have good surface to surface contact and are arranged for weight distribution and balance.
- glue each piece together, one at time
1) Collect items to form the base of your table.
TIP: If you want pretty art, use pretty materials.
Platters tend to be heavy, so look for sturdy pieces (not too fragile) that are well balanced and have flat surfaces. It assures best surface-to-surface contact when gluing together. Then, the finished piece will have good stability.
Look for your favorite colors and style. Be patient. It may take a bit of shopping around to find the right pieces. Go to thrift stores and garage sales. It took me about two weeks to gather everything together for the one featured in this article. There’s always the possibility you’ll find more than one piece at the same store.
TIP: Remember, you can always spray paint something. (like the lime green candle pillar below)

How to make a base stand
2) Before gluing, arrange your pieces together see what combination works the best
Measure the height you desire for your table. Then, play around with your collected items to determine a good fit and artistic look. You want something that not only fits together well, but presents a ‘look’ you like.
Balance:
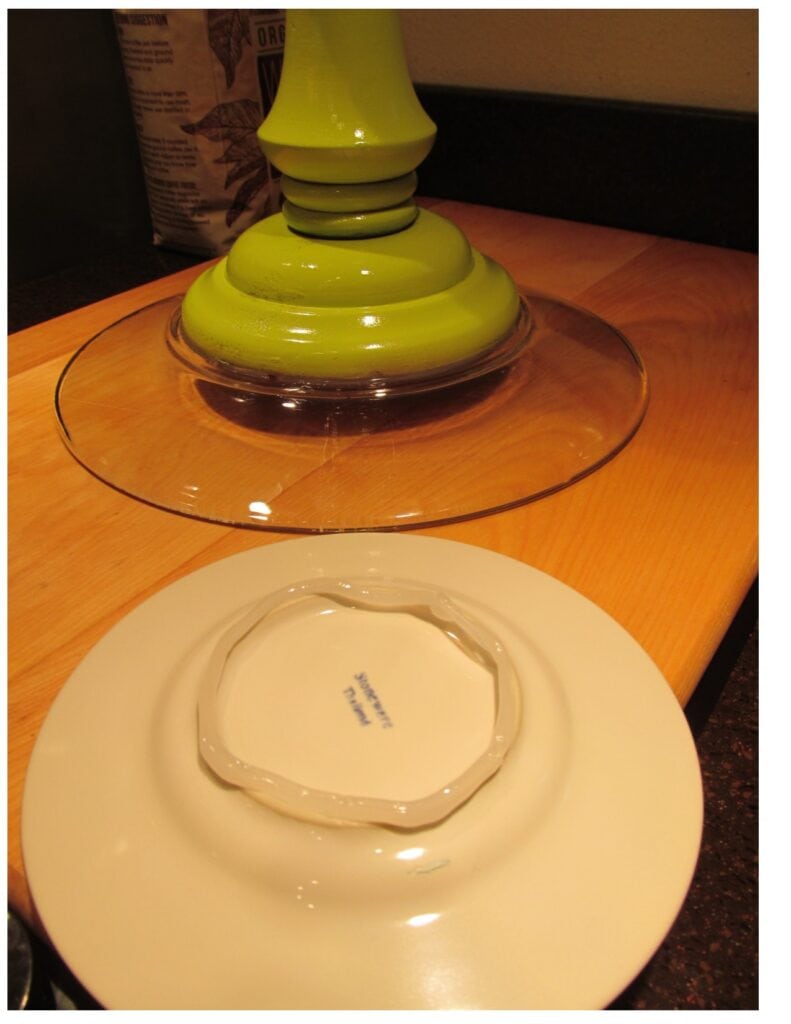
Because the glass platter makes my piece top heavy, I decided to set the candle pillar (my bottom piece) on a wider surface to give it a better footing. That way, the table will not tip easily or accidentally get knocked over. I used a thick, heavy-duty dinner plate. A glass pie pan turned upside down works well too.
For my project, I chose a clear glass plate so that it would not compete artistically with the lime green candle pillar. It’s hardly visible in the photos.
Gluing the pieces together
3) Glue the objects together
Use GE 100% Silicone, clear. You’ll find it in the paint section of your local hardware store. Make sure it’s the type for “Exterior” if you’ll be using your table outside. Silicone comes in a tube like the photo above that you can just squeeze out like toothpaste.
Why Silicone? Silicone is a sealant usually used for sealing around the outside of a window. It’s strong bonding and water-proof– the perfect product for glass garden art. It’s also easy to work with. And best of all, it dries to a rubbery consistency that doesn’t shrink and crack in extreme temperatures (hot or cold).
Best gluing technique
Start at the bottom and work your way up. If you’re placing your base on a plate or glass pie dish for better support (as I did), glue it down first. Turn it over and squeeze a bead of silicone all the way around the outer edge. Silicone doesn’t have much of an odor and it’s thick, not runny.

Center it as best you can on the overturned plate or glass pie dish and press down lightly to assure good contact. Some of the silicone may squish out the sides. This is good. Simply use a Q-tip swab or your finger to smooth the bead out around the edge for a thin seal between the two pieces. Doing this makes your artwork look neat and tidy and you’ll hardly even see the bead when it dries.
After you GLUE, allow it to sit for 5-10 minutes so it starts to set up before carefully adding the next piece. As before, apply the silicone to the edge/ or rim and press down gently. Smooth any excess bead that squishes out to seal the outer edge.
When done, allow the table to sit undisturbed overnight. Glue needs time to cure, so follow instructions on the back of the product before putting it into use.
Other ways to re-purposed a glass platter
Don’t let a beautiful glass platter go to waste. After all, glass is glass. If you enjoyed the table craft, you might want to experiment with ways to re-purpose a glass platter:
- Hanging glass ornament/glass dream catcher. Drill two small holes for hanging at the top using a round, diamond tip drill bit or drill press. Drill a few smaller holes on the bottom and add a string of beads or silverware or whatever you like. You can also construct a wood frame around the window for hanging, as well.
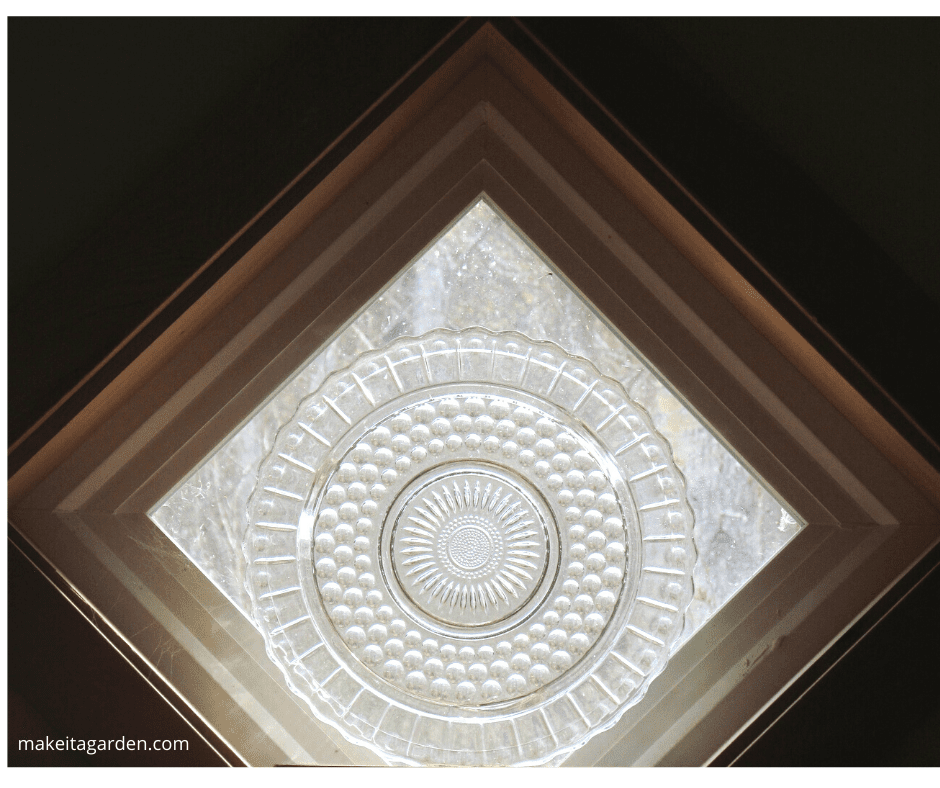
- Window: Platters are thicker glass than the average window. But platters can be used just like glass block or any stained glass pane for artistic touches. Any sunny place you’d like to add an accent window. Think about using a decorative glass platter for a “she shed”, garden shed, or art studio.
- Door. Add a unique window to a solid wood door with a pretty glass platter
So, next time you’re out thrifting, or at a garage sale or you can rescue that pretty glass platter that catches your eye!

If you like this kind of stuff, ‘like’ our Facebook page or follow Make it a Garden on Pinterest. You’re also invited to join our growing art & garden lovers newsletter group. No spam (or weeds) just relevant, enjoyable content free of advertising. Scroll down just a bit to sign up. See ya soon!
More fun garden crafts
Kristen’s Dish Flower tutorial (very detailed)
The form you have selected does not exist.
Sweet idea! Love it! I like that you mention using microwave oven plates, I see those all over the place. I have a porcelain pedestal I kept when I replaced a sink in my house. I think I know have an idea how to put it to use! Thanks for the great idea!
Thanks for taking the time to leave a comment. It’s so helpful to know if the ideas and tips are useful to you. I’ve seen so many microwave turntables that I thought they might be good options for this craft. They’re certainly less expensive and work just as well.
Thank you for the very good information about making garden art. I have been collecting the glassware, but haven’t started making items yet. I feel better equipped to start.
I am so excited to get started creating beauty. 😀. I may start a small business. Can’t wait!!!