
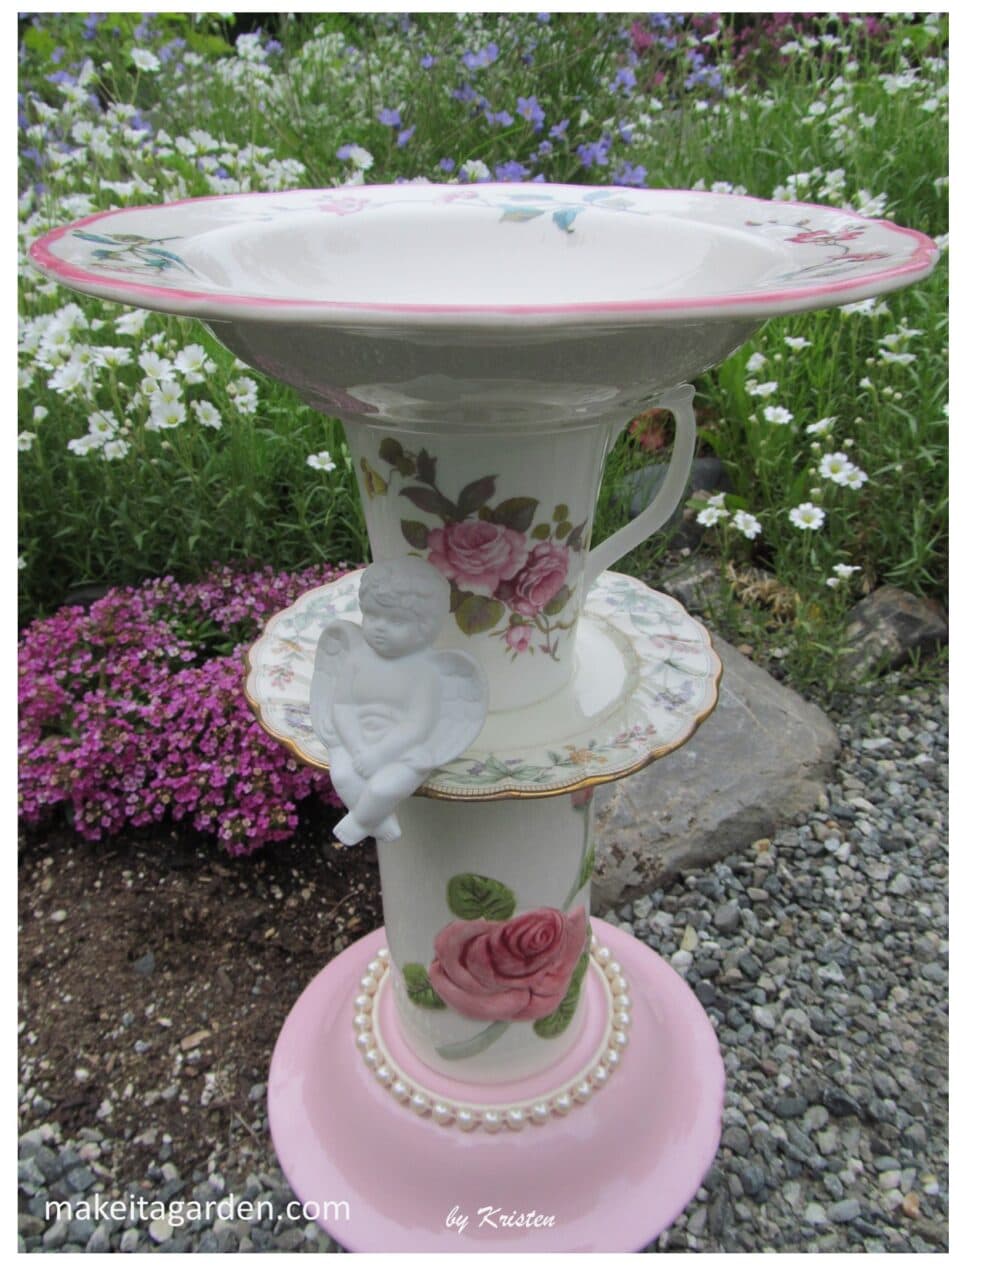

The prettiest birdbath in the garden
I love pretty things in my garden, don’t you? And I like the satisfaction of making something just for me. Whether the birds actually use it for the intended purpose, or not, it makes me happy to see a special piece of art tucked in among the flowers.
I hadn’t particularly envisioned making anything quite like it. But a few weeks of diligent thrifting (is there any other kind?) had turned up a pink bowl, a rose vase, a rose teacup with a unique handle, and a gorgeous bowl with a floral motif. As I like to say, if you can shop, you can make garden art!
Anything floral is a natural for garden decor. Fortunately, a lot of dishware is made with floral patterns especially roses. And I like roses. And while none of the pieces are remotely “vintage”, the finished piece does has a vintage look to it. How did that come about?
For one thing, everything kind of goes together. The soft, delicate colors and rose motif, the dainty, scalloped edge on the middle plate; even little things like the flair in the handle of the coffee cup. Finally, the addition of the ceramic cherub accent piece helps to communicate ‘vintage’.
Turn dishes to birdbath in the garden
The one you make for your own garden can be any style or color you like. See some of my other birdbath creations for a little inspiration.
The basic birdbath requires 3 main dishes. A small dish or saucer, a flower vase, and a shallow bowl (like a soup bowl). Start at the bottom with the base, and add other pieces as you move up.
Saucer: For better stability, I prefer to set my vase on top of a small dish or saucer. With a broader base, your birdbath in the garden is not as easily tipped over by accident.
Vase: Select a flower vase that’s not thin and fragile since it will be outdoors. Ceramic vases work well or even a glass one providing that it’s thick and sturdy glass. To give the piece a bit more weight, I recently started putting sand on the inside. I don’t fill it completely full but noticed that the extra weight means it’s less likely to get knocked over if you have a dog or cat around.
Bowl: The bowl for the birdbath is important. Find one that has a pretty pattern if you can. It will be most visible since it’s on the very top. Also, it should be shallow. A lot of birdbaths are too deep for songbirds. Birds don’t actually submerge themselves but prefer shallow water for splashing around, just like the robin is doing in this picture.

Tips for selecting your dishes
I did not get all these pieces at the same time nor at the same location. But sometimes you get lucky. I want this craft project to be easy and fun. Especially if it’s your first time making a birdbath from dishes. I’m certain you can find all your pieces by visiting one or two thrift stores. You may even have things at home that would work just as well!
Your dishes do not have to match. Not at all! But if you’d like to try something a bit more “artsy-fartsy”, here are some ideas as you shop:
- Color combinations
- style (modern, vintage, rustic etc.)
- At least one item that has some interesting or unique feature or shape
- fit (dishes should have a flat surface top and bottom)
- balance
- embellishments (little garden figurines like frogs, butterflies or fairies)
HELPFUL TIP: Valentine’s Day is coming up. Thrift stores have put out their decorative plates and other pretty, theme-related dishware. Do you like red, pink and roses? Would you like to make something similar to my cherub birdbath? This would be the best time to easily find those colors and styles.
Birdbath Tutorial
Birdbath in the garden
MATERIALS:
- Dishes
- 100% Silicone (CLEAR, EXTERIOR) –the type that comes in a small tube
- snug-fitting plastic gloves
- cloth rag or paper towels
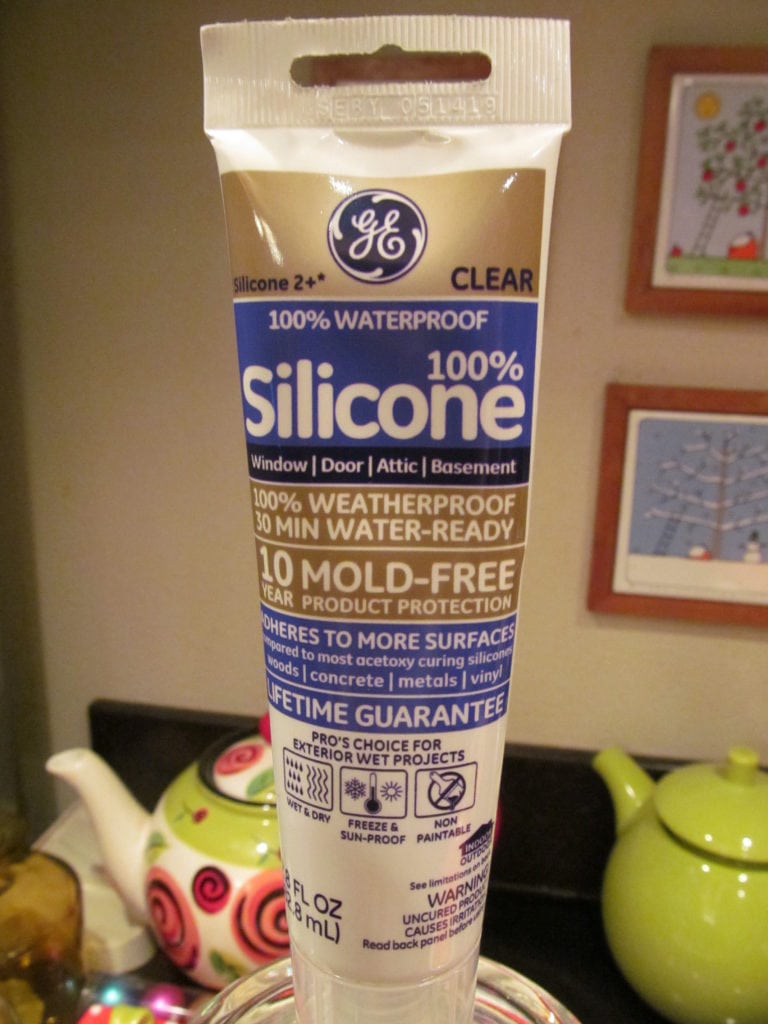
Silicone is the most widely used adhesive by those who make garden art with glass and ceramics. Its popularity among crafters is one reason why GE started selling their product in a smaller tube. That means no calking gun is needed. Smart cookies at GE. Read my review of Glues for garden art HERE.
You can squeeze it with your hand giving you better control when laying out a bead. It doesn’t have a strong odor either! You’ll find silicone in the paint section of a hardware store like Lowes, for example.
Use snug fitting plastic gloves because any extra, loose material can get caught in the glue and get it all over. Fortunately, this stuff wipes off easily with a rag or paper towel.
1) Start with the base and work upwards

WASH: Wash your dishes by hand in hot soapy water to remove any dirt, residue or grease that may be on it. A clean surface also aids adhesion, too when it comes to gluing pieces together.
GLUE: Turn the vase upside-down. Apply a bead of silicone around the entire outer rim of your vase. Do not put a big glob in the center. Placing the silicone around the edge not only affixes the vase to the saucer but seals around the outside edge as well. This is important as you’ll see in the next photo.

Join the vase to the saucer
Next, turn your saucer face down and place your vase over the center. Press down gently to ensure good contact is made surface to surface and hold in place a few seconds. You’ll see that some of the silicone has squished out the sides. THIS IS GOOD!

SMOOTH SILICONE OUT: Working around the edge, use your finger to smooth out the excess bead of silicone. It leaves a thin barely visible strip of the silicone on both surfaces as well as in-between the crack where the two pieces are joined together. It will not be visible when dry, but bonds and seals the two pieces securely together.
Allow the glue to “set” and begin to cure. I usually wait 10-15 minutes before adding the next piece. Although it won’t be fully cured in that short time frame, if you’re careful, you can add the next dish. That could be your birdbath bowl, or other items you want to use in your piece. In my case, that would be the scalloped plate and the rose coffee cup.
Again, glue one piece down at a time and wait a bit. Don’t try to fit another piece on before the previous one is set. You don’t want to bump it or move it off-center.
2) Mid-section

GLUE: If you are adding another level (as I did with the little scalloped plate and cup), the next plate would go on top of the vase. The underneath rim of the plate may be smaller or larger than the diameter of the vase. So in this case, put your bead of silicone glue around the top edge of the vase and set the plate down over the top. Silicone is thick and doesn’t run or drip like other glues. It stays in place.
Press down gently on top of the plate to ensure good contact with the top of vase. Again, some silicone will squish out the sides, but it won’t be visible underneath the plate. If you want you can still smooth the bead with your finger. But be sure to have one hand on top the plate to hold it in place and keep it from moving.
If it does move off center a bit, simply re-adjust it. Then let it alone for 10-15 minutes before adding the next piece.
3) Top birdbath bowl

GLUE: As before, place a bead of silicone around the top edge of the vase or coffee cup and set the birdbath bowl on top. Press down gently to ensure good contact. Smooth out the bead of silicone where it may have squished out underneath the bowl. This gives a nice, secure seal between the vase, (or cup) and the bowl.
Let your completed masterpiece sit for 24 hours before using it outside. While you wait, you might wish to consider how to further embellish it for character and personality.
DON’T FORGET YOUR FREEBIE! If you enjoyed this article, why not be a part of our growing garden and art community? Scroll down just a bit to sign up. You’ll receive “10 Artistic Ways to Make your Yard or Garden Beautiful” as well as our monthly newsletter. We never send weeds (or spam). Just relevant garden and art content with ideas and inspiration.
Embellishment
Here’s where you get to show off your “magic touch”. You can further embellish your birdbath with glass beads in a complementary color. You can also add a tiny figurine that suits the character of the piece…like a frog or a little bird. Maybe a fairy or butterfly. You could paint on it too, even something as simple as polka-dots.
Although, maybe adding something would be too much. Sometimes the extras can distract from a piece. But, I’ll leave that up to you and your creative spirit.
I’d like to invite you to visit my little studio to see some of the other birdbaths, totems and dish flowers that I make. Maybe it’ll give you some ideas: Sure, take me there!

Final thoughts
I really hope you’ll try this fun and inexpensive craft project. I’d love for you to have something you’re proud of. Something that will turn out to be the prettiest birdbath in the garden. It’s fun to shop around for your dishware. And then all you’re doing is basically gluing it together with silicone. Like I said: “if you can shop, you can make garden art!”
But it doesn’t have to be a birdbath, though. You may live in a condo or apartment in the city and not have a yard. This birdbath sculpture would make an ideal plant stand for small succulents. The bowl you use might be the right size in which to float a peony blossom. Wouldn’t that be pretty!
Used indoors, it could be a candy dish, or a table centerpiece. You could place it among your indoor houseplants as decor, too, if you wish.
If you do make a birdbath, I’d love to get a photo to put up on our Braggin’ Board. Please also leave a comment below, as I value your feedback. Then join our little community of art and garden lovers. Have a great summer and thanks for stopping by!
Here’s some more garden crafts for you
How to make a tea cup bird bird feeder
Happy Hub Cap Flowers, Tutorial
How to drill plates for making dish flowers
The form you have selected does not exist.
Kris, I really think that the “pearls” you added to the bottom pieces of your birdbaths make a huge impact on the overall visual appeal! What kinds of beads/jewelry do you usually work with and is there a different type of adhesive you recommend for them?
Thank you!
Awe, thank you kindly! For that piece, I used REAL pearls. (just kidding!) Those were beads I got from the craft store. But I sometimes find beaded necklaces at the thrift store for less and use them to embellish my artwork. I usually use the silicone or another product called E-6000 to glue beads or other decorative additions. I’ve found that silicone is not as good with plastic. But yes, when you want a piece to have a certain character, adding a touch of paint or some beads, or a figurine etc. is the icing on the cake!
Always looking for creative projects with glass