
Garden Art Flowers Tutorial
Welcome!
If you’re looking for a good tutorial with lots of tips and ideas for beginners, then maybe I can be of help. If you’ve tried making them before and encountered problems, this might shed some light. You see, I’ve been making and selling garden art flowers at craft shows for several years now. People ask questions: “what glue do you use?” and “how is it attached to the post?” And I can absolutely vouch for my methods of construction.
But I remember what it was like when I first started out; traipsing all over the Internet trying to figure out how to make these things. That’s why I go the extra mile to write comprehensive tutorials, so you’ll be happy with the way your craft project turns out!
What’s Covered:
PART 1: Great dishes that make great garden art–what to look for
PART 2: Assembly methods and which are most secure in the outdoors
PART 3-a: Adhesives and glues– which ones are dependable?
PART 3-b: Putting Your Art Flower Together
PART 4: The Post: Setting up & displaying your art piece.
Part 1: Find pretty ceramic plates
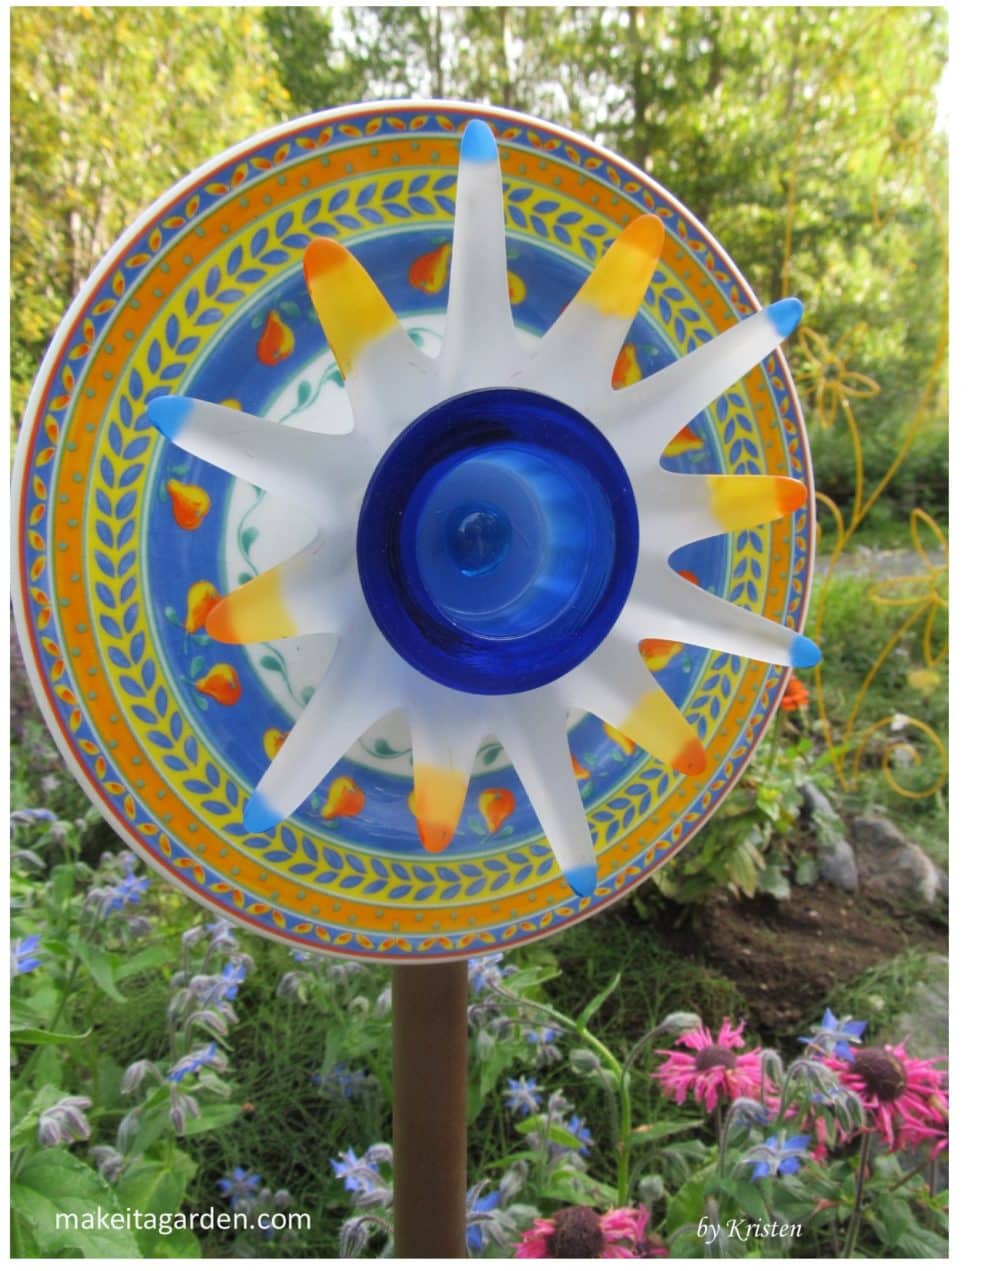
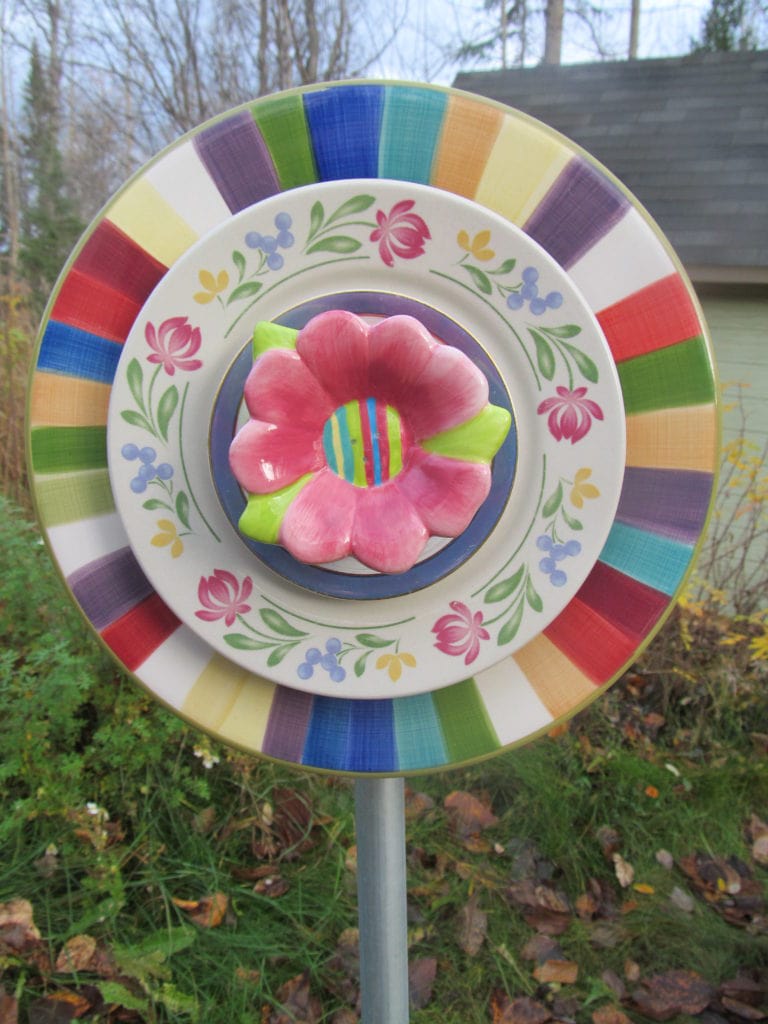
When it comes to dish flowers, many people think of the glass ones, sometimes referred to as “suncatchers”. And they are very beautiful with the light shining through them. But ceramic plates with their bright, solid colors and patterns, produce garden art flowers that are just as lovely and whimsical as their glass sisters.
Ceramic plates have a lot going for them:
- They come already decorated
- Bright, bold colors and patterns easier to mix and match
- Less fragile than glass
- hold up well outdoors
- Priced lower than glass dishware at the thrift store
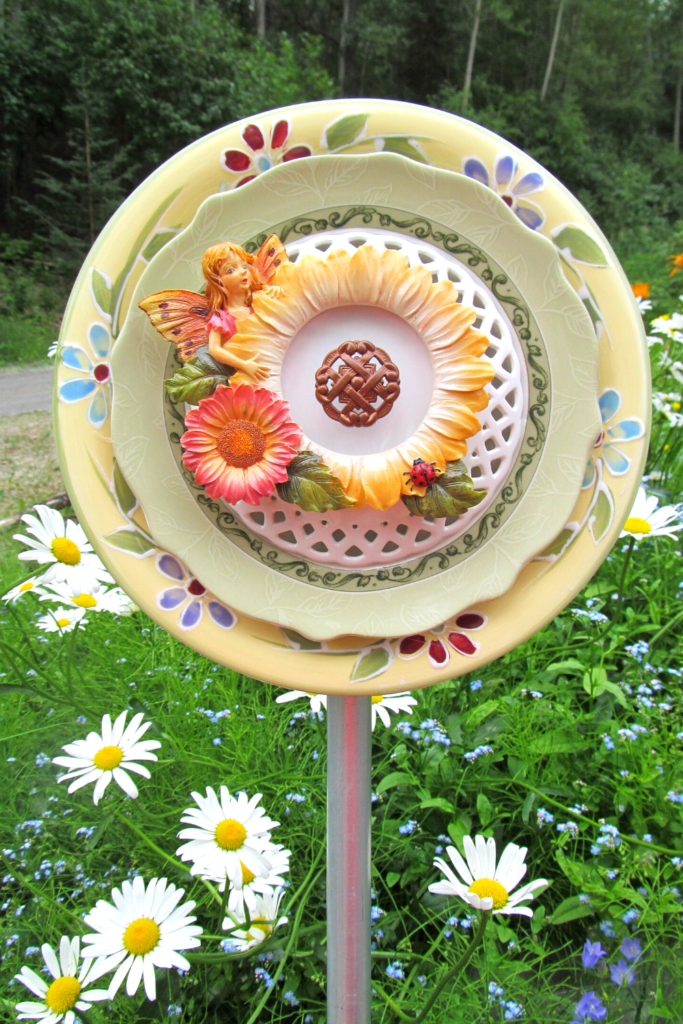
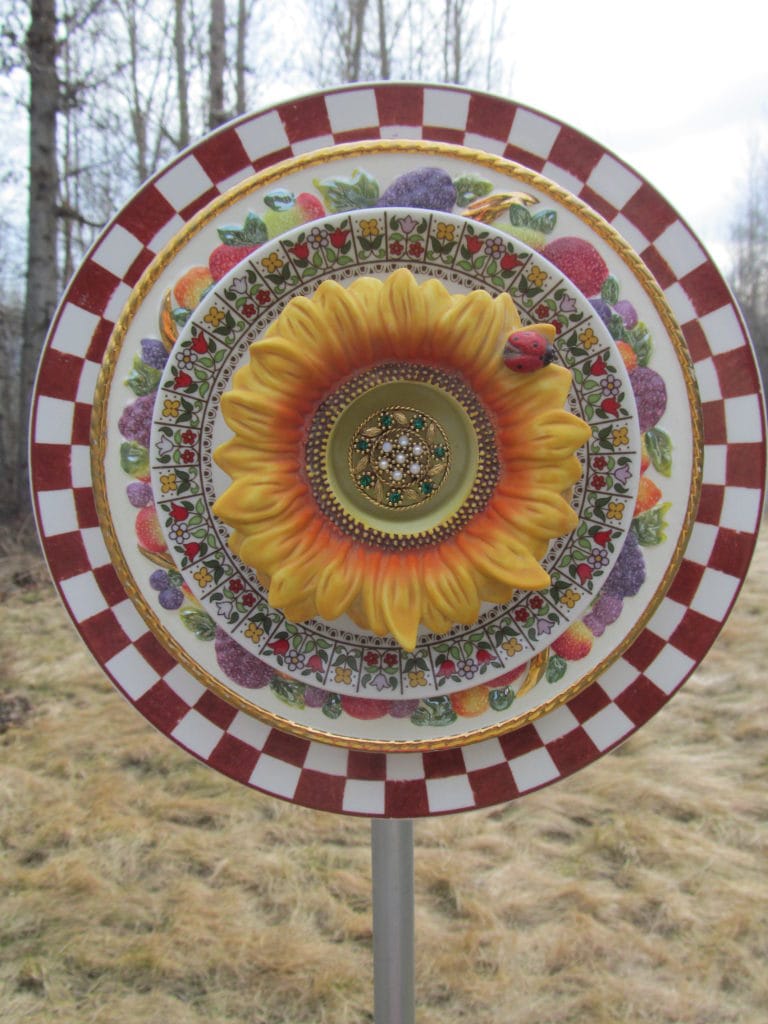
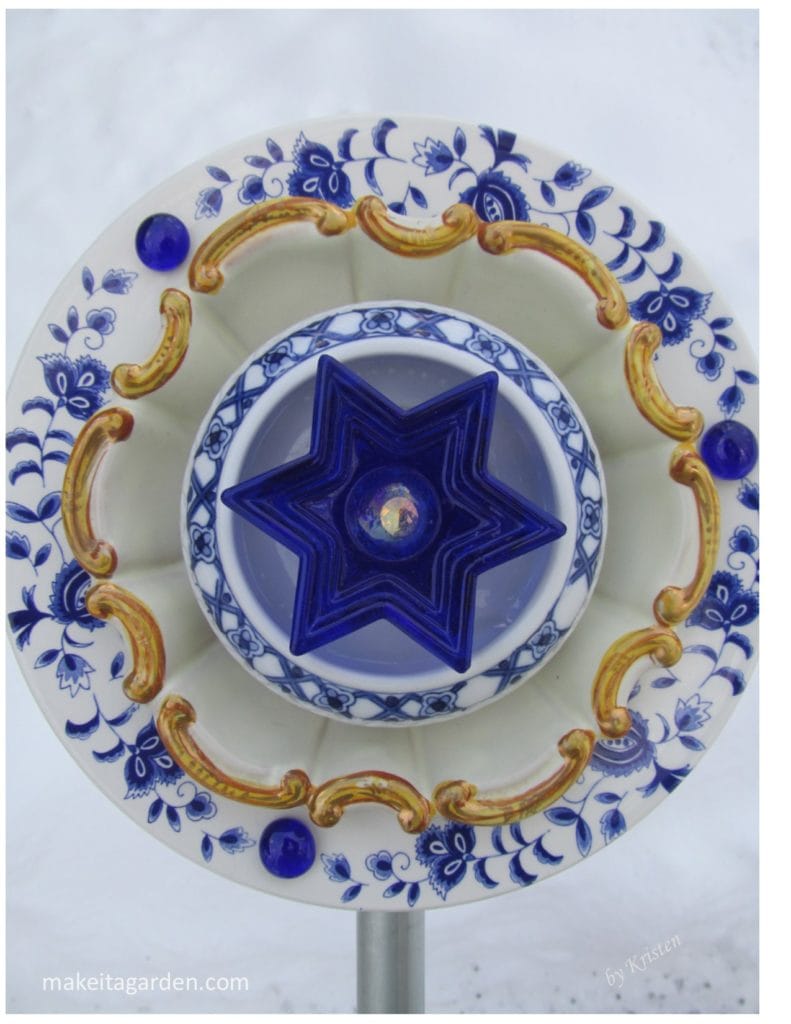
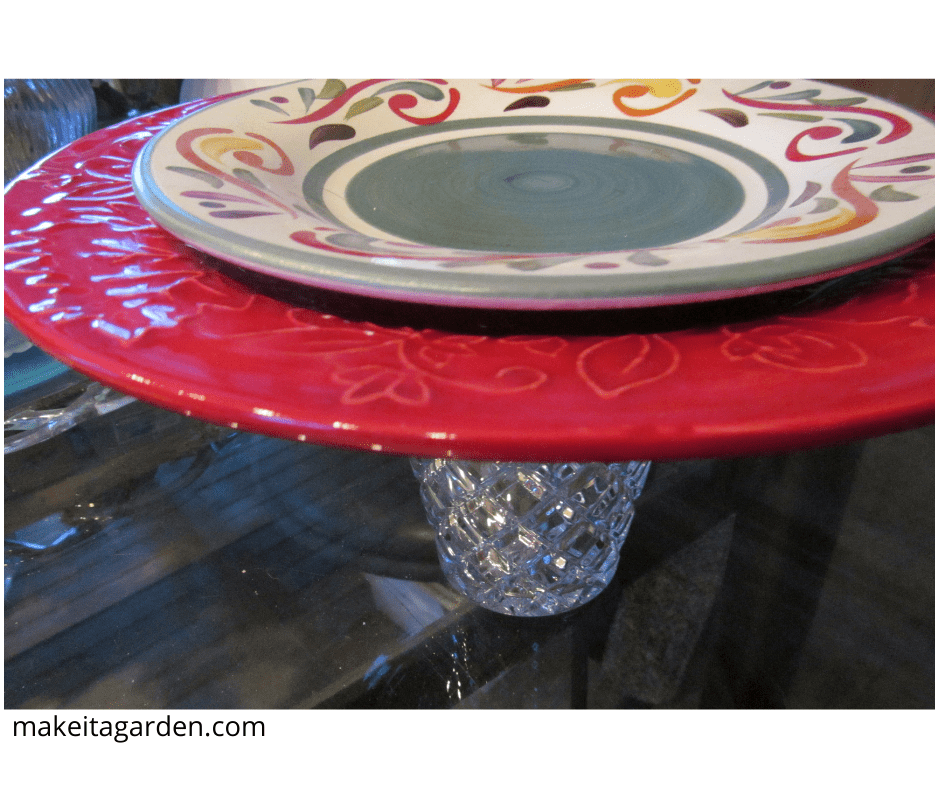
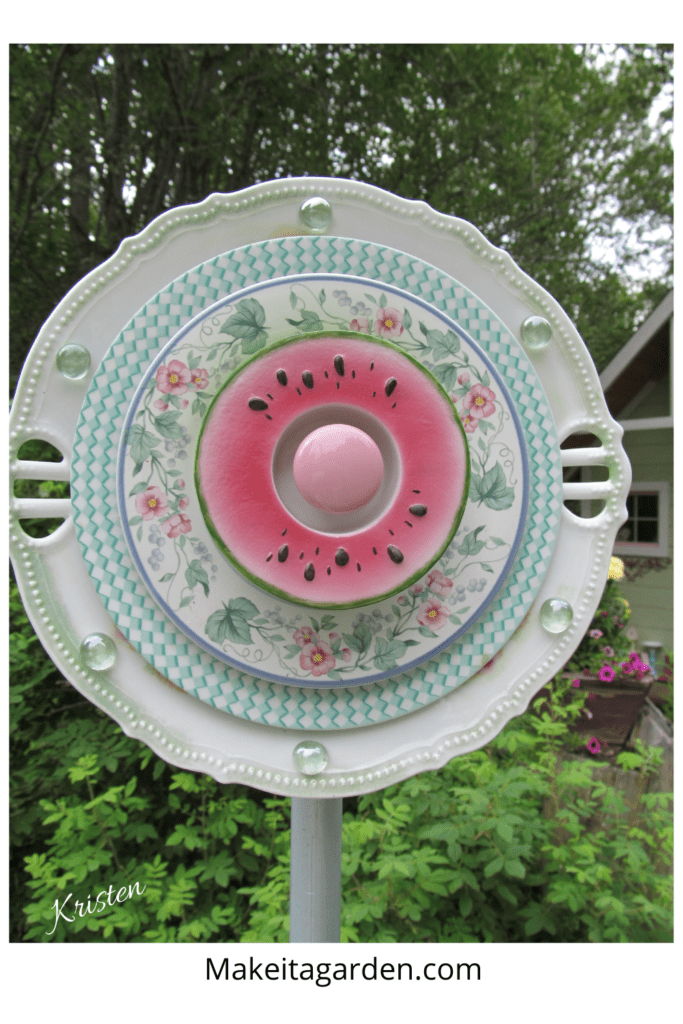
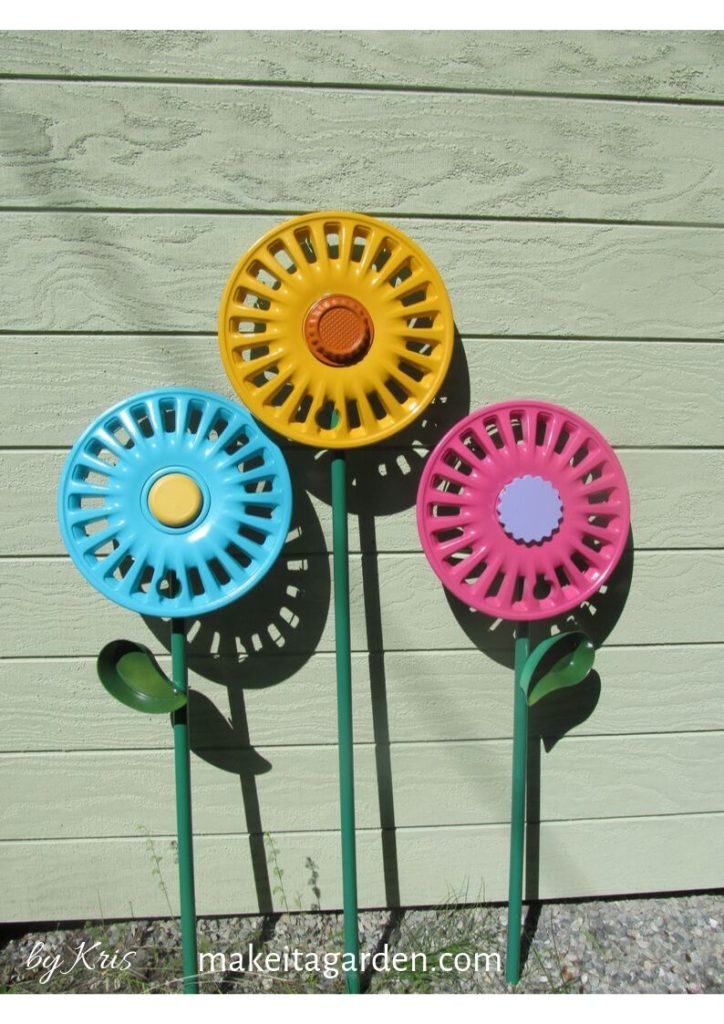
Here’s a few I’ve made over the years:
Where to find dishes
Thrift stores and garage sales are inexpensive places to find your materials. Pick the colors and designs that personally appeal to YOU. Do not be discouraged if you don’t find everything in one place. Inventory comes and goes and the selection can be a little thin sometimes. Or, maybe nothing in particular strikes your fancy and that’s OK. I browse through different stores on different days.
What to look for:
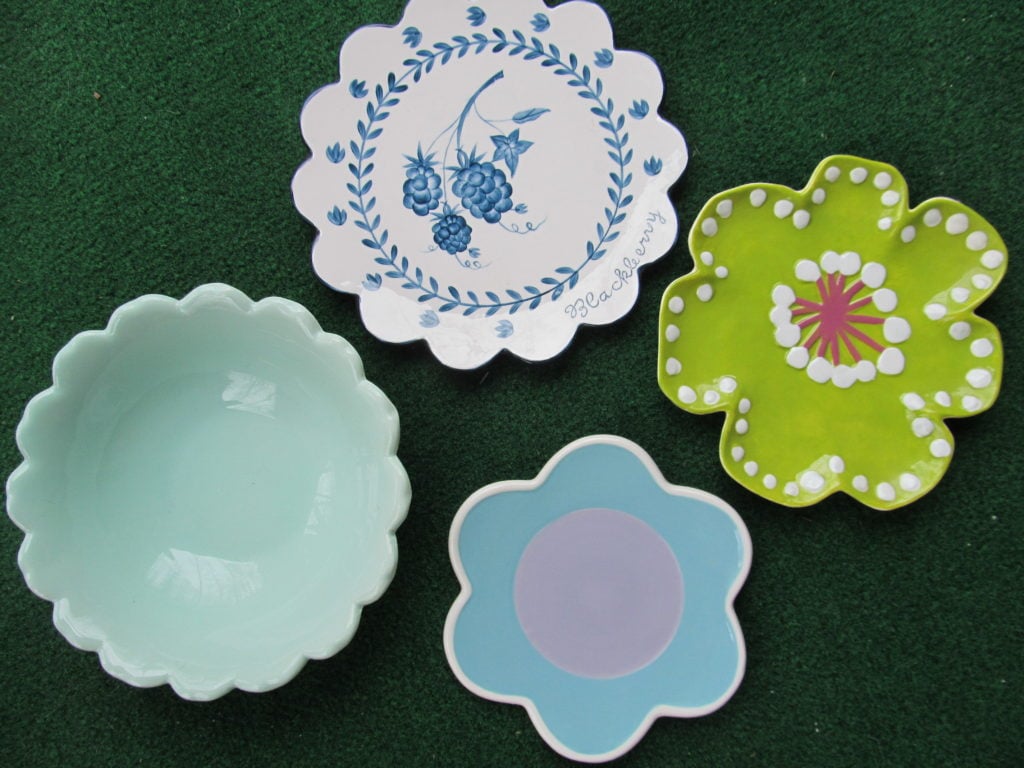
The best ceramic plates for garden art flowers look like flowers. These are the decorative dishes with scalloped edges and floral shapes. Some plates were originally created to be hung on a wall. Some are made for candle decor. ALL may be used for making garden art flowers.
Making Garden Art Flowers
Materials List:
- Ceramic dishes 3 minimum: dinner plate, salad sized plate (or bowl), a center piece
- 1 tube of silicone sealant, clear for exterior
- cloth rag
- section of 3/4″ galvanized plumbing conduit for the post, 3-4ft length
NOTE: CONSTRUCTION METHODS There is more than one method crafters use to attach the flower head to the post. I’ve included them here as an alternative for your consideration. (Scroll to PART 2) Personally, I use and recommend the drill method which involves using a special drill bit to grind a hole thru the plate. This method is meticulously explained in this tutorial.
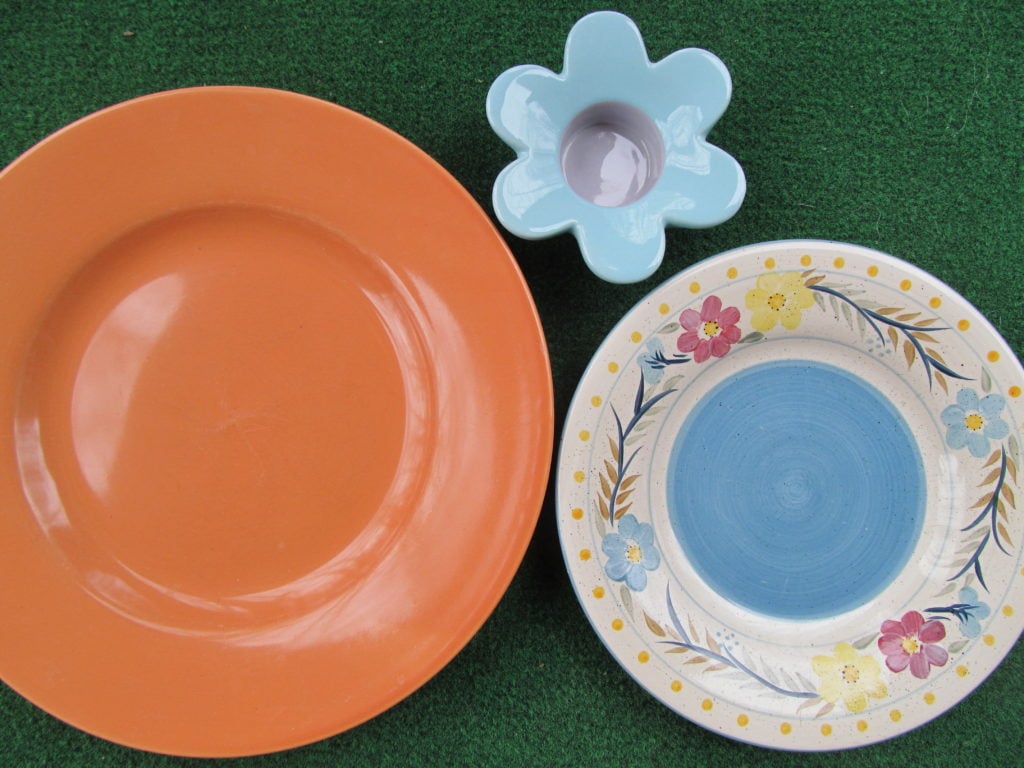
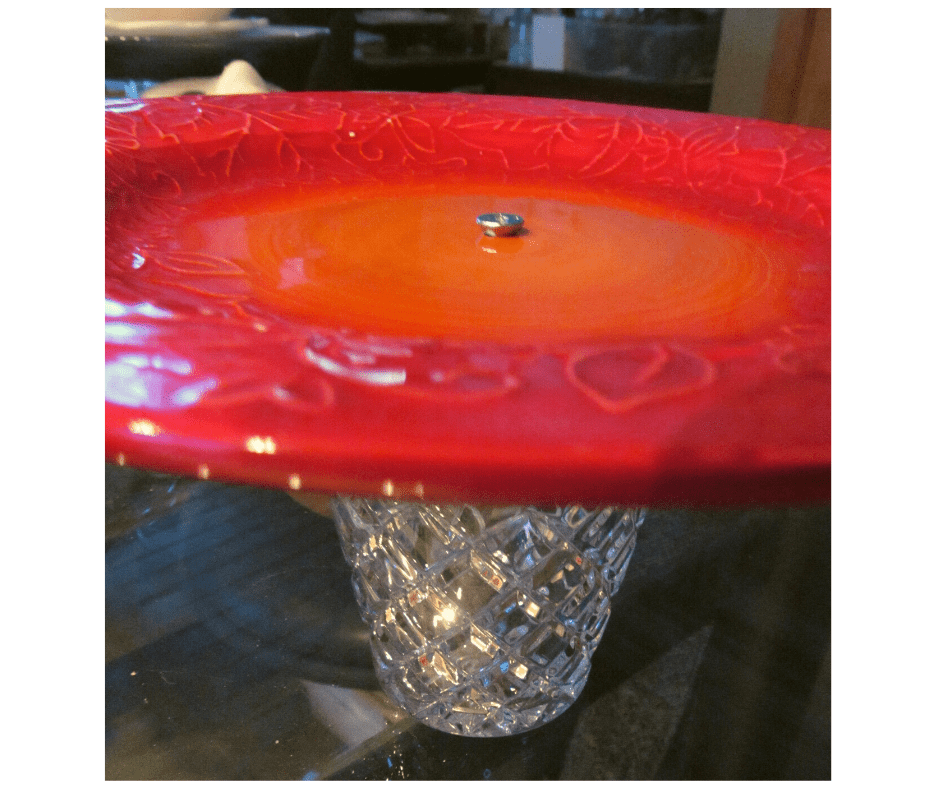
3 Components of a Garden Art Flower:
1) A dinner-sized plate
2) a smaller, salad plate
3) something to use for the center piece.
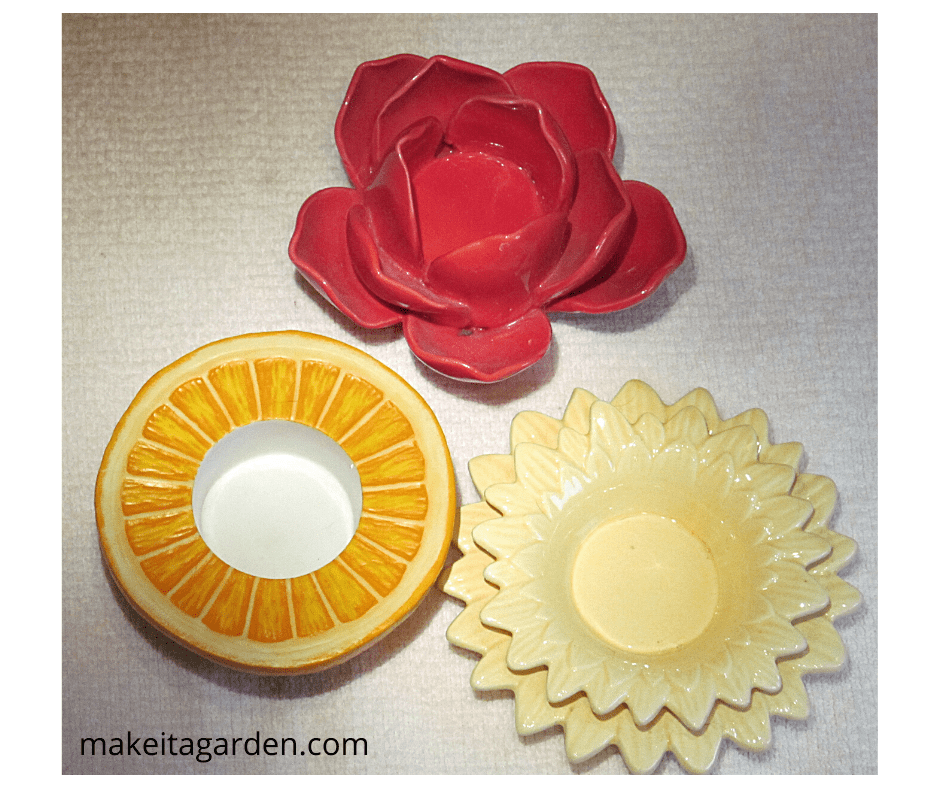
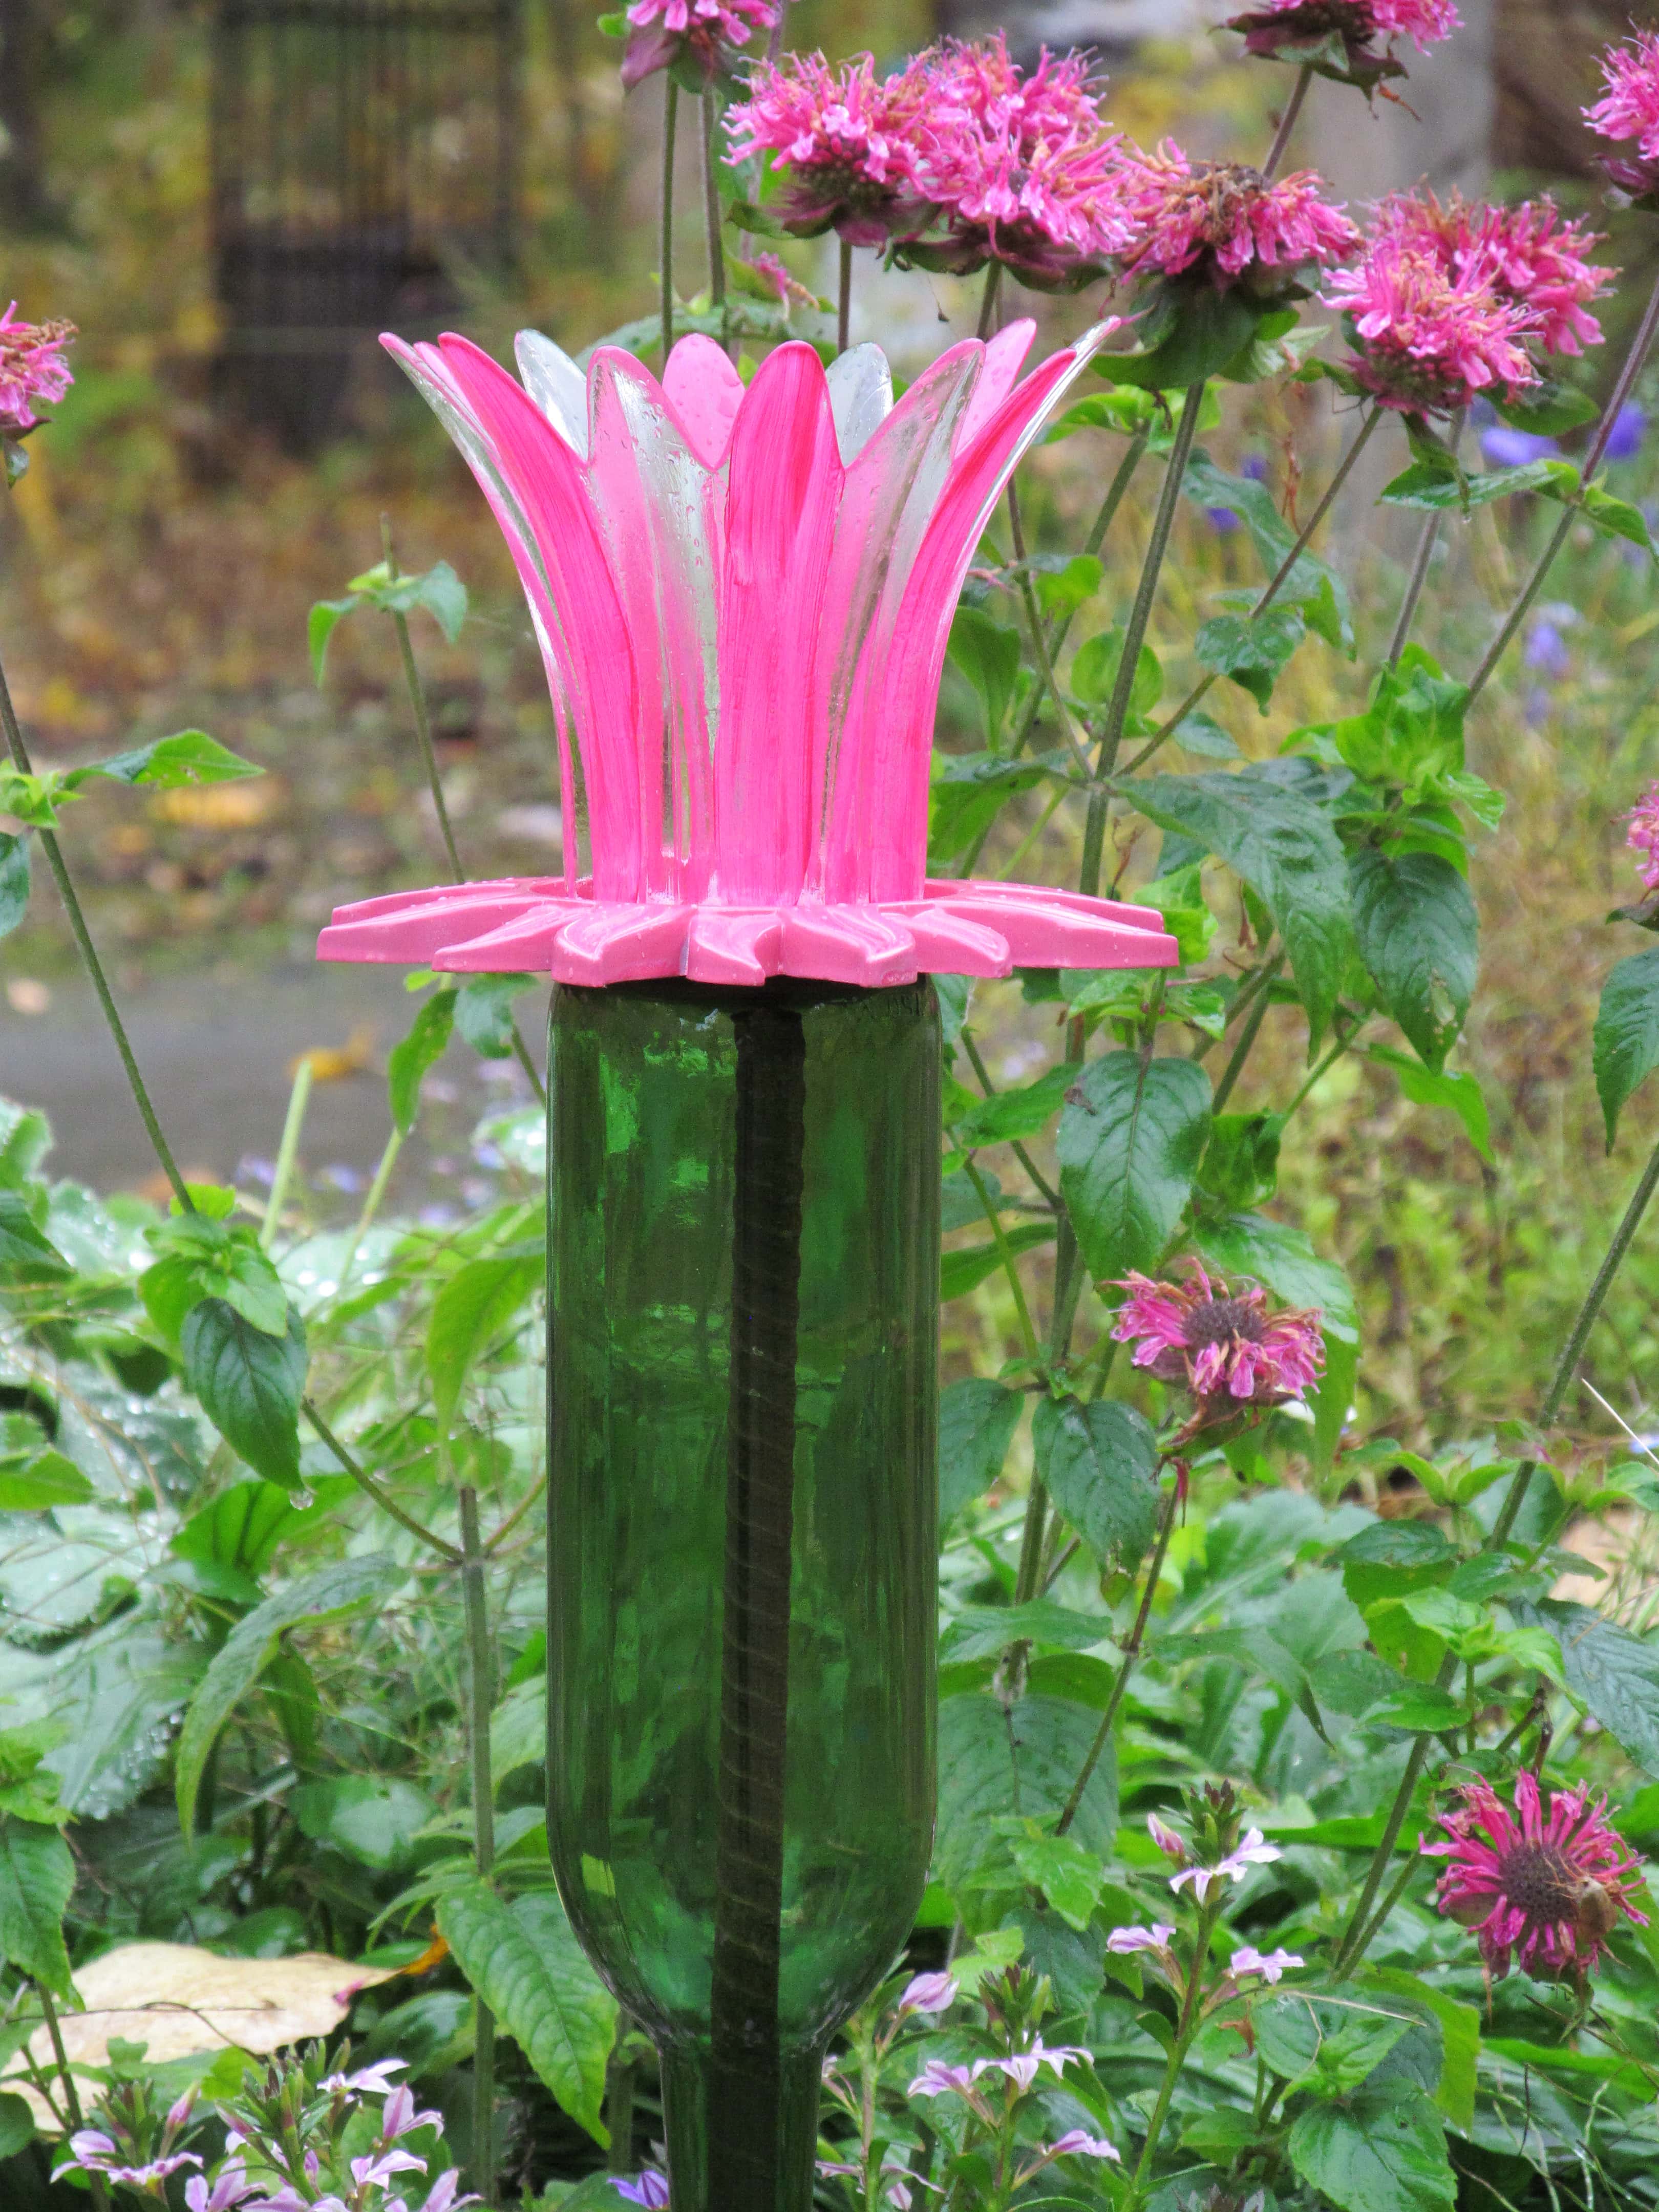
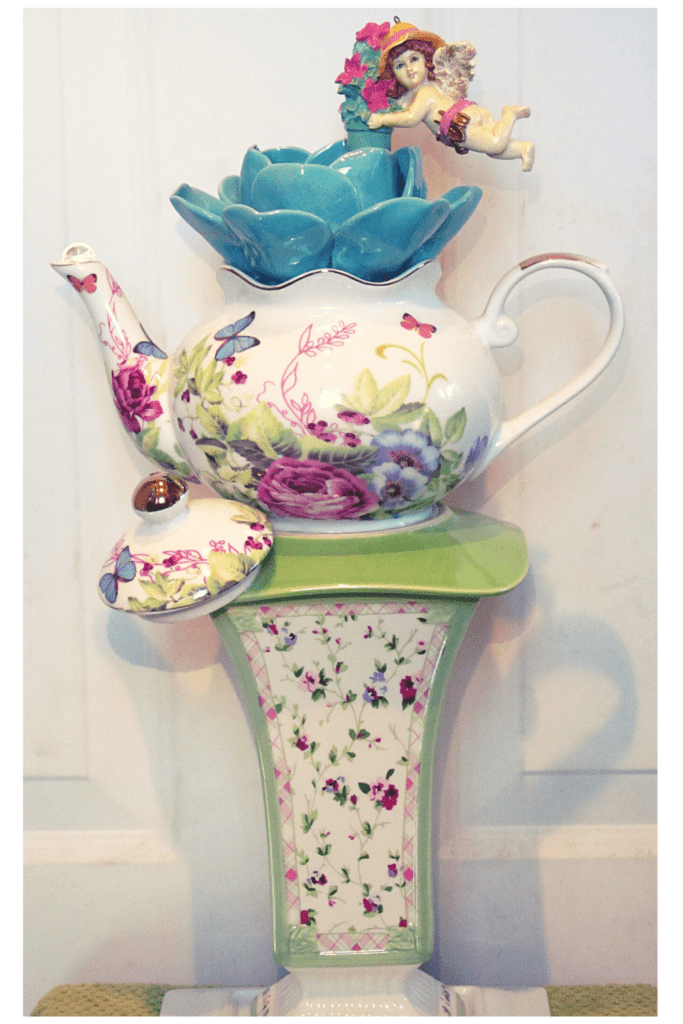
TIP: Browse through the candle ware at the thrift store. There’s all kinds of wonderful decorative items that will make a great center piece for your garden art flower. Or maybe a tea cup and saucer?
Bring ceramic plates to life
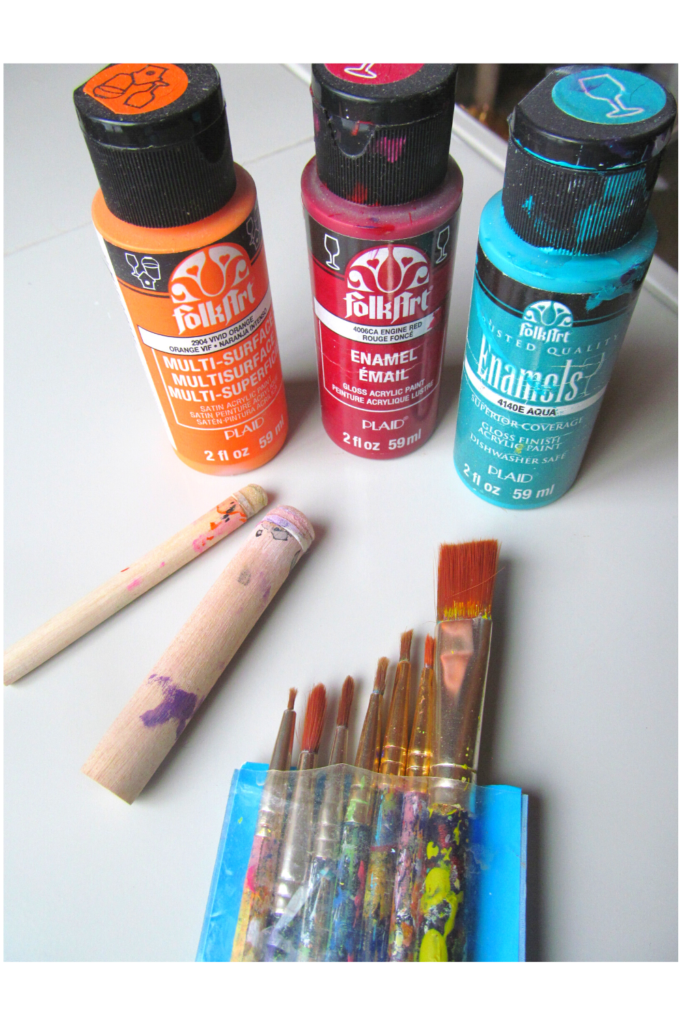
If you wish, you may add some delightful painted accents to any solid-colored ceramic plates. Even something as simple as polka dots gives a dose of the whimsical to an otherwise ordinary plate. Practice your imagination without reserve. If you don’t like the way the paint looks, just wash it off!
TIP: Use a dauber for perfect polka dots or cheap paint brushes to make stripes or other designs

The Right Paint for Garden Art Flowers
Use only Gloss ENAMEL craft paint as it endures the weather without fading or washing off (once it’s fully cured, that is!) To speed the curing process, painted plates can be baked in the oven. 350 degrees for 20 minutes–or according to directions on the bottle.
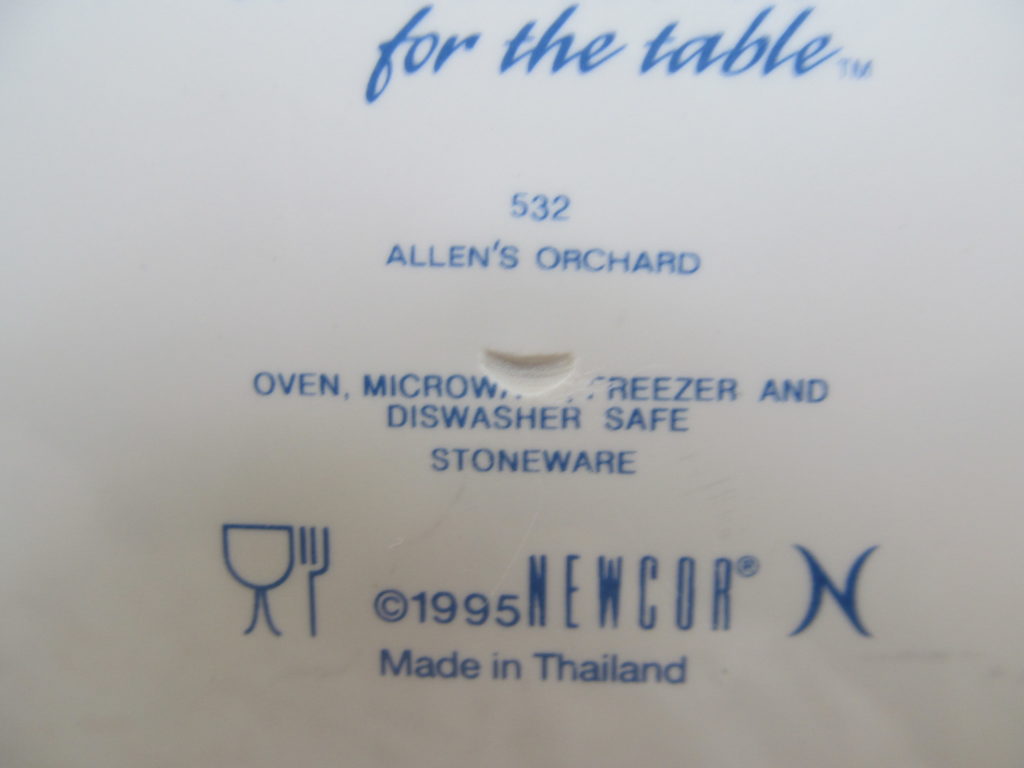
*Important: Check the backside of the plate to ensure it’s oven safe. Place the plate in a cool oven and let it heat up gradually. When done, turn off the oven and allow the plate to cool down gradually, too.
PART 2: Methods of Assembly
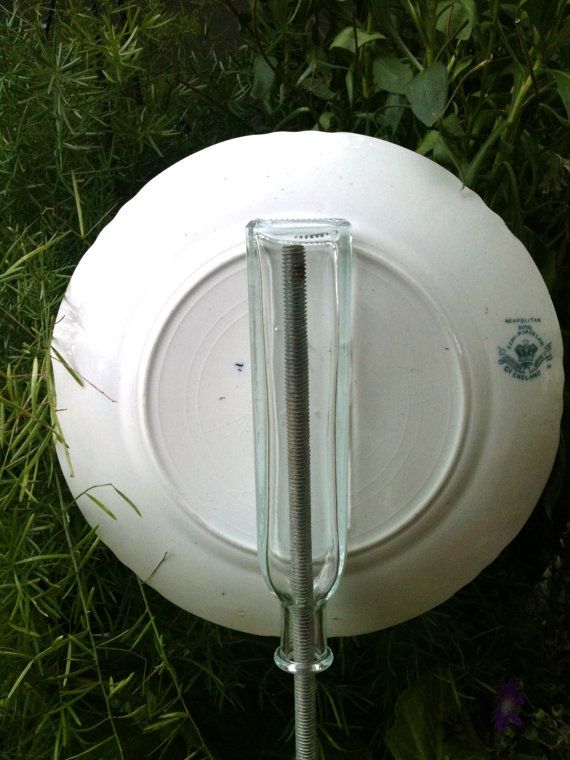
As mentioned above, different crafters use different methods to attach the flower head to the post. NOTE: I have not personally tried them, but included them here as an alternative if you prefer.
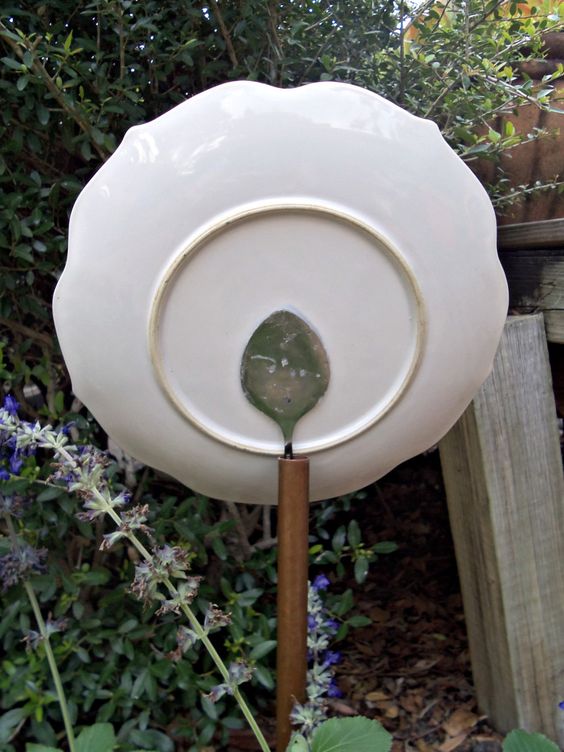
The drill method explained
As an artist who makes and sells handmade Garden Art Flowers, I promote the drill method. In my experience, it’s more secure for the weight of all those dishes than gluing some type of attachment to the backside of the plates.
Ceramic plates are quite easy to drill and rarely break.
Based on my experience, it’s the most secure way, though admittedly, a bit more involved. Ceramic plates are quite heavy when put together. In hot summer climates, the plates absorb heat from the sun causing glue to fail. However, 100% silicone has a very high heat threshold and should hold up just fine in your area if you choose not to use the drill method. Learn more here: “Straight Talk About Glue and Garden Art”
Drilling takes some practice, but you can do it! To be quite honest, it was a big learning curve for me. And I was a little intimidated, too…but determined.
The good news, is that if you’ve never drilled a plate before, relax! Ceramic plates are the sturdiest plates to practice on. Much easier than glass which can be finicky.
Although I use the word “drill” it’s more accurate to say “grinding”. It’s a gradual process that takes a few minutes –possibly 10-15 minutes– depending on the substance of the plate and the power of your cordless drill.
Directions for drilling a plate
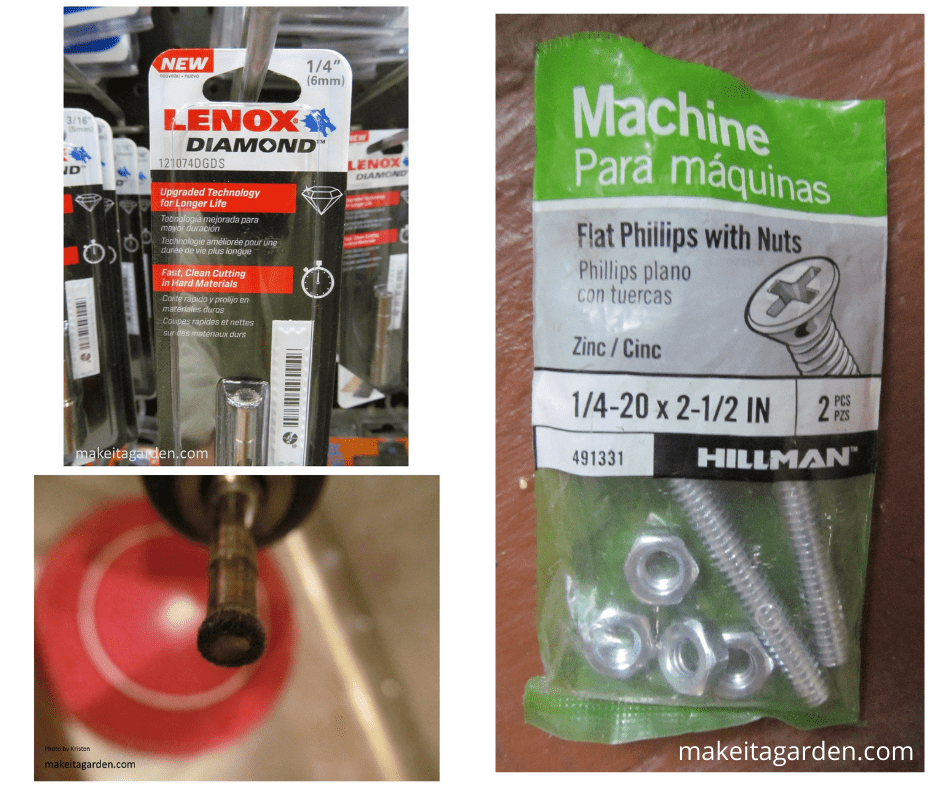
For this stage of the process you’ll need:
- Cordless Drill
- 1/4″ round Diamond tipped drill bit
- 2pc package Machine Screws. 1/4-20 x 2-1/2
Drill ONLY the large dinner plate. The other pieces of your garden art flower can be glued on. They are lighter in weight and perfectly secured by the glue.
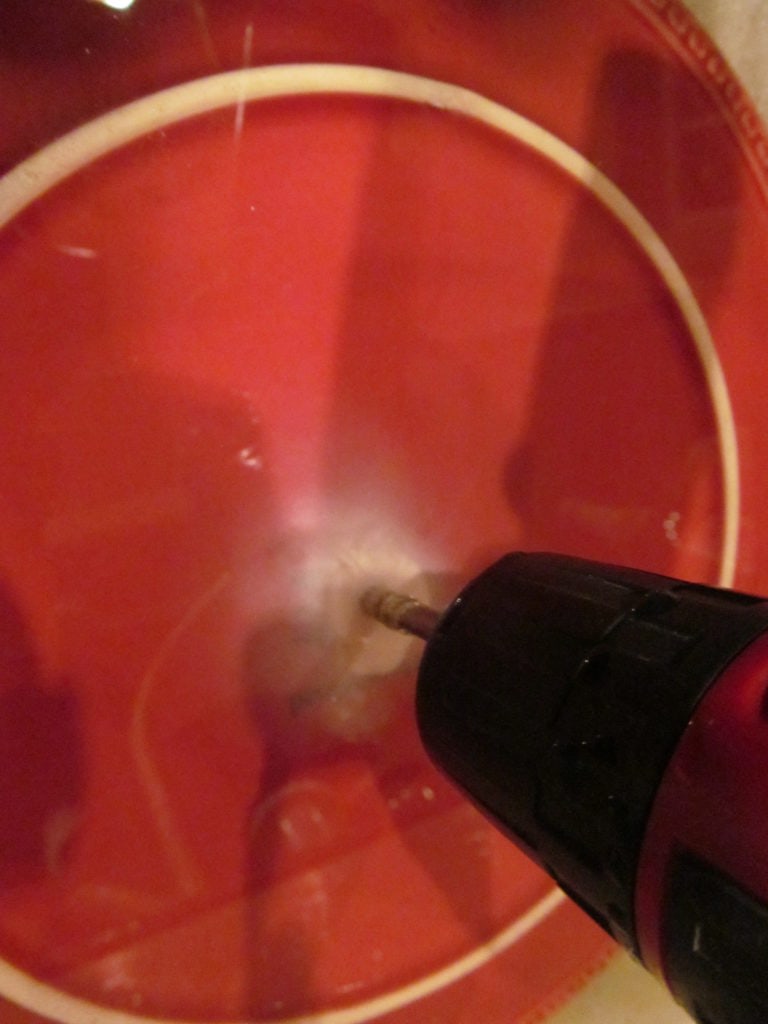
Always drill your plate (just the large, dinner plate) under 1/8″ of cold water. A lot of heat is generated by the friction against the plate and cold water cools the drill tip and prevents the plate from breaking.
I find it easiest to do this in my sink, but you could use any pan or shallow plastic tote that accommodates the dinner plate when laid flat. Use an old dish towel to protect your sink.
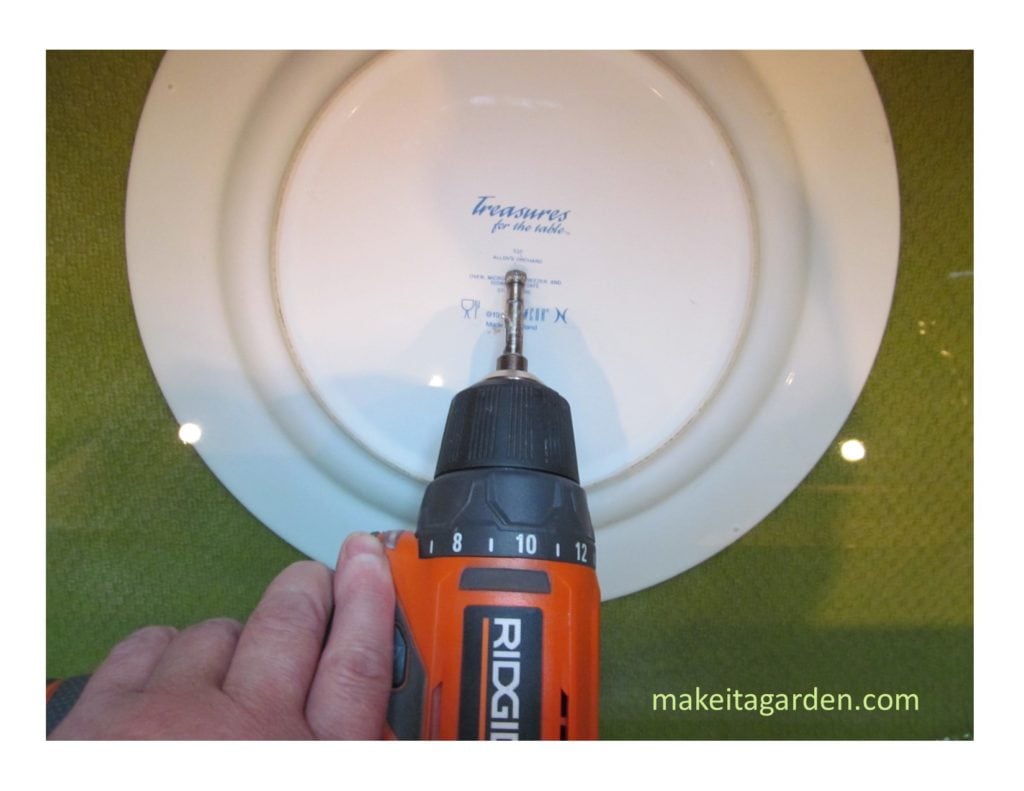
IMPORTANT! Turn the plate upside down so you see the back of the plate. In this concave position, the surface of the plate is above the bottom of sink, proving a gap in between. You’ll know instantly when you’ve drilled through the plate without damaging the sink. But if you’re still concerned, do your drilling in some other container.
*Warning: CORELLE Brand plates. DO NOT attempt to drill Corelle brand plates. They are much too thin. They cannot withstand the pressure and will break!
Drilling tips
Insert the circular drill tip. Hold the drill at a 45 degree angle so the side of the tip is against the plate. Start the drill slowly while pressing the tip against the plate. It will rock back and forth a little bit, but in no time, it will create a little half-moon pocket.
The “pocket” will hold the drill tip in place when you resume drilling. Once that little divot is established, slowly raise the drill upwards holding it straight up and down with the tip fully in contact with the surface of the plate. DO NOT push down or use extra force while drilling. The weight of the drill is enough. Just be patient.
Part 3: Glue the plates together
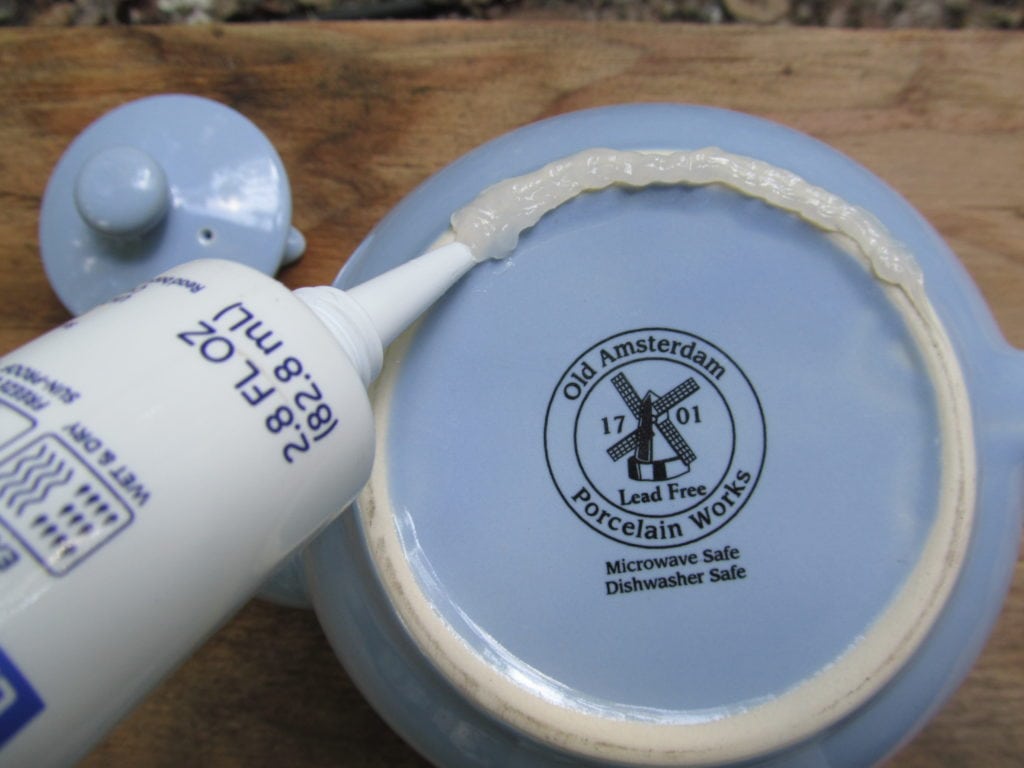
After drilling the hole, hand wash and dry the plates for your garden art flower. Insert the 1/4″ machine screw through the hole of the dinner plate. With the screw inserted, set the plate on a flat even surface that supports the flower head piece during construction; a vase, flower pot, small mixing bowl, kettle or serving dish etc.

Use 100% silicone to affix the smaller salad-sized plate to the dinner plate. Press down lightly for good contact and to release air bubbles. The photo below shows how to apply the silicone.
Wait a bit before adding your final center piece. Allow the completed flower head to completely cure 3 days before fastening it to the post and displaying out in your garden
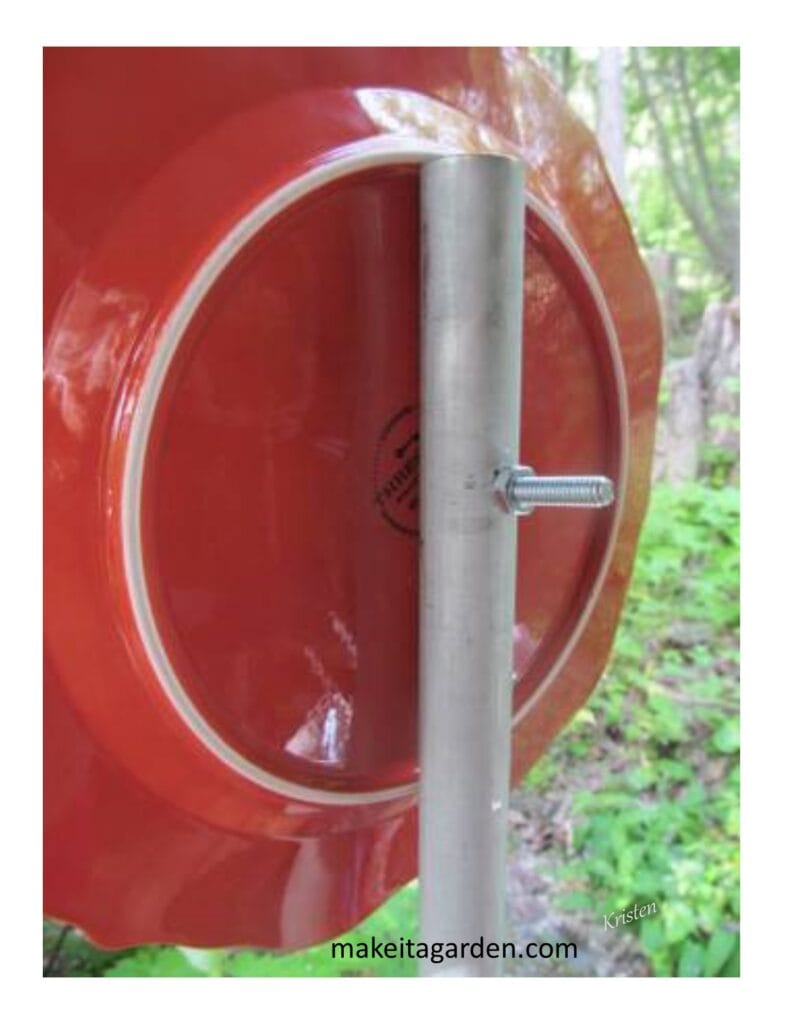
PART 4: Mount your art piece on the post
Use 3/4″ galvanized plumbing conduit for the post. (TIP: Lowes sells conduit in 5ft length) Conduit is strong, won’t rust and is fairly cheap. 3/4″ diameter provides a bit more stability as garden art flowers tend to be top heavy.
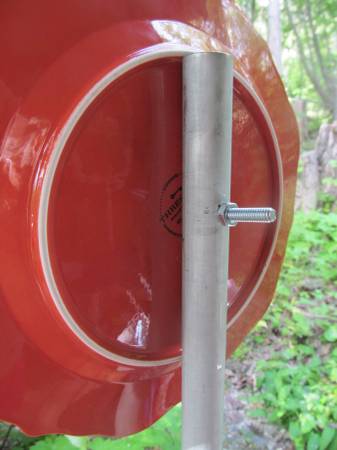
Use a simple hacksaw to cut the post to the desired length. Keep in mind about 1ft will go into the ground. Drill a hole through the post using a 1/4″ regular drill bit. You may wish to hold the flower head against the post to mark position of your drill hole. IMPORTANT: Use a file to file off the sharp barbs on the exit hole.
Remove the flower head while positioning your post. For extra security, pound a length of rebar into the ground and slip your post right over the top. Attach the flower head to the post and tighten the nut. IMPORTANT: Do not tighten too much or the pressure will crack the plate. Just snug enough so the plate does not turn on the post.
Enjoy your new garden art that you made yourself!
Questions or Comments?
I’m always available to answer any questions you may have about making garden art flowers, totems or any of the crafts we feature at Make it a Garden. Thanks for dropping by!

More re-purposed garden art
The form you have selected does not exist.
Thank you for such an easy to follow,non intimidating video.cant wait to try
Appreciate the feedback. Lets me know if I’m on the right track or not. Reach out again if you have any questions. I’m always happy to help. Enjoy making something beautiful for your garden!