
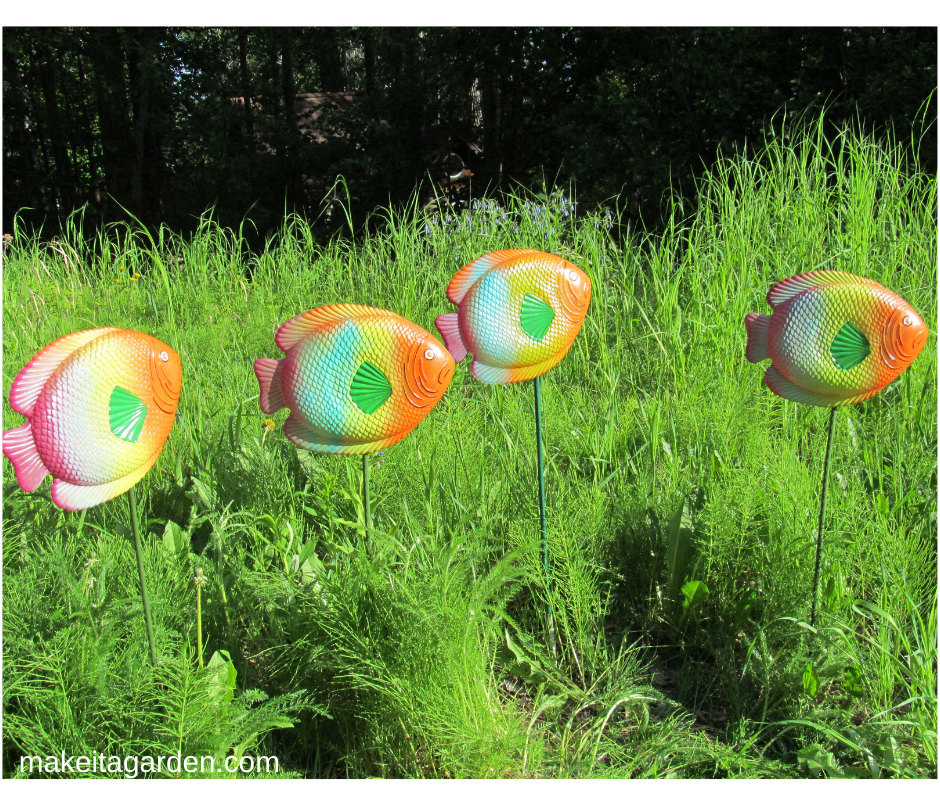
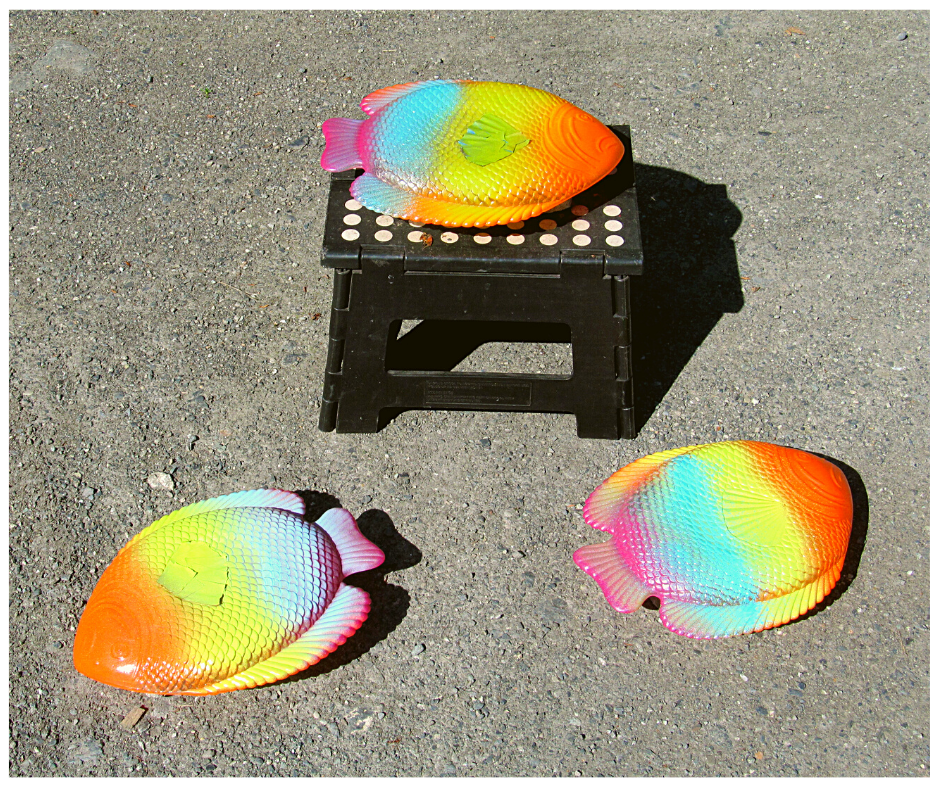
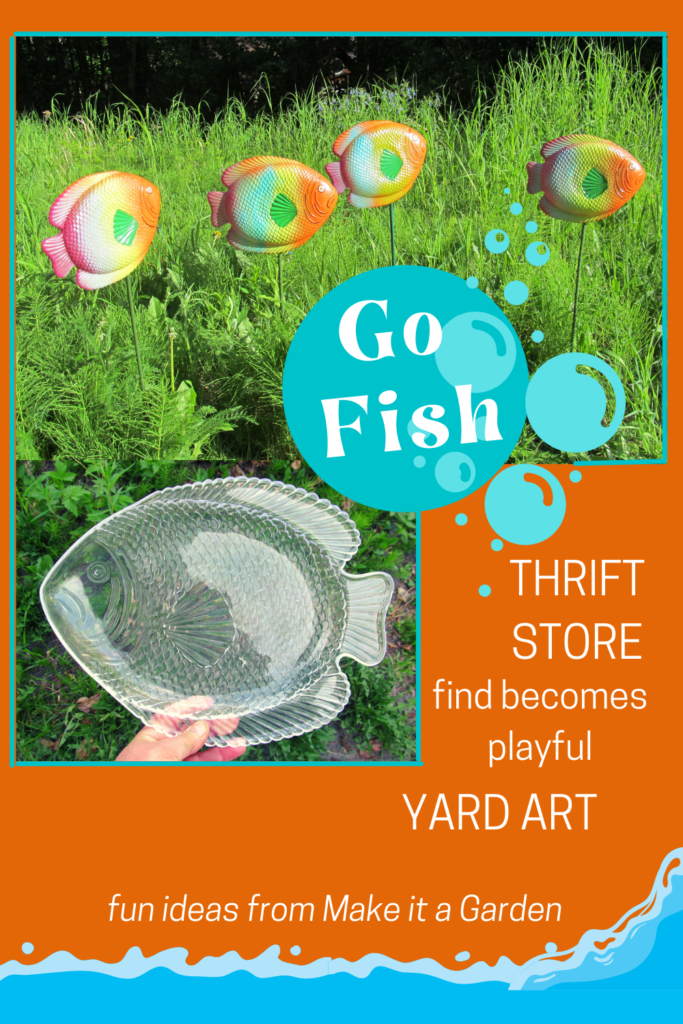
There’s nothing more whimsical than a school of fish swimming through your garden. They look especially nice when combined with a dry stream bed. But the upscale metal ones you always see on on-line garden sites or summer craft shows come with a price tag. Although I could afford one, you need more than one to achieve the effect.
Thrifty yard art
One day while shopping at my favorite local thrift store, I found some clear plastic platters in the shape of fish. Four of them to be exact. Four for two dollars! I’m thinking hmmmmm….. the gears are turning, the creative juices start flowing and suddenly I’m wondering how I could make these little plates work as garden art?
Here’s what I came up with:
AGE LEVEL: This thrifty yard art project is EASY for anyone in any age group. Kids to seniors. The hardest part will be getting the caps off the spray paint!
MATERIALS
- Fish Platters, 3-4 (the clear plastic kind)
- Spray paint, several colors (or just gray/silver for a more natural looking fish)
- Black Paint marker/medium (OPTIONAL) & small bottle of craft paint (OPTIONAL)
- Garden stakes (aluminum, the skinny ones)
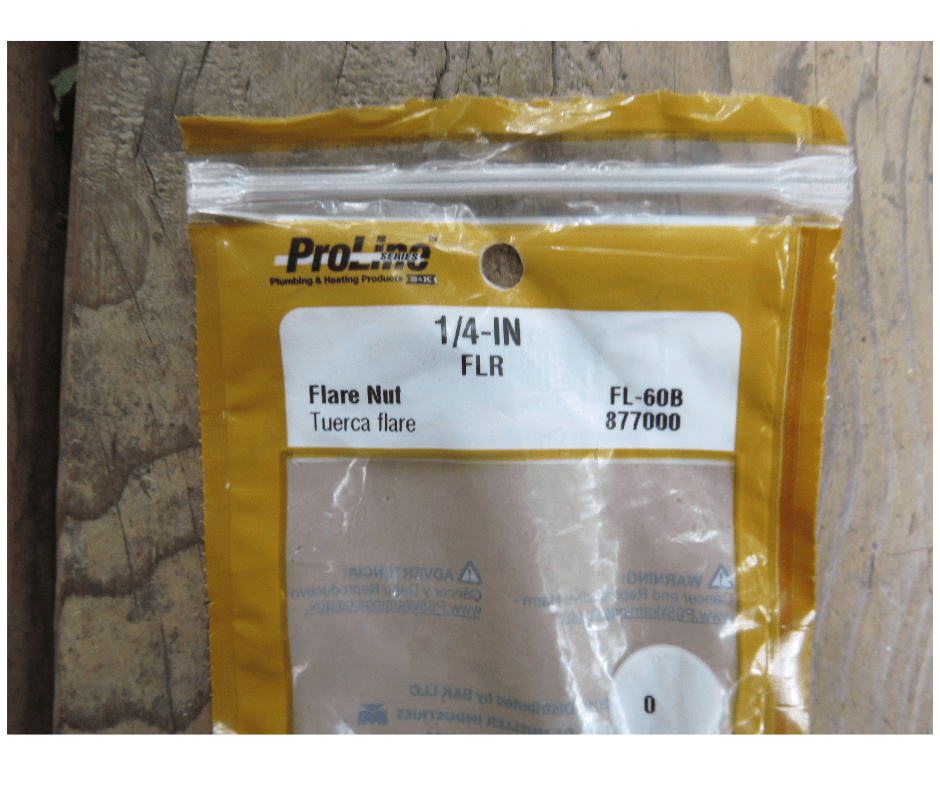
- Attachment piece (Flair Nut, OR something that fits diameter of stake)
- Any Exterior Adhesive (I used GE 100% silicone)
Directions
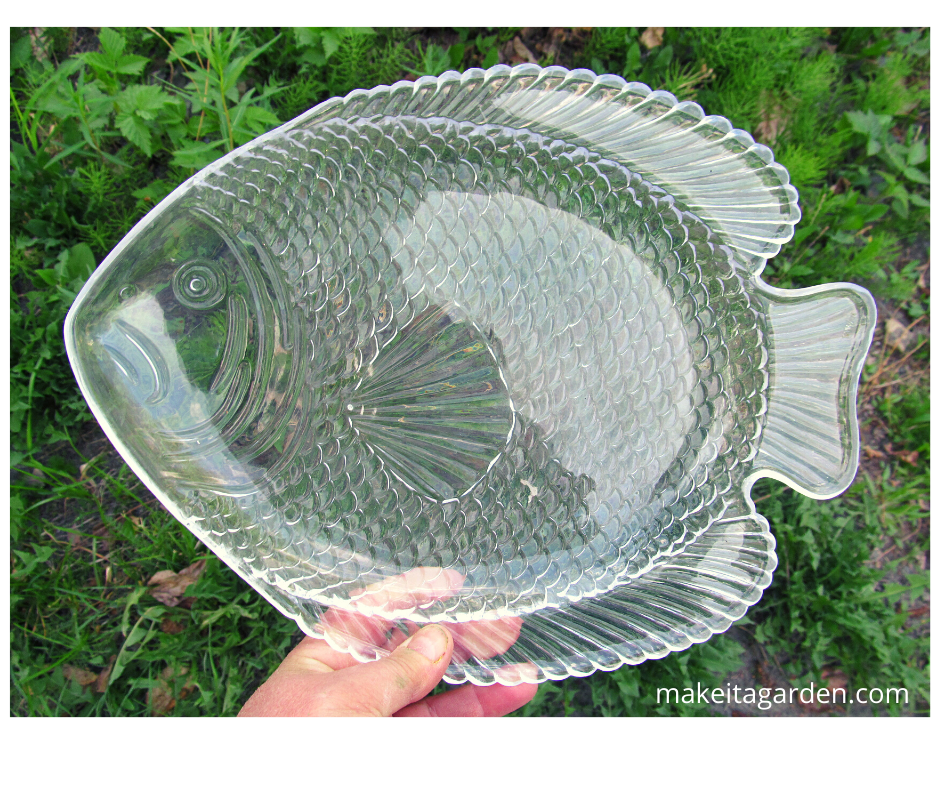
STEP 1: Wash the plates well in hot soapy water. Make sure all the gummy residue from the price tag comes off. Your paint job will look so much better. Anything greasy or grimy or gooey will take away from the beauty of the finished product, and the paint won’t stick.
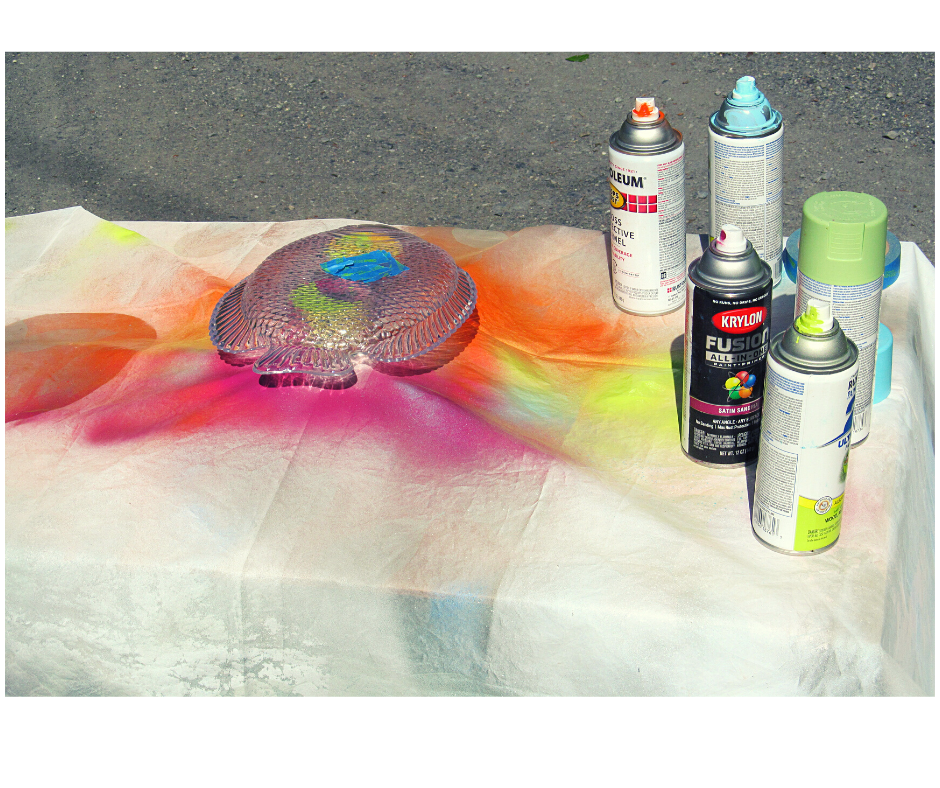
STEP 2: Choose your spray paint colors and set up a table outside if possible. (or garage). I made a little project table from a half-sheet of 1/4″ plywood set on 5 gallon buckets. Then, I used an old shower curtain to cover the board as I didn’t want to get paint on it.
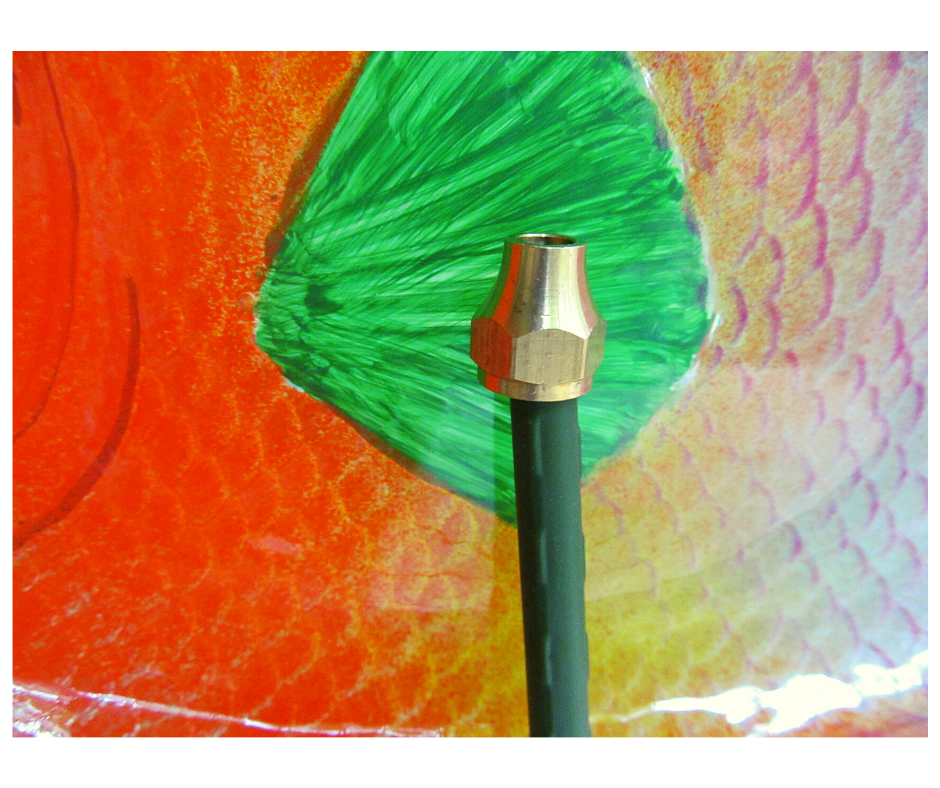
Place a small block of wood under the fish plate to lift it up off the table surface before applying paint.
Optional: I chose to cover the side fins on my fish with painters tape so I could paint them separate later on with a craft paint to make them stand out.
STEP 3: Only Paint ONE SIDE of the fish plate. Why? Two reasons: 1) Because the plate is clear plastic and the color fully comes thru on the backside. 2) Another reason not to paint the backside is so that the sunlight shines through it, which gives the painted side a wonderfully lustrous sheen!
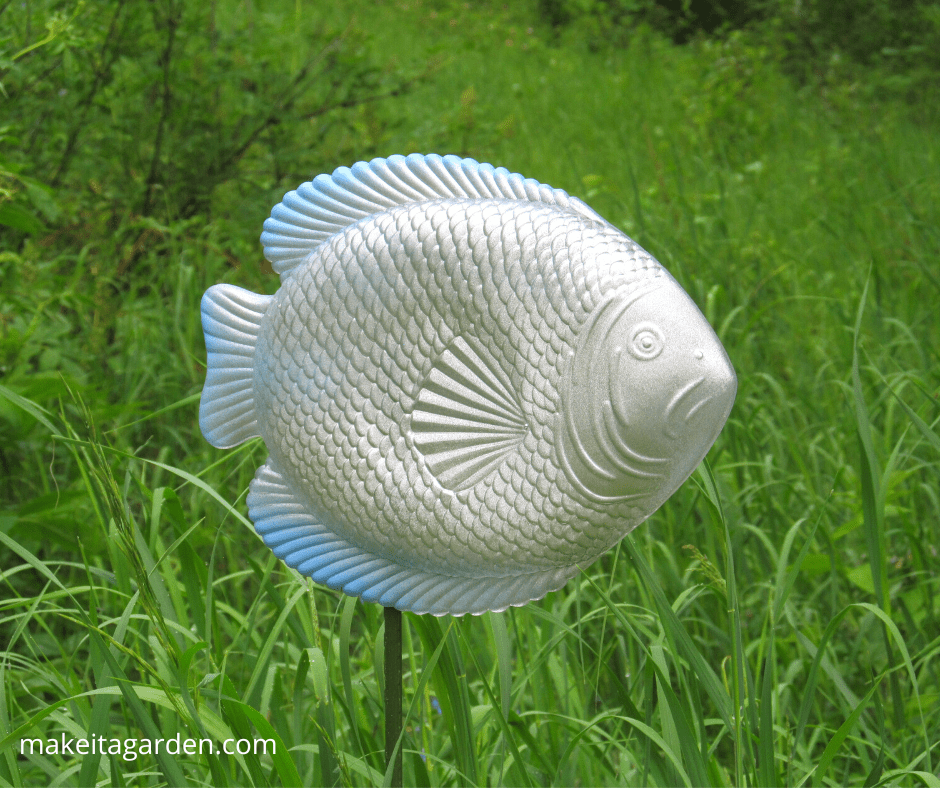
COLOR IDEAS: Use your imagination! I painted mine to look like gold fish. My front yard has a lot of tall green grass and I wanted these to really stand out, so I used bold colors. If you prefer a more natural looking fish, OR one with a metal appearance, use gray or silver (or both). You may wish to experiment with over lapping the spray paint (allowing some ‘overspray’)–as I did.
TIP: this may be a good way to use up some left over spray paint out in the garage. You won’t need a whole lot anyway. See if you can use what you have on hand before buying anything.
fish outta water
STEP 4: Add Details: Once the paint is completely dry, use the black paint marker to add details that give your fish life-like features.
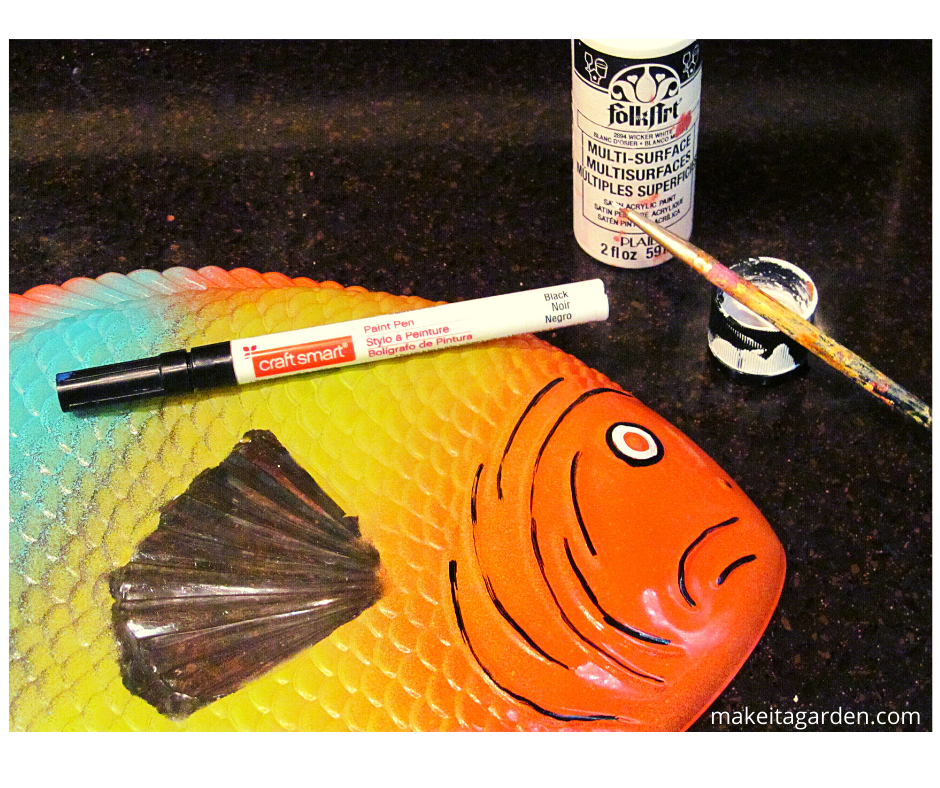
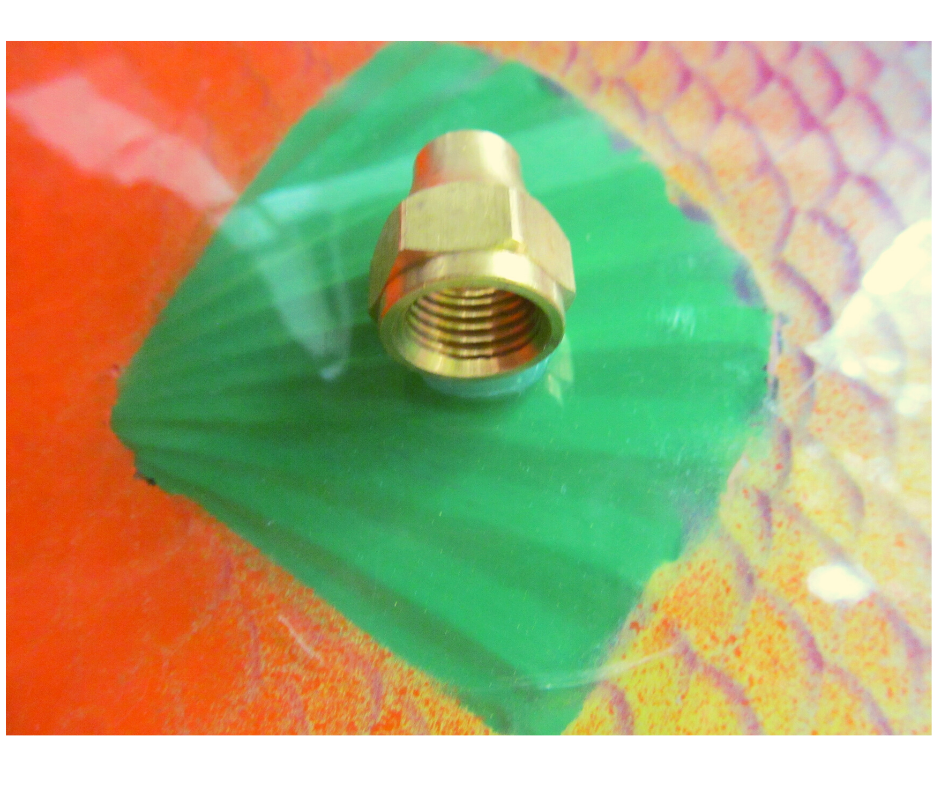
STEP 5: ADD the attachment for the garden stake. I used a 1/4 inch plumbing flair nut glued to the backside of the fish plate using 100% silicone. Make sure the garden stake fits snugly inside the diameter of the the flair nut (or whatever you end up using).

STEP 6: ATTACH the aluminum garden stake. You can use wood, but aluminum lasts a lot longer. Aluminum is super easy to cut with a hack saw if you want a shorter length for your fish.
Final thoughts
Please let me know in the comments how the project turned out for you!
I get a kick out of making my own garden art. It’s fun to see what I can do on the cheap and yet end up with something that brings smiles. There’s the challenge of figuring out how to make something work. Then, learning about color combinations and good spray paint techniques. So, I hope you’ll get lots of compliments for being so “creative” and “clever”. As for this thrifty yard art project, I’d say it’s a splashing success!
Before you go, please accept my invite to join our growing garden and art lovers community. Scroll down a bit to sign up. Thanks for dropping by and hope to see ya soon!

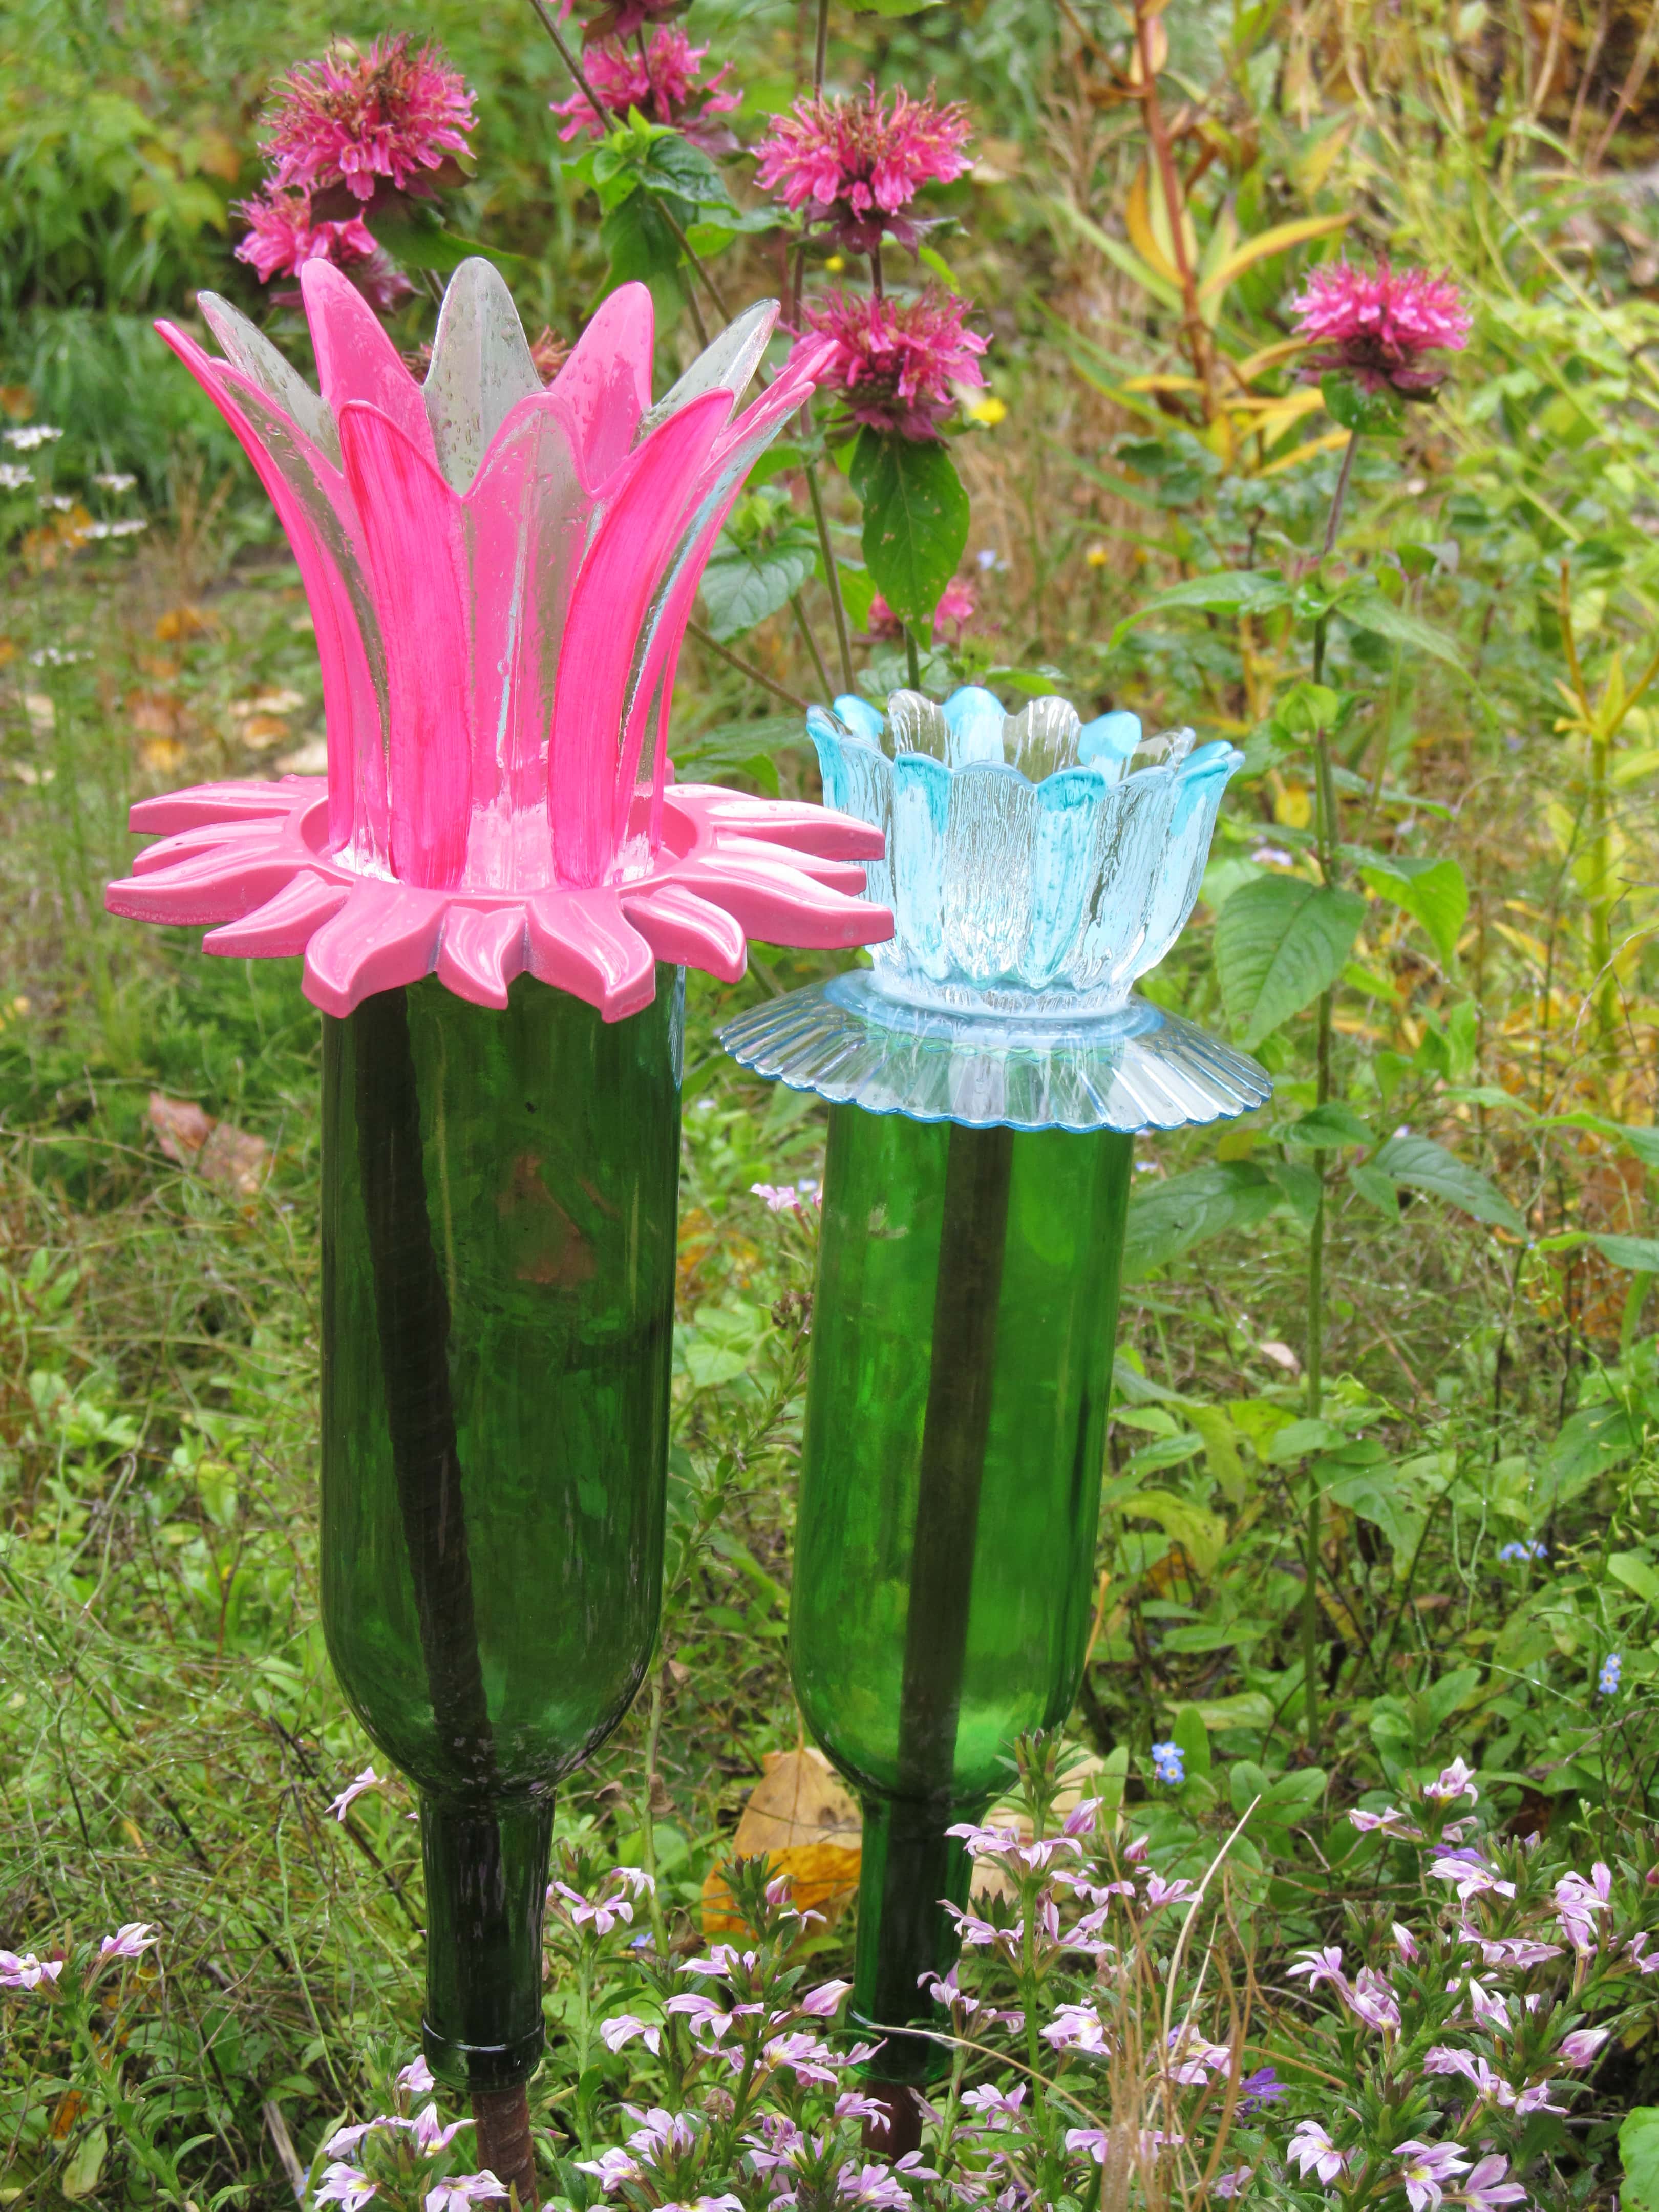
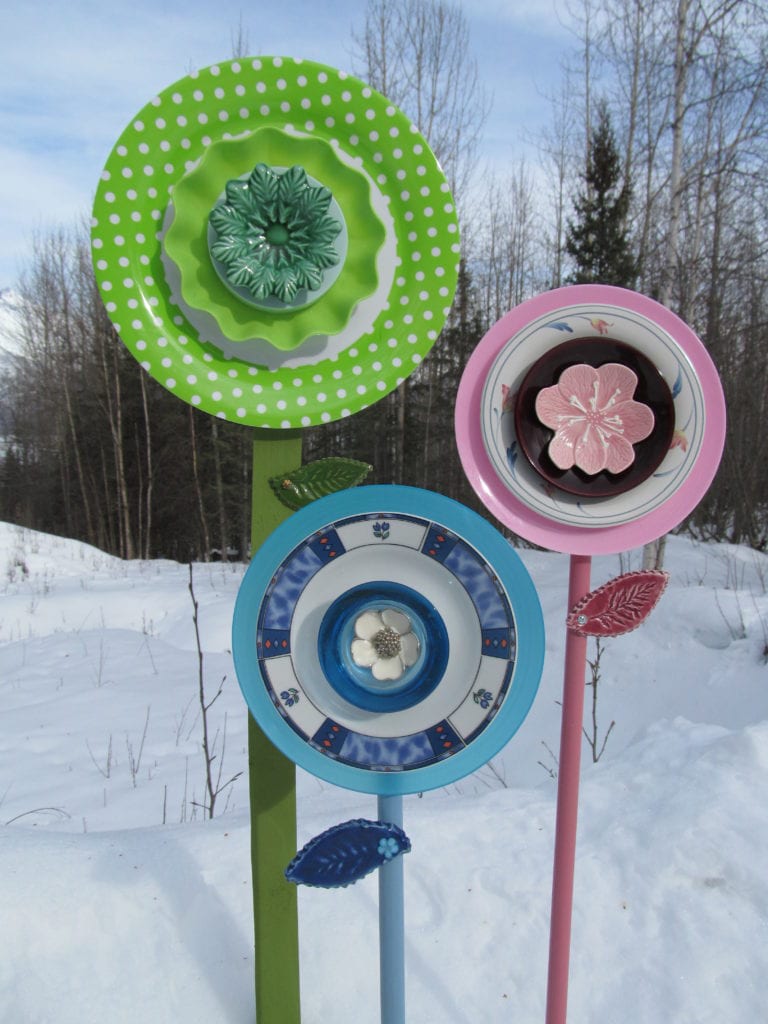
More thrifty yard art to make

The form you have selected does not exist.
Hello.
I am searching for the directions on how to drill and attach the hockey puck idea to the glass sculptures. I cannot find md these directions.
Gail
If you are talking about drilling the plate so that the machine screw or bolt goes through the plate and the hockey puck, here’s the link to my tutorial on drilling which includes a video demonstration: https://makeitagarden.com/how-to-drill-a-plate-for-garden-art/. I don’t use the hockey puck method, but am certain you could drill it with a regular drill bit. (don’t use a glass bit on the hockey puck) Just make sure the size of the bit matches for both the plate and the puck. Hope this answers your question!
Kris, you’ve inspired me! Question on the school of fish plate project. Did you paint the inside (side we would eat from) or the bumpy back side (outside) of the plates?
Thanks for visiting my site! I painted the outside–texture side, but not the smooth side so the light would shine though it better to highlight the fish. This was such a FUN project and the fish look so whimsical swimming through the grass or flower garden…wherever you place them!