DIY Holiday Crafts
Who’s the most famous reindeer of all?
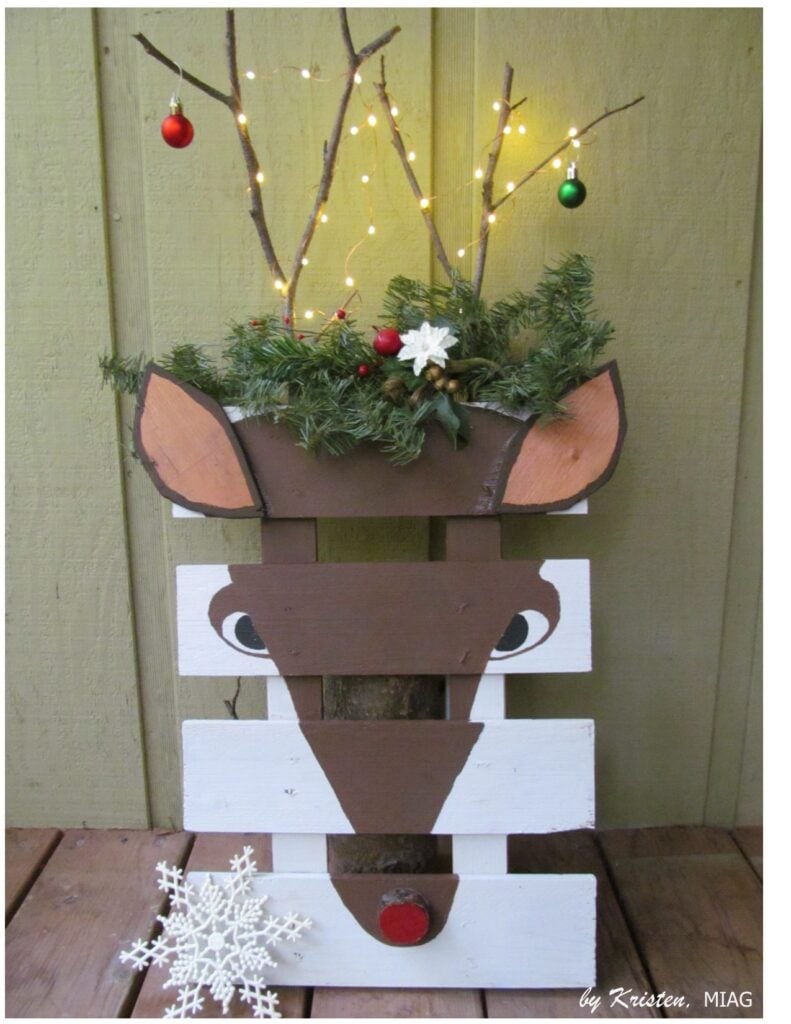
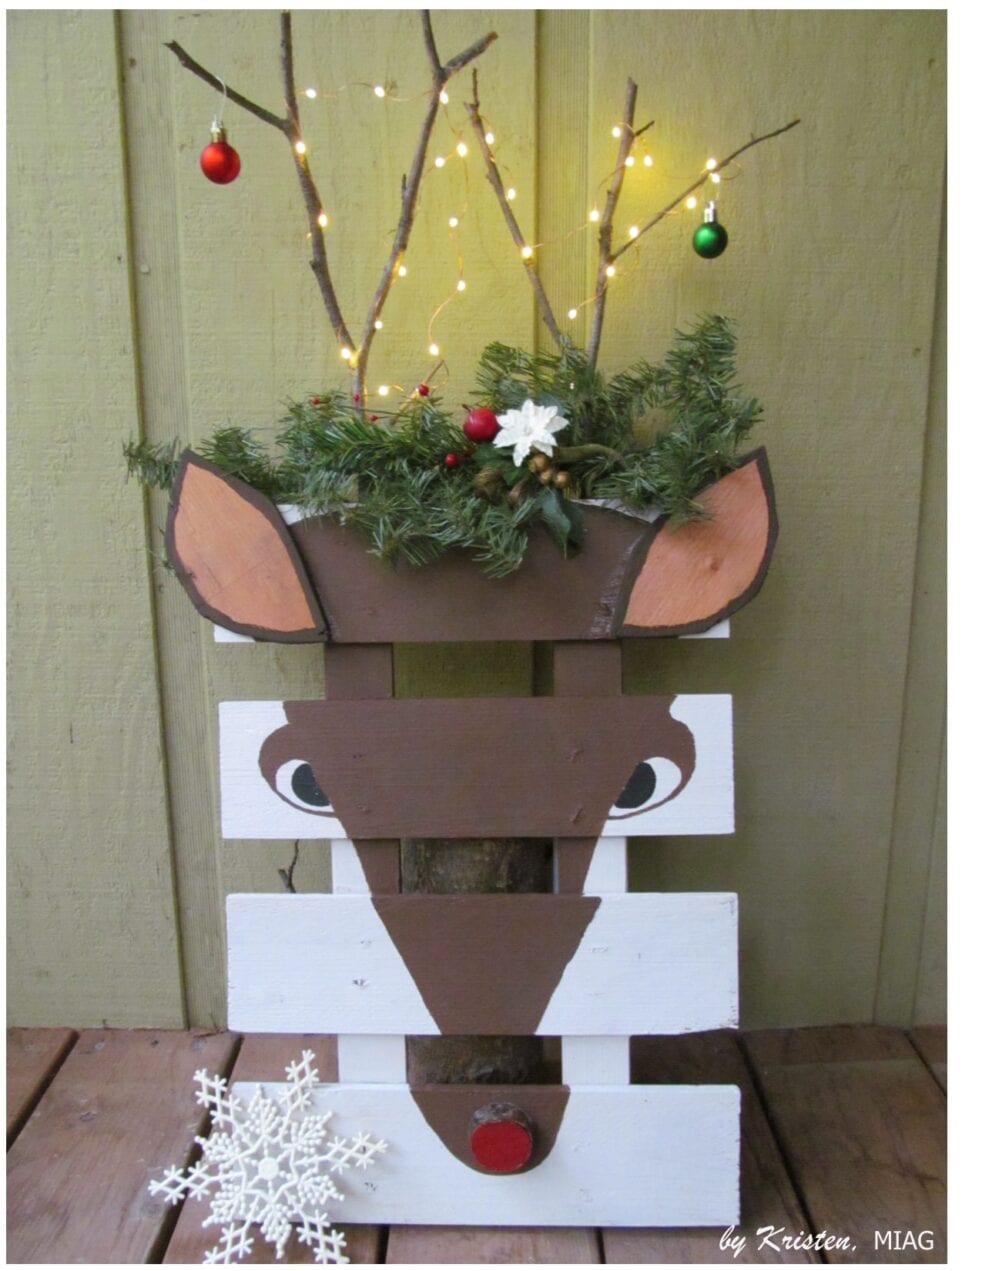
This Holiday Season, make your own version of Rudolf with this wood pallet reindeer craft. Use indoors or proudly display on the front porch to greet family and friends.
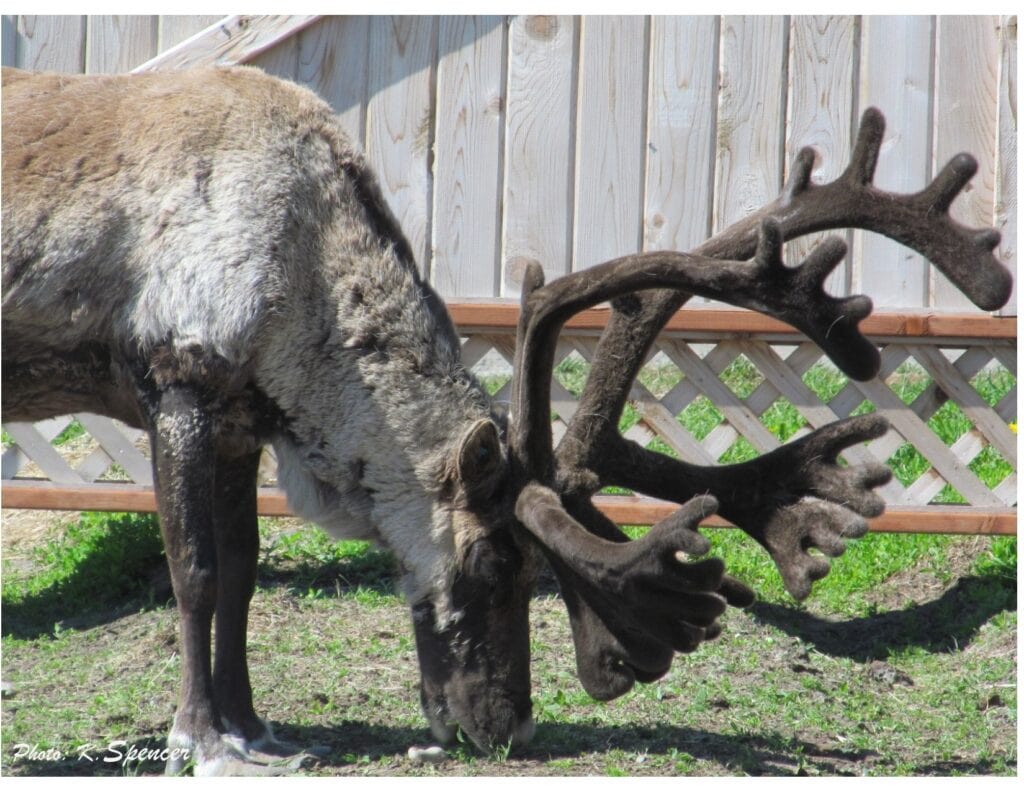
FUN FACT: Reindeer and caribou are the same animal. In Europe, they are typically referred to as “reindeer”. In North America, they’re called “caribou”. Also, if it’s in the ‘wild’, we say “Caribou”. If we’re talking about a domesticated animal, we say “reindeer”. Both the male and the female grow antlers.
List of Materials
- 1 pallet
- medium grit sandpaper
- craft paint & brushes
- black or brown sharpie marker
- scrap 1/4″ plywood
- wood glue
- googly eyes (optional)
- sticks for antlers
- Holiday mini lights (battery-powered)
DIY Wood Pallet Reindeer
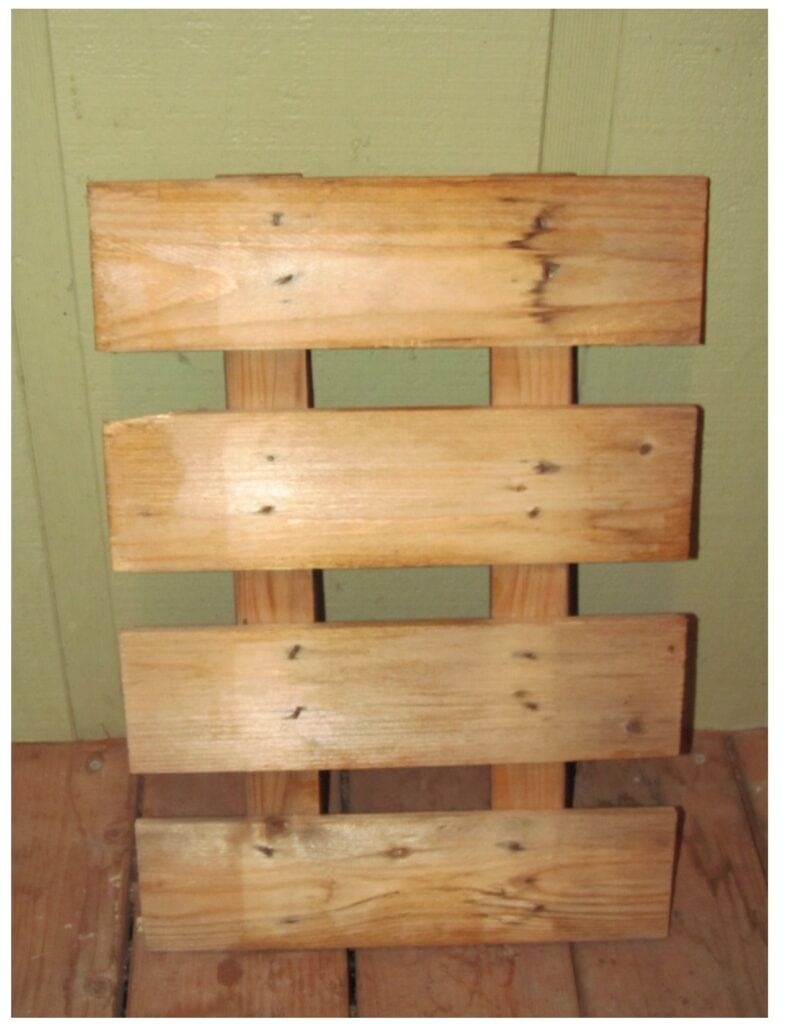
As far as pallet art goes, this holiday craft is mostly painting with very little cutting. I was lucky to find a smaller pallet slat that had been part of a wooden display bin at the local hardware store. They usually throw them into the trash compactor, but I saw this one, and asked if I could have it.
If you use a regular shipping pallet, your reindeer will be larger than the one I’m making here…but it’s the same process.
NOTE: If you have a power saw, you can easily cut out a smaller panel from a standard shipping pallet. Since they are double-sided, you’ll get two panels from one pallet.
STEP 1- Prep the pallet
sand and paint
Use an electric sander or hand-sand the rough edges and slivers using medium grit sand paper. As a safety measure, examine the pallet to make sure no nails or staples are protruding. You don’t want little fingers to get hurt.
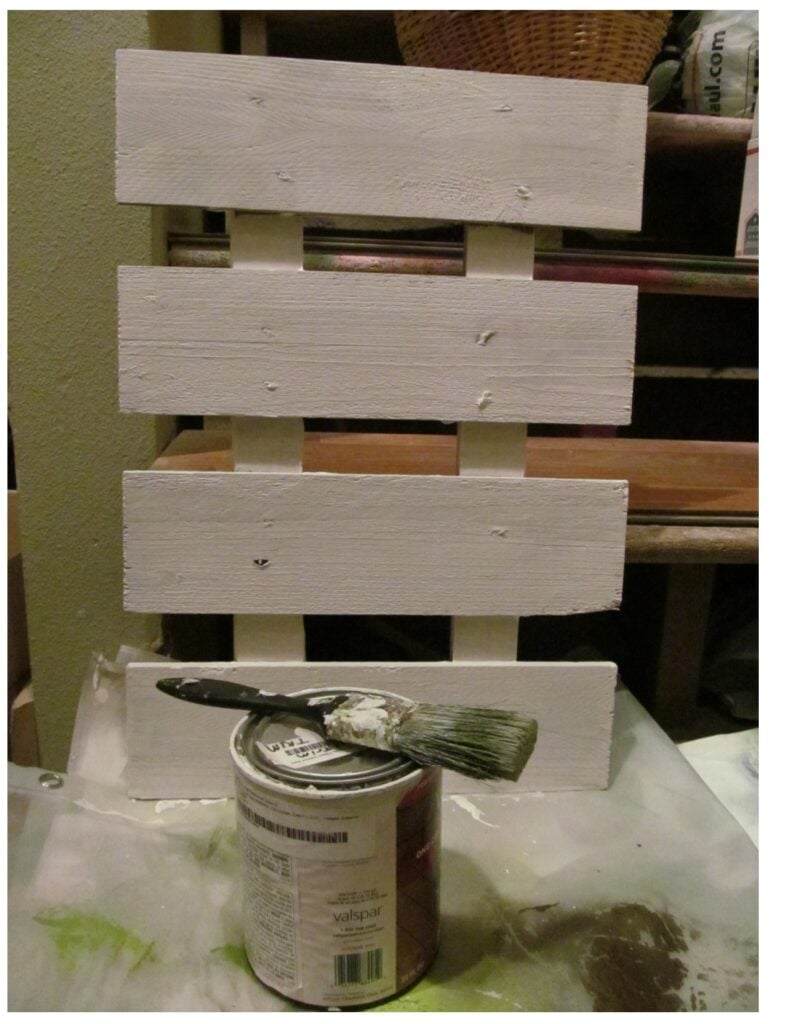
Wipe off the dust and paint the entire surface with white craft paint. The white will look like snow and make the reindeer stand out. You may need to apply a 2nd coat. Paint just one side. There’s no need to do the backside.
STEP 2
Draw the Head
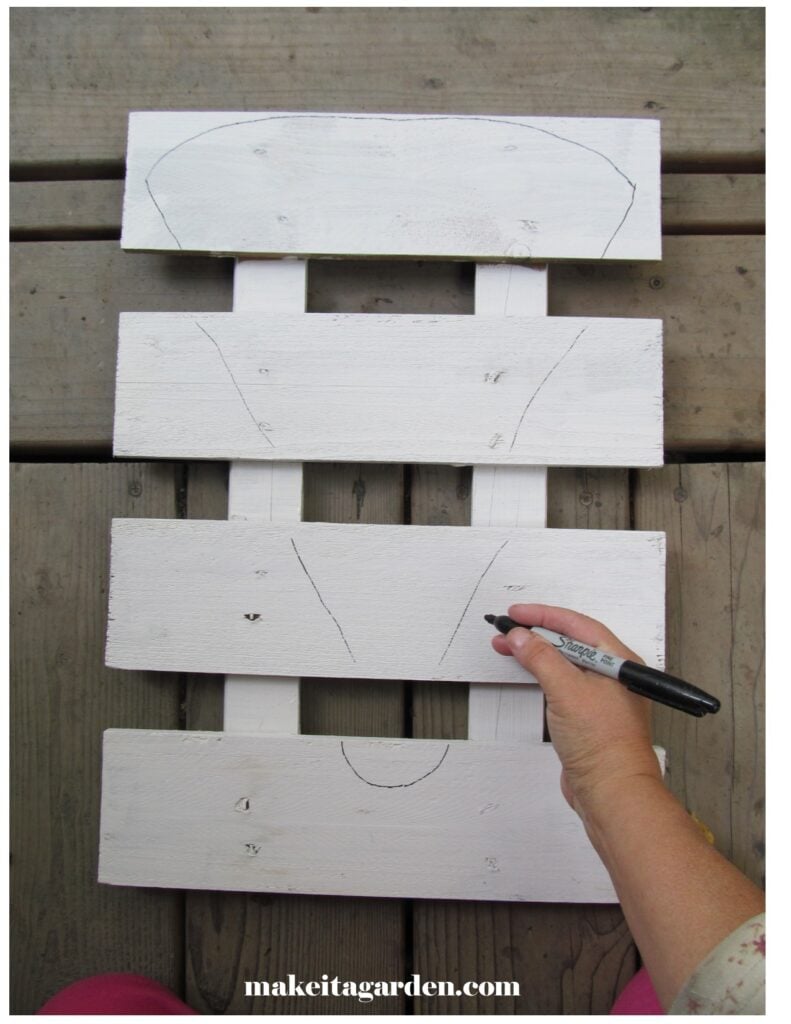
Here’s where I confess I am NOT an artist! That’s why I start with simple shapes. Use a sharpie marker to loosely sketch an inverted triangle. Use as much of the pallet surface as possible for the reindeer’s head.
It doesn’t have to be perfect. You can make corrections and adjustments by covering over with paint as you go along.
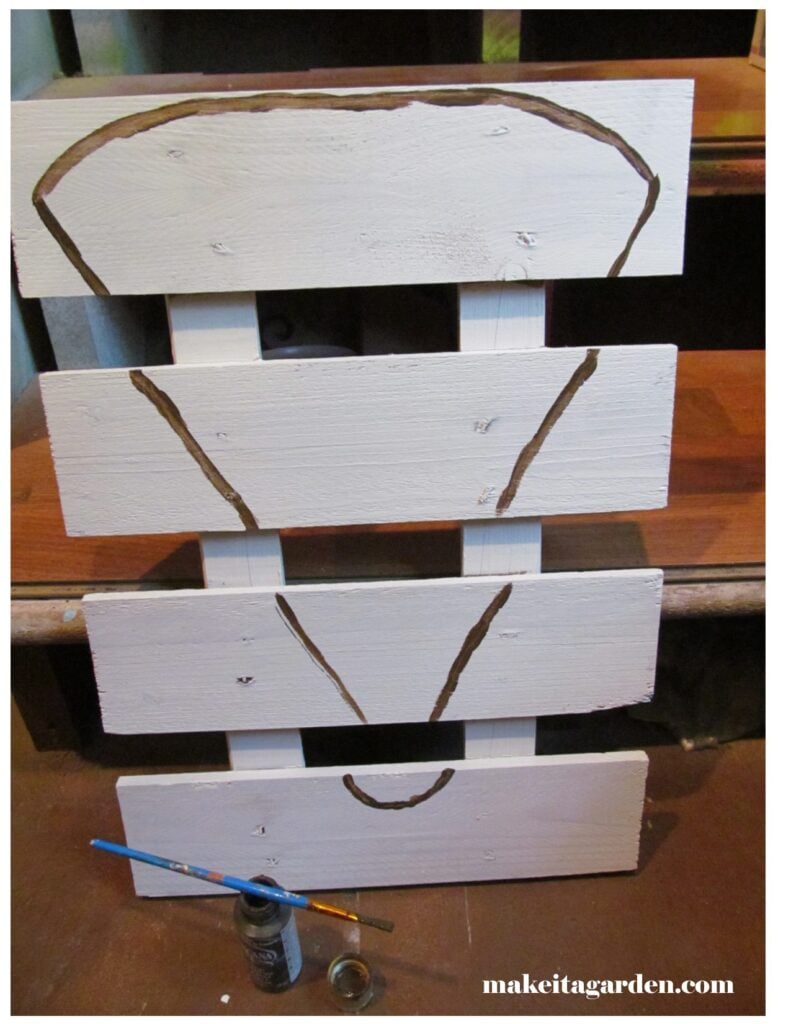
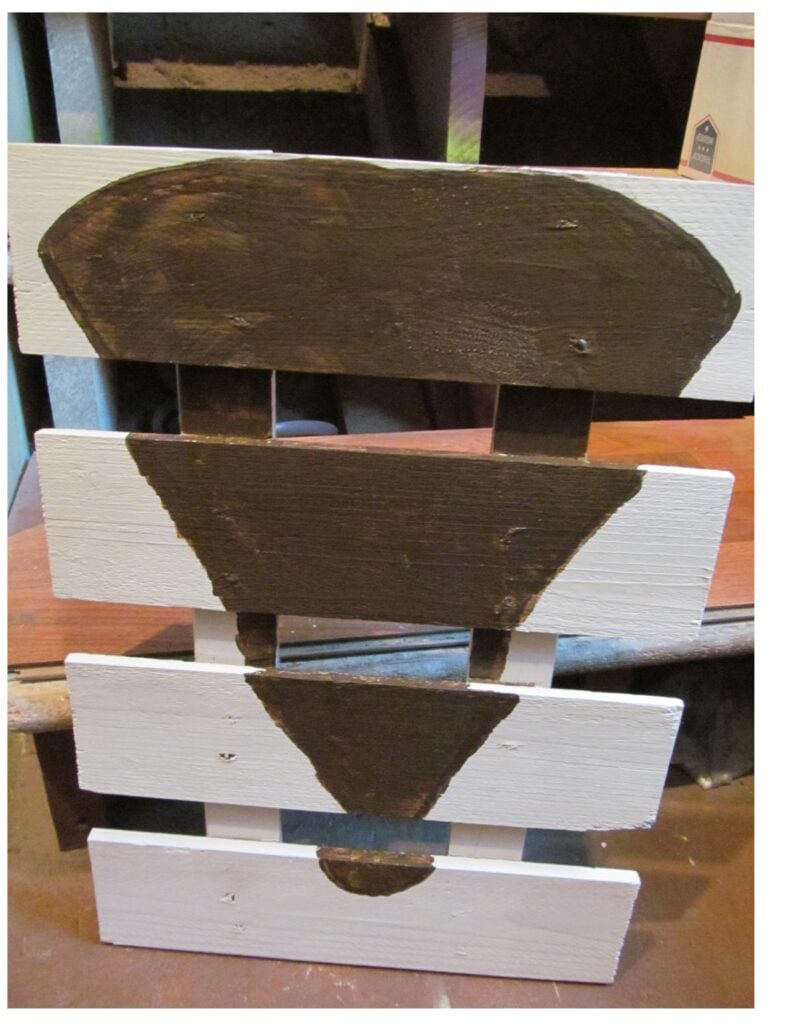
Use brown craft paint to paint over the outline. Then, fill in the rest.
STEP 3 – eyes, nose and ears
Facial expressions
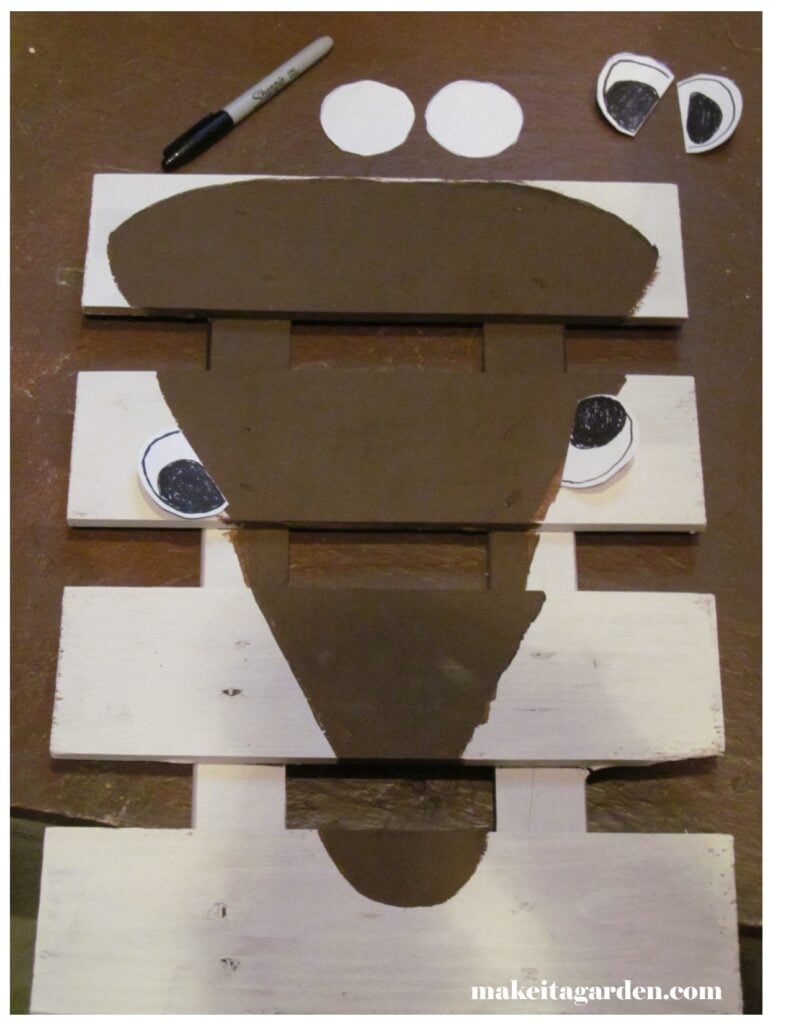
Here’s where you get to customize your wood pallet reindeer. He can look regal, sleepy, or goofy depending on the facial expression you create. I decided to place the eyes on the side of the head rather than in the middle, but you can do it either way.
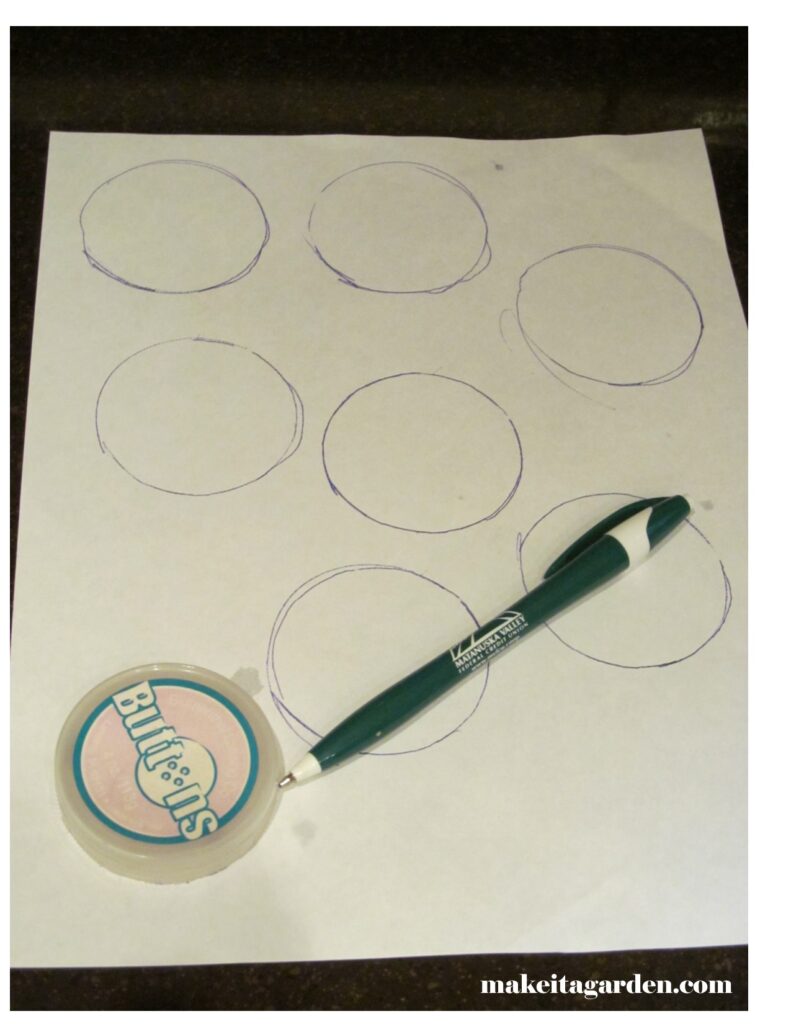
I always like to experiment before I commit to paint. So, I make cut-outs of eye shapes and pupil sizes to see which ‘look’ I like best. Use a small jar lid to trace around.
*TIP: link to see examples of cartoon eye expressions.
*TIP: If you wish, you can use those plastic googly eyes from the craft store.
Nose:
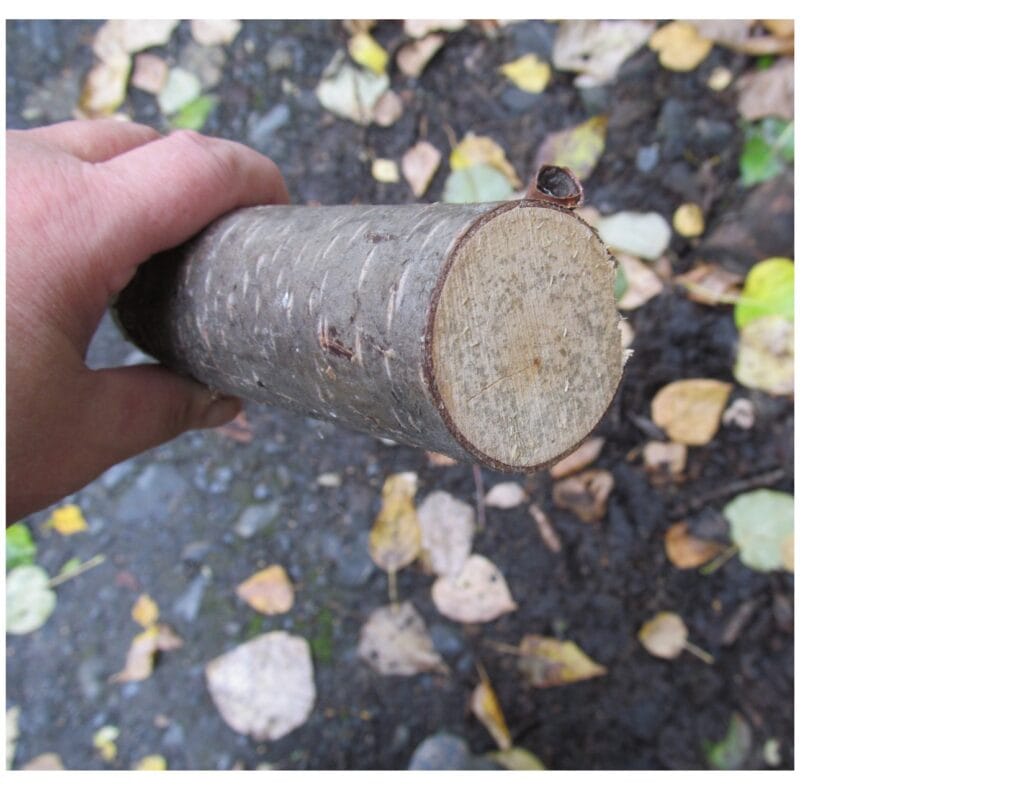
Because I want the nose to stand out and not just be painted on, I sawed off the end of a small diameter log (about 1-1/2″ across). I left the bark on to compliment the woodsy character of the piece, and painted it red.
If you’re using a larger pallet, cut a larger nose piece that fits better to scale.
EARS:
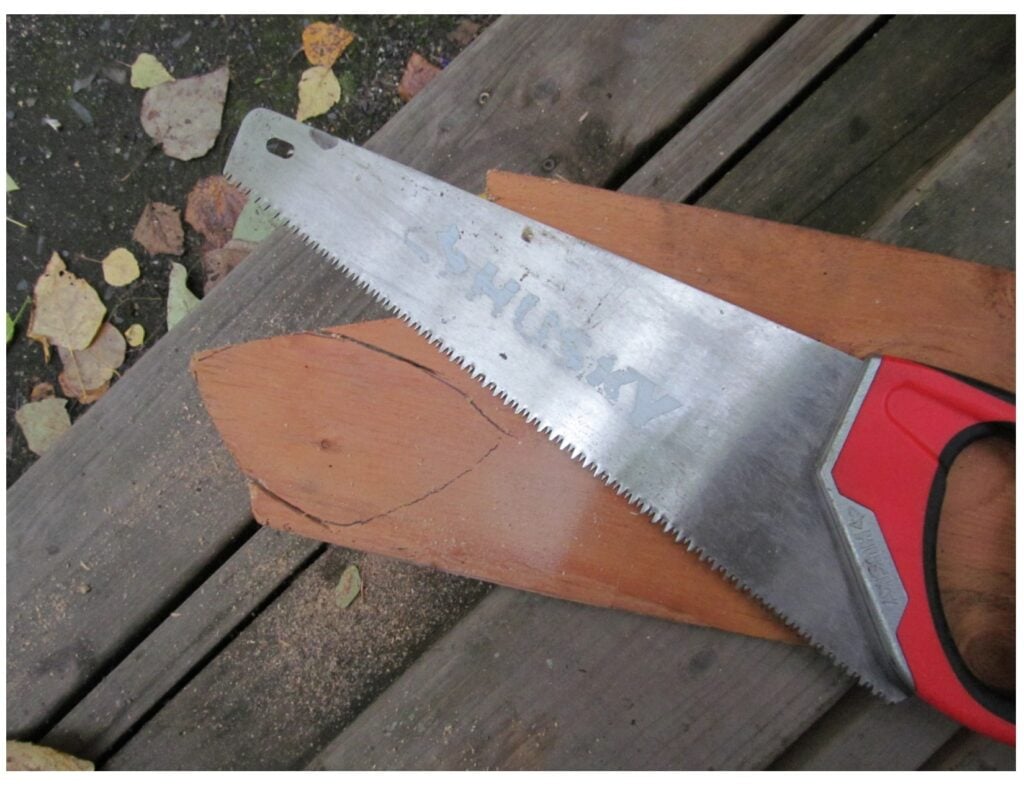
My reindeer didn’t look right without ears. Again, going back to basic shapes–reindeer ears are ovals. I made paper cut-outs to a size that looked right, then traced them on a thin piece of scrap 1/4″ plywood.
Here’s where a jig saw tool comes in handy. Unfortunately, I don’t own one. So, I just cut out the ears with a hand saw. It’s a little more work, but not too much. A smaller saw would have been even better. But because 1/4″ plywood is so thin, it’s easy to cut.
Use sandpaper to smooth the rough edges around the ear pieces.
GLUE:
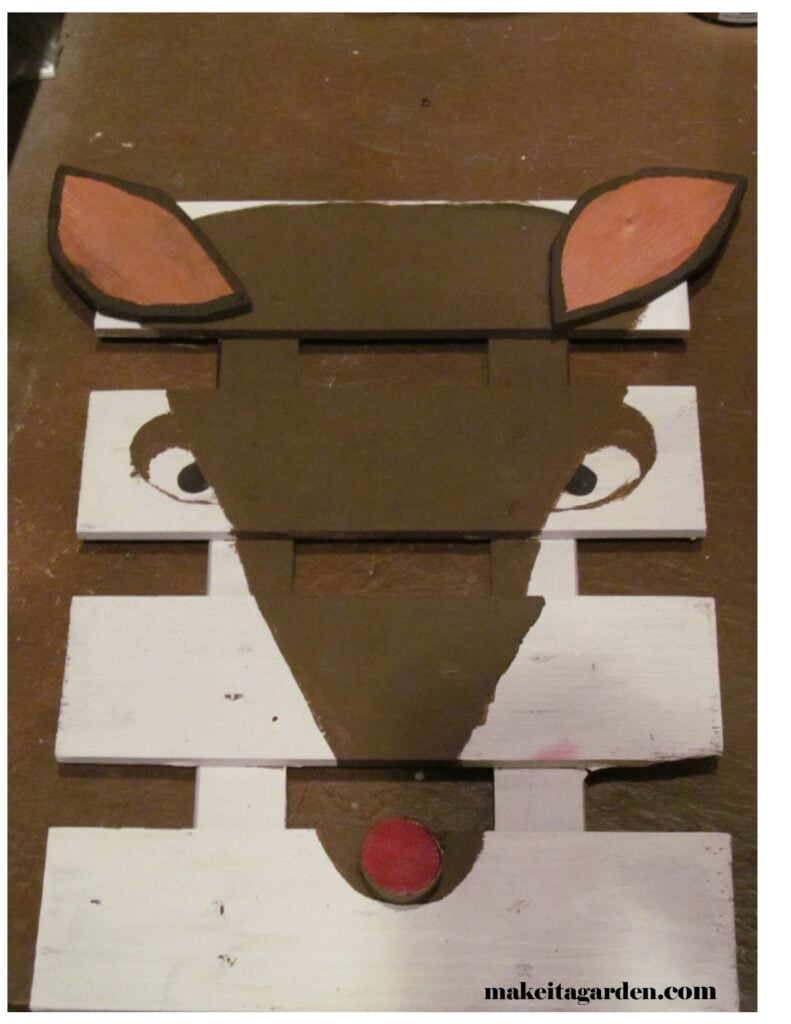
Use wood glue (or a hot glue gun) to attach the nose and ears. Allow glue to dry overnight before adding antlers.
ANTLERS:
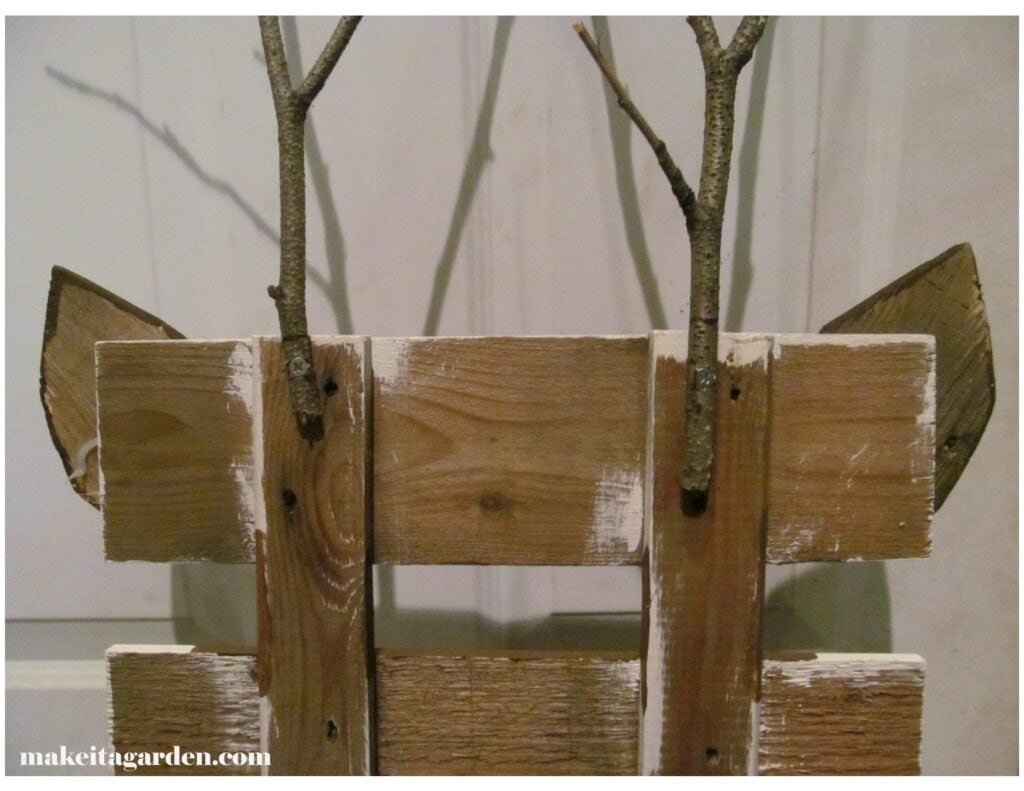
Find a couple dead sticks in the woods to add antlers to your wood pallet reindeer. Use wood glue and clamp to secure the sticks in place while curing. Or you can use wood screws, which is what I did. Make pilot holes first for ease of fastening and so your sticks don’t break.
Festive Additions
I love little details. Adding some Holiday greens and those little battery-powered mini lights give your reindeer a festive look. Attach the battery pack on the backside of the pallet so it doesn’t show. Now he’s ready to proudly display on the front porch or surprise someone as a gift!
I welcome your feedback on this craft project. Just scroll down a bit to leave a comment. Thanks for visiting and Merry Christmas!

Kristen specializes in up-cycled crafts. She has a reputation for quality and attention to detail, and her artworks show it. She takes such joy in making things “extra special”, especially during the holidays. Her craft posts may entail a bit more description geared to those who don’t make crafts on a regular basis. Even if you do, you’ll appreciate the thoughtful insights so your projects turn out beautiful!
More Fun Holiday Crafts
The form you have selected does not exist.
Hay, Rudolph! Haha! I love this project and especially like the branches you used for antlers.
Thank you for your feedback! Good excuse to take a walk in the woods to find the right sticks for antlers.