


Making cute figurines out of dishware
Artist’s Note: This is not a step by step tutorial, per se. While there is explanation of the process, it’s more about the inspiration and artistic qualities that go into creating figurines I like to call “The People of the Dish”. It includes some useful insights so reading this, you could still get a sense of how to make one yourself!
The whimsical use of the human figure in the garden really appeals to me. I’ve seen some beautiful and quite humorous ways people have incorporated…well….people, that look so at home in a garden setting. I had always wanted to try some of those ideas, myself. Occasionally, I get the time to experiment.
Most days, I’m in my studio drilling plates to make dish flowers or stacking vases and coffee cups on top of each other to make a totem sculpture. Rummaging through my plastic storage totes of assorted dishware, I found a pretty little ceramic jar with a lid shaped like a garden hat. I enjoy using pieces like this as they make unique centers for my dish flowers. Only this time, I decided that the hat belonged on a head. Enter the humble beginnings of “The People of the Dish.”
Scrounging through my dishware again, I came up with a small, white ceramic cup about the diameter of the hat-lid. It was a perfect fit! Wonderful! I now had a head and a hat.
The Head Piece for ‘People of the Dish’
A good head piece is what really “makes” the figurine. It’s the main feature. Inverted triangles have a tapered line that have a nice head-like contour. The shape of the white tea cup on the right gives a fun, chubby-cheeked appearance. The handle looks like an ear. White or light colored dishware allows facial features to show up the best. You can draw your own using a paint pen or sharpie marker, or use face decals to create an expression.


The little ceramic jar with the hat-shaped lid is perfect for the middle section as it ties in with the hat to give the piece some uniformity and a “garden” theme.

Among my dish materials reservoir was a pretty white tea cup. Turned upside-down, it created a hoop skirt for my garden lady figurine. The delicate, swirl pattern on the bottom conveys a sense of motion. The frilly pink flowers and the swirls of the tea cup and curves of the hat are very feminine in nature and tie the piece together from top to bottom. It reminded me of English actress Emma Thompson in a Jane Austin movie, so I named her “Miss Tea Cup.”
A voluptuous ‘Dolly’ teapot

“Uptown Girl” is my little version of Dolly Parton! Her coffee mug face with bright lipstick displays plenty of attitude. Naturally, I wanted to find just the ‘right’ piece for the body that would compliment it. Imagine if I had a list that included a voluptuous tea pot? Although it was never in my mind, it certainly came to mind the moment I spotted it on the shelf at my local Bishop’s Attic.
Tea pots are great for the mid-section of a dish figurine because the handle and spout resemble arms. Again, such a feminine face needed something feminine to go with it. You just have to keep your eyes open. You look and look and look some more. I took the coffee mug with me to the thrift store and tried it with various things. And while I found some good fits, from a ‘balance’ and ‘color’ perspective, they just didn’t seem right for this “First Lady of the Dish.”
It’s tempting to compromise because you really want to finish this thing knowing how cute it will be. Maybe you want to give it as a gift and need it by a certain time. But don’t. Keep looking! You’ll be so ecstatic when you find the right parts. I was so thrilled to find the voluptuous tea pot. It absolutely gave Uptown Girl her girlish figure.
Would you look at that hat!
To make the hat, I used a small saucer from a demitasse cup and a little, round baking dish turned upside-down. The ceramic flower that decorates the hat is from the top of a perfume bottle. So, you never know what you might find that works for what you are making!
Finding Materials for ‘People of the Dish’
I don’t want to give the impression that this is hard, because I really want you to make one for yourself. But its just not the type of thing where you can swing into Michaels or Hobby Lobby on a whim and get all the materials you need in one stop. Making figurines from dishes is easy. What’s HARD is finding your materials.
At no time did I start out with any specific idea of what I wanted to make. I never head off to the thrift store or garage sales with a shopping list of what I need. It’s not like: “lets see….I need to find one voluptuous tea pot”. But I do keep my eyes open. Two of the figurines I made came with faces on coffee mugs. That does make it easier. I wasn’t exactly looking for coffee mugs with faces, but when I saw these, I snatched them right up.

So, voila! Once again, I had my head piece and once again, I had to go through a process of trial and error to find the ‘right’ artistic components to best compliment it.
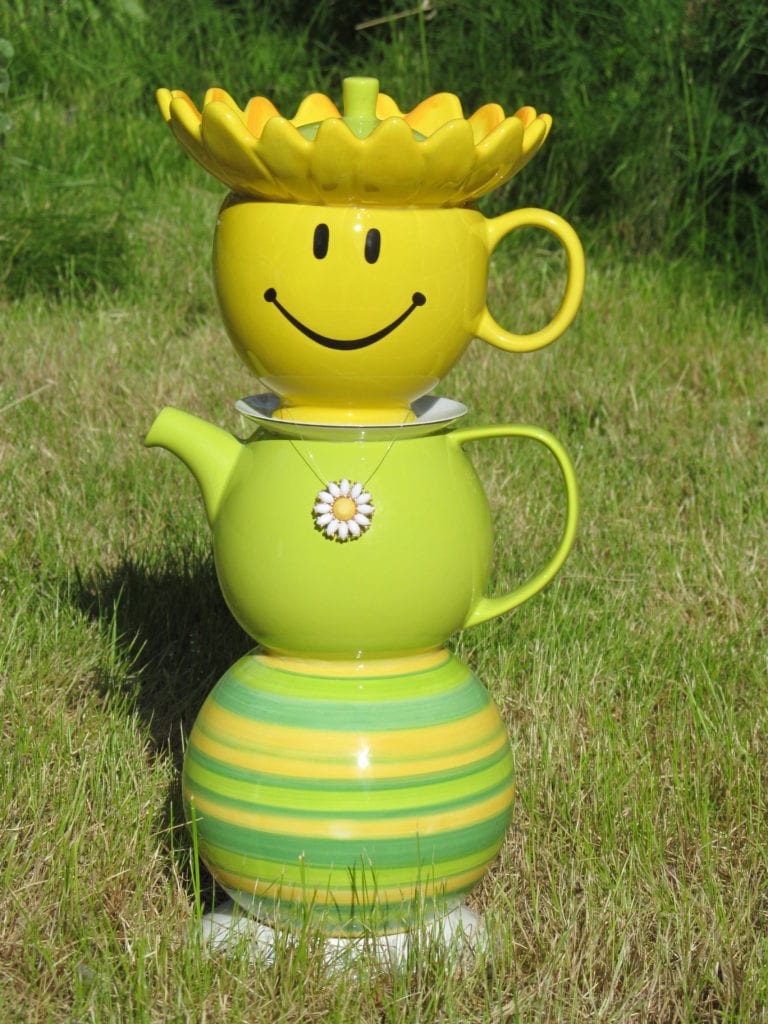
Color & shape combinations to consider
My smiley-faced friend needed happy colors to compliment the mood this piece seemed to suggest. The tea pot and round, striped flower vase were not all purchased at the same place on the same day. In fact, I had purchased the vase a few months earlier for an entirely different project.
I also already had the shallow ceramic sunflower dish to make the big, sombrero-looking hat. And while it didn’t necessarily ‘need’ it, I decided to add the lid from the tea pot because I had yellow on yellow and wanted something contrasting to give it a little ‘spark’. The lid also tied in with the tea pot for a bit of whimsy. The necklace is a pretty accent. As you can see, a lot of thought goes into these creations.
Another ‘continuity’ that seemed to make this piece “click” is that all three pieces are round globes…like a snowman, only yellow and green. So artistically, there’s a ‘personality’, complimentary colors and shapes. What else to consider? Balance!
The Balancing Act
Dishware must also balance well when stacked one on top of the other. I have found some interesting combinations, but if certain shapes just didn’t sit very well together, I’d pass on it and find something else. Sometimes this is a bummer. Other times, I come up with a way to make it work by adding or removing something, or swapping things around. But a good balance is important so the individual pieces will have good surface to surface contact for gluing. And when finished, the figurine will stand upright and not be tipsy.
Glue makes ‘People of the Dish’ stick together
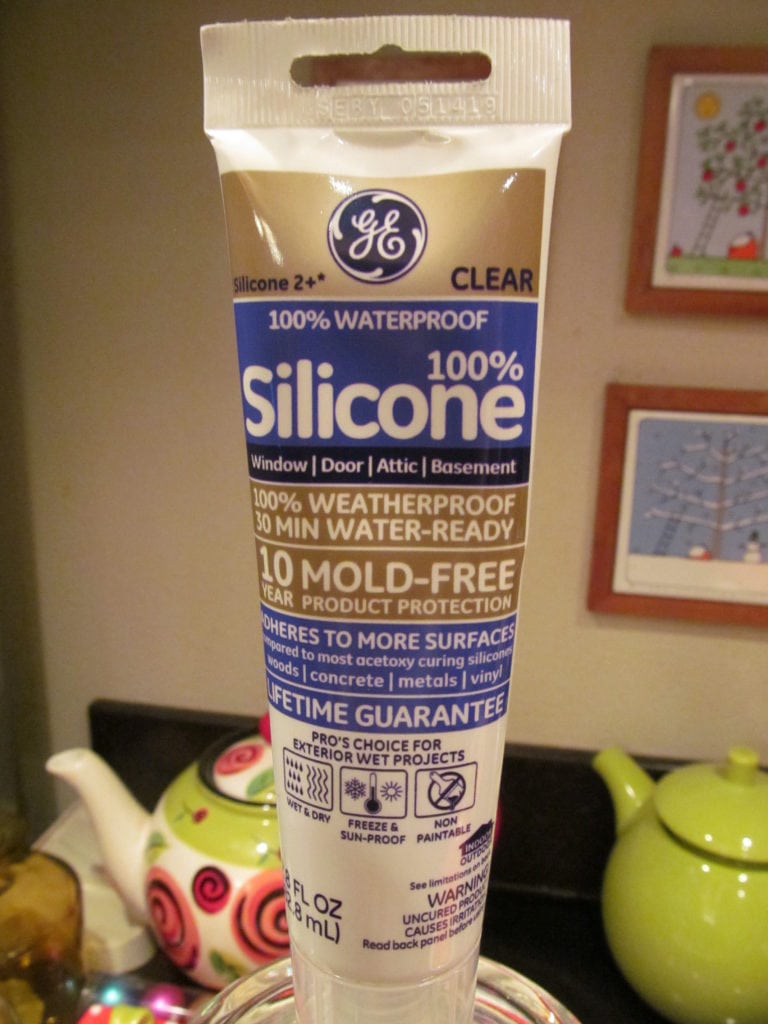
Everyone always asks “what glue do you use?” As an artist who makes dish flowers and other garden art, I can vouch for 100% silicone. Technically, it’s not a glue, but a strong sealant. Even if you plan to display your figurine indoors, silicone is the best way to go.
The product now comes in tubes the size of toothpaste and squeezes out just as easily. It fits in the palm of your hand and gives you much better control when applying the bead. Find it in the paint department of places like Lowes or Home Depot.
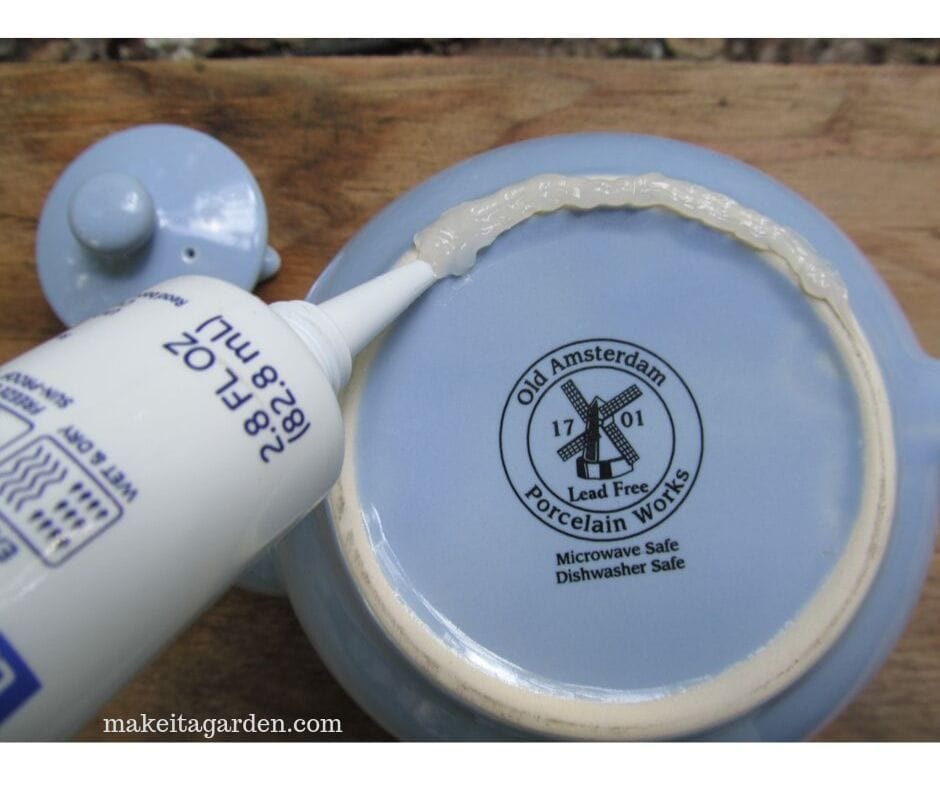
Silicone is thick and stays where you put it. It does not run or drip. There is virtually no odor. Don’t just squeeze a big glob in the middle. Direct the bead around the entire bottom rim of the item you’re gluing. I usually lay out a bead thick enough so when I compress the vessels together, it squishes out the sides a little. Then, I use my finger, or a Q-Tip make a smooth seal around the outside edge. Set it someplace where it won’t be disturbed and allow it to dry 24 hours (or according to the directions on the package).
Some final thoughts
By all means, be creative and let your imagination run wild. What you find for a ‘head’ might not even be human! Yours could be a cat, dog, frog or some other animal. It’s up to you; that’s the fun of it!

Try out different expressions on the face. The new paint pens are easy to use. Just wipe it off if you make a mistake. But that way, you can play around with it until you draw the one you like best. If you prefer, facial decals work just a well and come in a wide variety of expressions. The clear, vinyl ones will look more hand-painted when applied. You can find them at craft stores like Joann Fabric & Craft or at Michaels, or even on-line stores like Etsy.
If you enjoyed this article may I ask you to please share it on social media? And be sure to tell your friends about “Make it a Garden!” www.makeitagarden.com
You may also like the following garden art crafts:
Happy Hub Cap Flowers and How to Make Them
The form you have selected does not exist.
Kris, awesome article! I like your dish people. The curvy one reminds me of Marilyn Monroe! I think also that the little details you include like the necklaces make a big impact.
Ahhh, thank you so much. Thanks for taking the time to read about them.Yes, attention to detail is something I always try to incorporate into my artwork.