
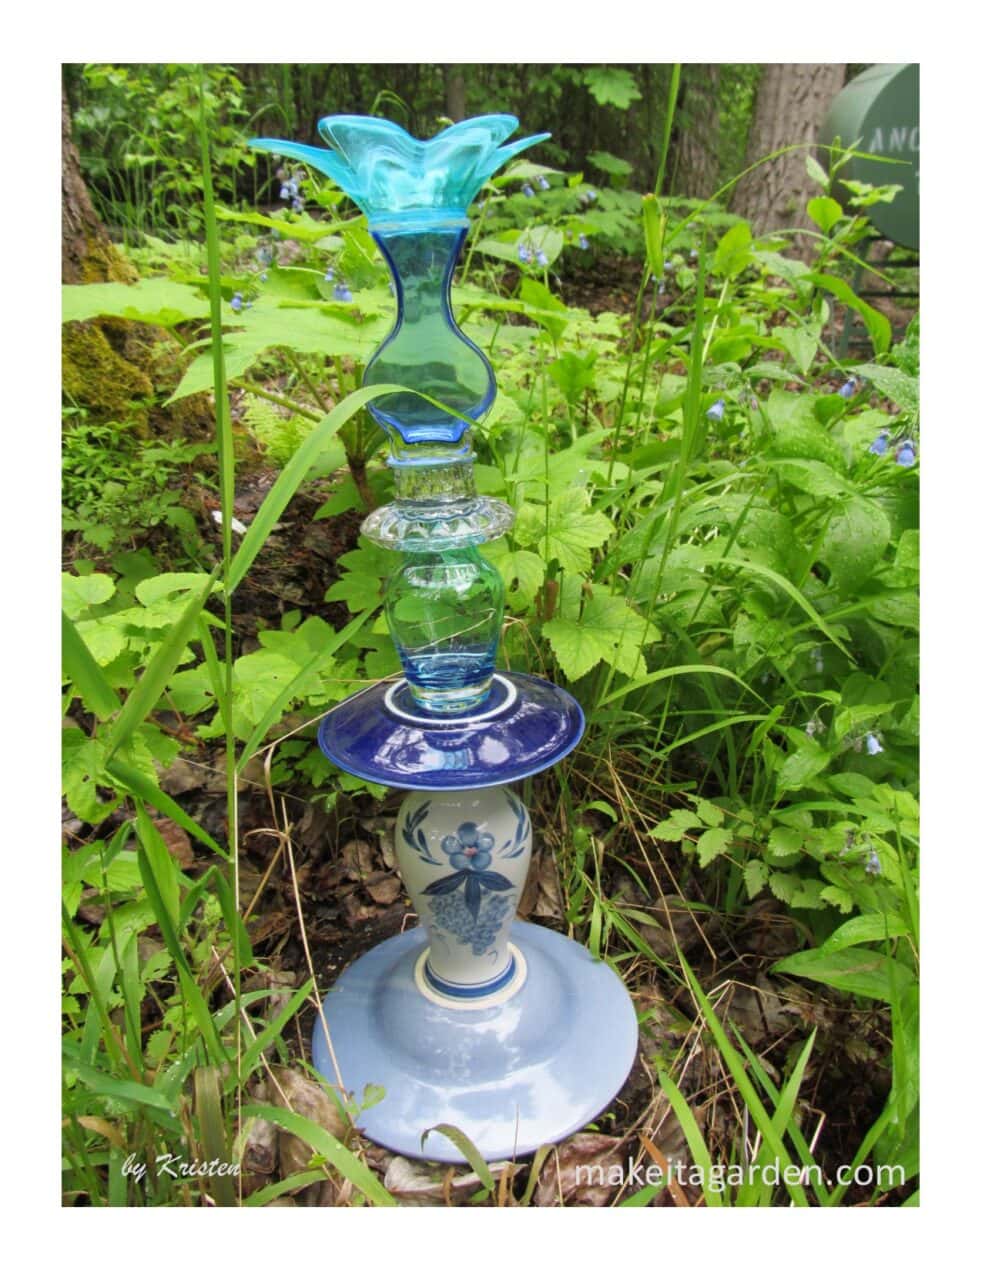

Glass garden art looks so pretty outside where it can sparkle in the sunlight. So naturally, you’ve set it someplace where you’ll see and enjoy it, as will your company. It’s an eye-catching accent piece among your flower beds or in a vignette grouping on your porch or patio.
If you plan to make totem towers, globes or other creations using clear or colored glass, this article is for you. Glass jars, bottles and vases come in unique shapes and sizes that make extraordinary garden totems. But that odd shape or tiny opening also means that vessel is difficult to get clean. If you picked it up at the thrift store, there may be residue from water deposits, dirt, grease or oils on the inside.
It’s tempting just to just rinse it out as best you can and call it ‘good’. But on a gorgeous day when the sun lights up that pretty glass, every finger smudge, water spot or cloudy mineral deposit will show up. As a craftsman, the most tedious part of creating glass garden art is the prep work. That goes for every project you take on, by the way. But it also makes the finished work look so amazing.

Benefits of Clean Glass for Garden Art
Most glass vessels are quite easy to clean, though some can be challenging. Once in awhile I’ve encountered a mystery substance that won’t easily surrender. It can take some time and effort sometimes. It’s worth doing as attention to detail makes all the difference in the world. And nowhere is that more evident then sparkly clean glass.
If you’ll be selling your things or making one as a gift, clean glass for garden art is essential if you want your finished masterpiece to look polished and professional. Even if you’re simply doing a piece as a gift for a friend or family member, don’t you think it’s worth it to go the extra mile?

How to clean glass for garden art
SOAK: Glass items from the flea market or thrift store can be greasy and grimy. I simply fill the sink with warm, soapy water and let it soak for awhile. You will want to hand wash your glass items. Do not use window glass cleaners.
If there is scale or hard water deposits in a flower vase, you can use vinegar and let it soak overnight. Or use a product like CLR (calcium,lime,rust) and the vase will look good as new.
Kristen’s Pet Peeve: REMOVE THE PRICE TAG! There’s nothing tackier than forgetting to remove the price tag. Especially for hand crafted art. You might think no one will see it if it’s on the bottom. But you don’t want someone to discover the tag from the thrift store that says $1.99! Most stickers should come off when you wash it. But some leave a gummy residue.
On the subject of price tags, some of those gummy stickers can be a real bear to remove. This can be the most time-consuming part. But for optimum adhesion when gluing, you want to get any gooey, greasy, crusty residue off your glass.
For that stubborn mystery substance that refuses to come off, try 409, isopropyl (rubbing) alcohol, or lighter fluid. (if you ever figure out what that mystery substance is, let me know!) My Mom always used lighter fluid for gummy, sticky stuff that refused to come off with any other product. In my experience, sometimes its the only thing that works to get that stuff off of glass for garden art.
Dry with a towel
Always use a 100% cotton towel. DO NOT use paper towels. Anything else will leave lint on the surface. Twist the towel into a skinny rope-like configuration. If the mouth of the vase is small, wind it tighter and slowly use your fingers to tuck it in.
If you can’t get all the moisture out, I have had success with a blow dryer. Turn the vase upside down and direct the air flow towards the opening. Even heating the glass on the outside will dry up water droplets on the inside so you don’t get water spots. This is especially obvious on clear glass!


Removing crusty water residue…a few tricks
After drying, hold the glass up to the light and examine it closely. A flower vase or anything that’s been used to hold water will frequently have a crusty water line or residue on the bottom. You’ll be able to tell because it looks kind of cloudy.

If it’s not coming off with regular soap and water, I soak it overnight in a mix of water and CLR (Calcium, lime,rust) That should dissolve or at least soften it.
If the vase has a thin neck, it’s harder to clean, even with a skinny bottle brush.
SALT or SAND
Here’s another old trick I learned from the head waitress when I worked at a restaurant in my teens. SALT. It’s what we used to get that burned-dry coffee layer off the bottom of the pot. With the inside moist, pour in just enough salt to cover the bottom so that the salt absorbs, but not dissolves. Allow it to sit for 15 minutes. Add in some small particles of crushed ice from your fridge ice maker and swirl it around on bottom and rinse out.
I’ve also used the tip of a table knife. Doesn’t need to be sharp, just to be able to gently scrape and the residue will come right off. You can also fill the vessel with sand or small pebbles and shake, but be careful! Sand can scratch and dull the surface of the glass.


Finally, I always like to finish off my cleaning process with a gentle wipe of isopropyl alcohol. It’s especially critical if you are placing a pretty figurine or ornament of some kind on the inside of the glass. You want them to see the figurine, not your fingerprints. Please, do not use glass cleaner. The isopropyl will remove smudges and give the glass a nice, professional sparkle!

DON’T FORGET YOUR FREEBIE! Scroll below to join the Make it a Garden community and get “10 Artistic Ways to Make Your Yard & Garden Beautiful!”
Conclusion
Getting clean glass for garden art does require some time and attention to detail. Handmade art commands a higher price if it presents a professional finish. Smudges and water residue detract from the beauty of the piece. So, you will benefit from the extra effort to make your work look its best. The most important consideration is to earn the reputation for doing quality work.
If you loved this article and found it helpful, why not join our community? Sign up for our newsletter just below. I also invite you to leave your comment also, as your feedback is very helpful and may be helpful to others reading this article as well. Be sure to like us on Facebook to stay in touch with Make it a Garden. Thanks for dropping by!
Other glass art related posts you may enjoy:
Painting on Glass for Stunning Dish Flowers
Make Dish Flowers for Garden Art PART 1
Make Dish Flowers for Garden Art PART 2
The form you have selected does not exist.
Kris, I have not tried isopropyl alcohol, great idea. I buy the Goo Gone which is available at most stores and takes all kinds of gooey stuff off, but the items still need to be cleaned afterwards.
Yup–and if you know what that “mystery” substance is…let me know! (ha!) Ya have to wonder sometimes… but ultimately, it depends on what you’re trying to get off. Goo Gone is a great suggestion, thanks! The isopropyl I use mainly to clean the glass to remove fingerprints or any dull cloudiness from the glass before gluing it in place. Makes such a nice difference! Thanks so much for your contribution!
This is a great article and I am looking forward to this for my summer project. My question is from your article about drilling a hole in a glass plate. Do you only thread the initial plate and but use adhesive on the subsequent vases? Some sites have all the apparatus threaded onto a screw with washers between each plate/vase and the nut on the final element. Can you comment on which way you do it and why? Thanks. Sylvianne
Hi Sylvianne! Thanks for contacting us! You are correct, I only drill a hole through the back plate. Yes, I have seen the construction method you refer to where all pieces are drilled and threaded. That’s a good method, for sure! Nothin’ wrong with that what-so-ever! The only reason why I do mine a bit differently, is because I like to use different materials for the front pieces of my dish flower. It’s merely a creative difference. With the method you spoke of, the screw is threaded back to front. Then, usually, a decorative cabinet knob is screwed on the front to hold all the pieces together. Or a small nut. As for me, sometimes I find pieces that are too small to drill..at least with the same diameter hole as the other plates. Or, the “type” of glass or ceramic piece is not suitable for drilling and can’t withstand the pressure and could shatter in the process. You might be interested in seeing some of my other dish flower creations here: https://makeitagarden.com/dances-with-dish-flowers-28-creative-ideas/
The method you mentioned was developed by some crafters in the early days of making dish flowers to ensure that they did not come apart and break. Back in 2008 (if not earlier) people experimenting with making dish flowers used various glues that did not hold up very well outdoors. The glue may have been waterproof, but that glue turned to butter in hot climates. Even strong industrial glues came apart because they weren’t intended for outdoor conditions. Many indoor glues dry out and crack in the heat and crumble apart. This is something I actually did research when I started making and selling my dish flowers. So some makers devised the method of drilling each plate so they would all be secure. But that’s a lot more work, too…and you have to use the “right” glass or ceramic pieces that can be drilled w/o breaking.
Eventually, word started to get around about which glues WERE working and performing well for glass dish flowers and other similar types of garden art. The two products that most people (including myself) use today are E-6000 and 100% GE Silicone II (for exterior). I use silicone most of the the time. It is specifically intended for exterior windows and is a sealant. It is strong and dries to a rubbery consistency that won’t dry out, crack and come apart. The package says it’s rated for 60 below zero to 400 above zero (I recall, just off the top of my head). So with the wonderful silicone product, I discovered I could be a bit more creative with the types of glass or ceramic pieces I used in the making of my dish flowers because the silicone held up so well. The frontal pieces that I use are not typically very heavy, like the big back plate. It’s faster and much easier to use the silicone than it is to do all that drilling, which I do using a hand drill because I don’t have a drill press machine. But I still drill the rear plate for enhanced security…and once in while, I might also drill the 2nd plate as well (for good measure, if I find it needs it). But I have more freedom and creativity to use unique glass and ceramic pieces for the center where silicone will hold up very well.
This has been a long answer, but wanted to make sure you got all the information you requested. I hope it was helpful to you if you’re making a decision about which method to use for your dish flower. You could certainly try them both and see which method you think performs the best. Let me know how it goes, and feel free to contact me if your have further questions. Good luck! – Kristen/MIAG
Hello Kristen! I just love your work! I just got into garden glass art a few weeks ago and I am hooked. I have been following you and a few others on YT and am floored with the creativity. WOW! So, I am fortunate to live near a big city with lots of great thrift stores and three trips later, I have LOTS of beautiful glass to work with. I made some flowers yesterday using e6000 but also have the GE outdoor silicone on hand (I live in the Northeast and plan to bring the flowers in when the cold weather hits). I bought some copper stakes and the drop elbow for the ones I will put right in my garden. I want to make some lighter-weighing flowers for a portion of my wooden fence. Do you have suggestions how I can hang them on the fence? I have read a lot and can’t find a clear answer. One article suggested a d-ring glued to the back and then a hook but no links to where I could see that set-up. Thanks in advance!
So happy to hear about your new ventures! It’s fun isn’t it? Apologies, I looked through all the photos on my site and do not have one showing the D-ring. However, you can see what they look like in this link to Lowes hardware store. They come in different sizes of course. Use a strong weather-resistant adhesive (ask one of the fellows at the store) to glue the tab to the back of plate. Let it fully cure a few days before hanging outside. If the piece is light weight, you may want to opt for a picture hang style hook–it’s called a “sawtooth”. Comes in various sizes as well. Glue to back of plate. Hope this helps. Feel free to contact me anytime!