

Have you ever wanted to make your own fountain? Maybe you saw a little tabletop sized fountain on Pinterest or You Tube and added it to your growing list of future craft projects. Well, that was ME!
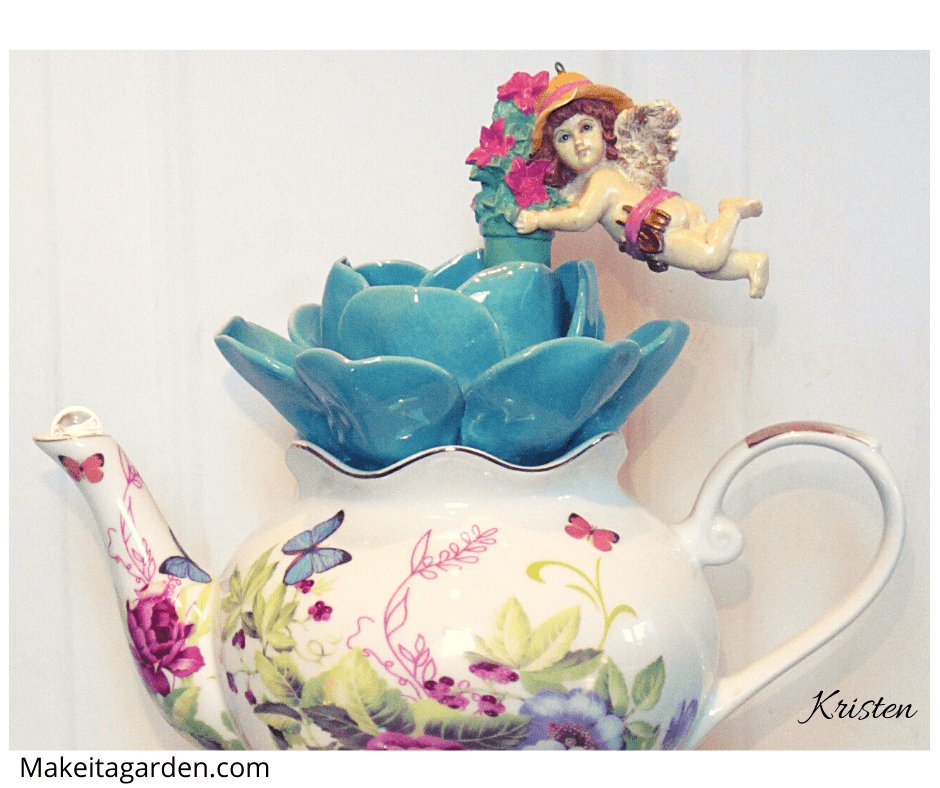
For several years, I’ve been making and selling garden art; things like dish flowers and birdbaths and other garden accent pieces. After awhile, ya just want to try something new; something different to add to your repertoire. One day, I saw a delightful ‘floating’ teapot fountain on You Tube, and was determined that someday I was going to make one. Well, the teapots will have to wait for another day. This is the story behind how the Little Mermaid Fountain came into being.
I’m happy to share my little project with you. While not exactly a step-by-step “tutorial”, I’ll talk about the creative process and offer a few tips, along with the materials I used to put it together. If you’ve ever made a garden totem or birdbath from dishes, this is very similar. Perhaps you’ll be inspired make your own mermaid fountain– or whatever whimsical theme you love.
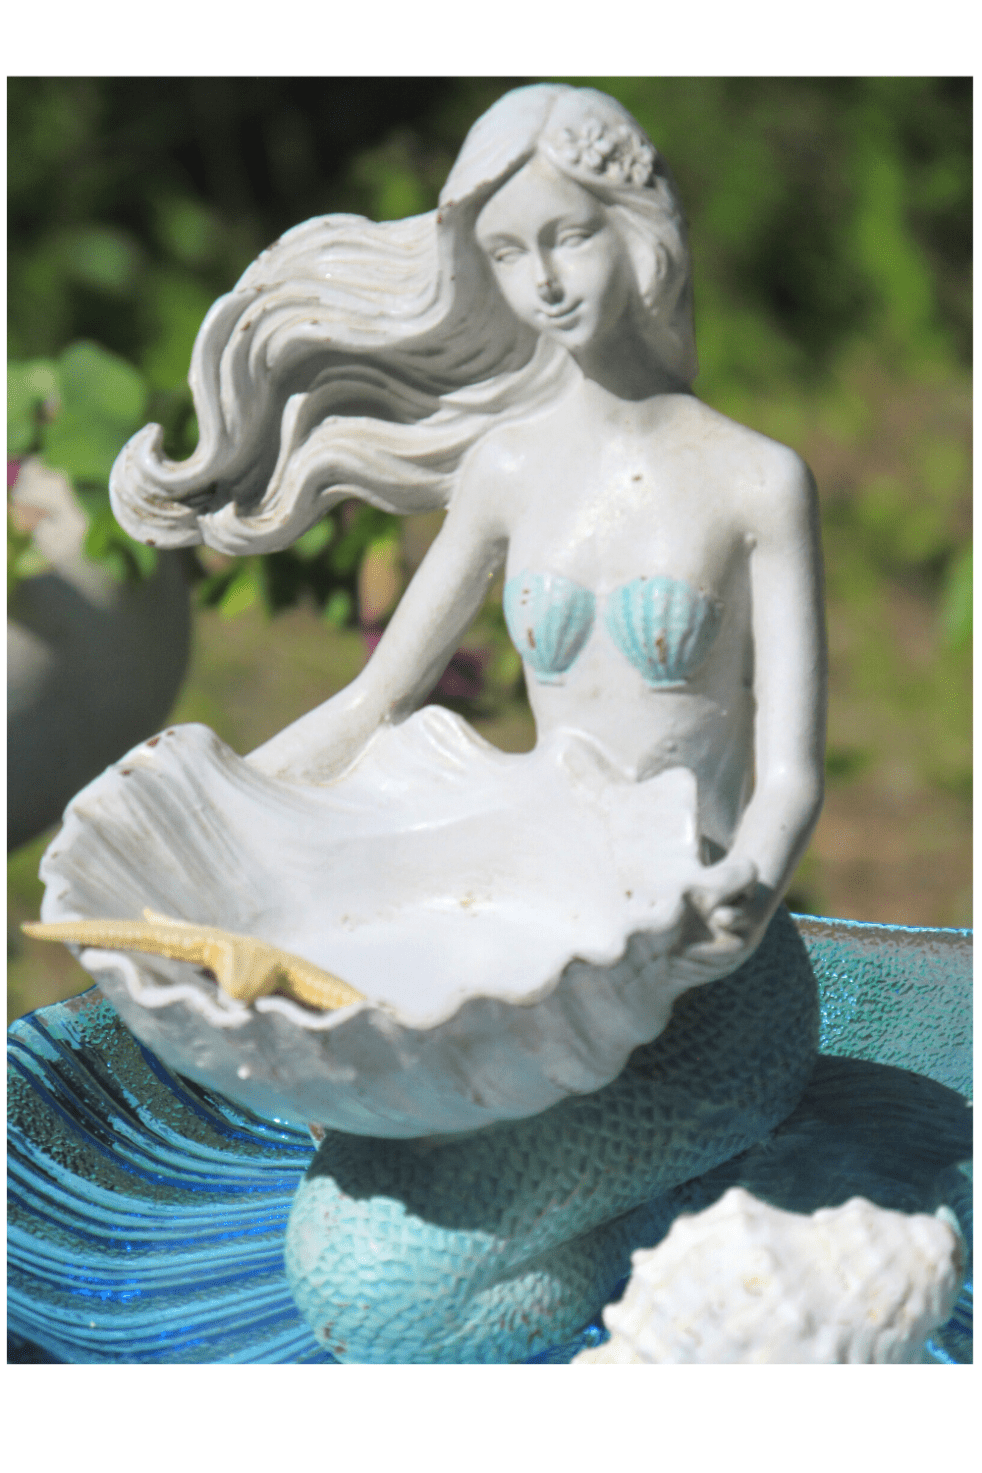
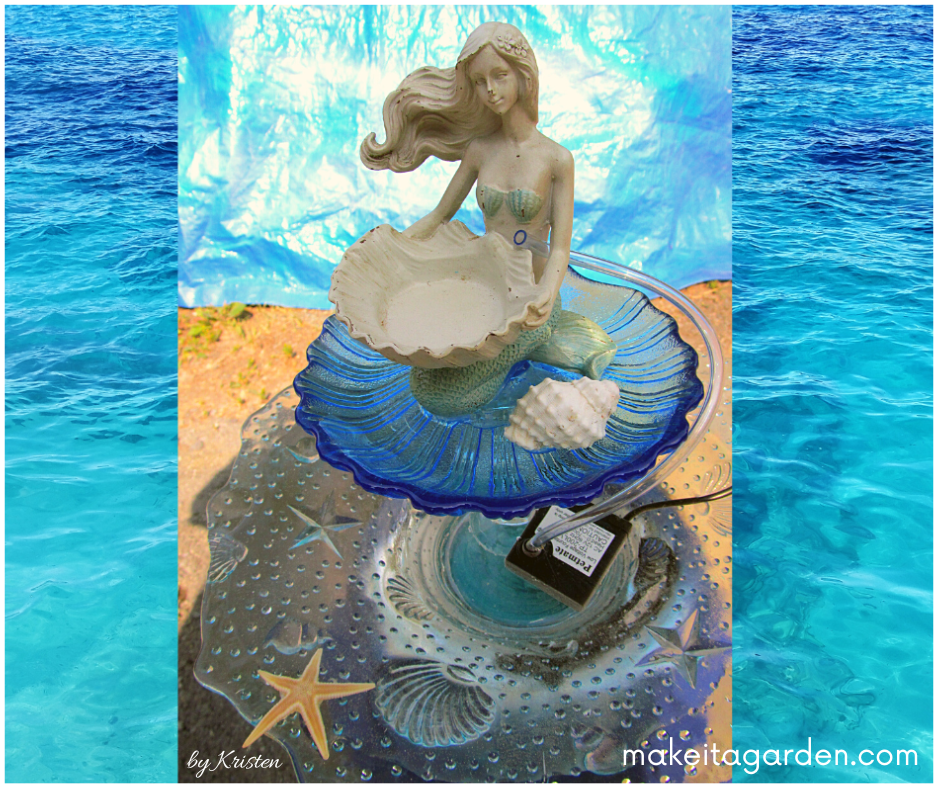
Take a look at the finished artwork
Diving into a mermaid’s world
I’ll be honest. The hardest part of making this little mermaid fountain was finding all the right pieces that make it so magical. It’s quite time consuming.
As mentioned, I initially had teapots on my mind. But, I ran across this adorable resin mermaid figurine on one of my many thrifting excursions. Couldn’t pass her up, even though I had no idea at the time what I would do with her. Initially I envisioned making a beach or ocean-themed garden totem.
After finding the mermaid, I began collecting ocean and beach home decor items. You know…stuff you would find in a mermaid’s world. They come in the form of votive candle holders, soap dishes and plates. I also picked up a small bag of real sea shells.
NOTE: As an option to scouring thrift stores and garage sales, you can buy these items new or get them off sites like E-Bay or Etsy, but that would add considerable cost to your craft project.
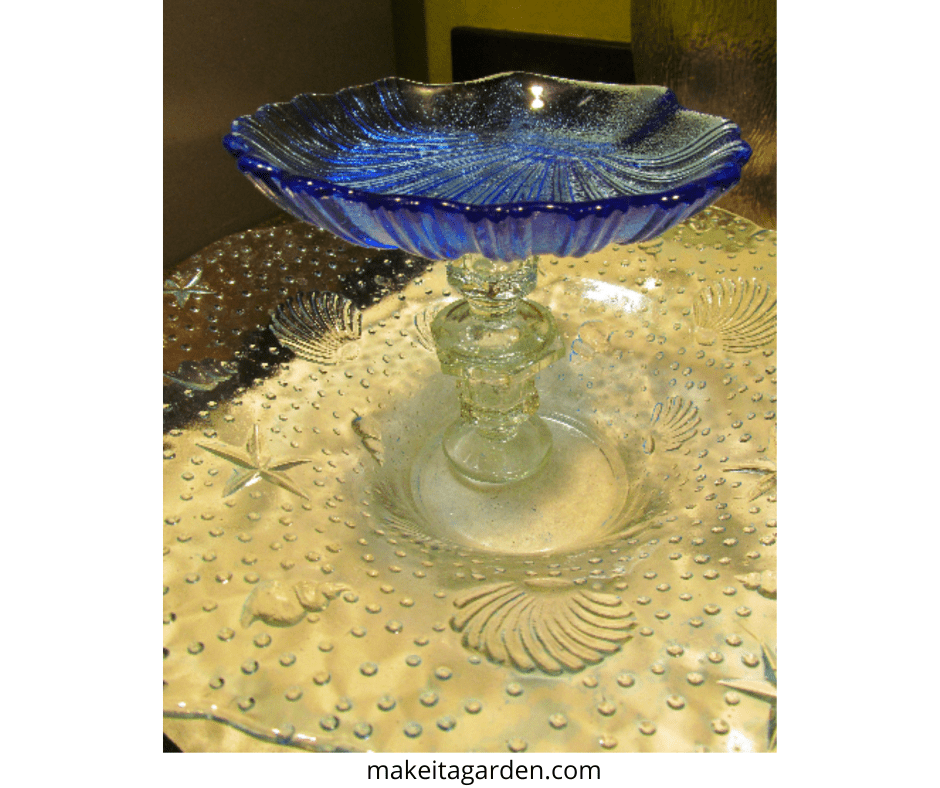
My next amazing find was the blue glass clam shell. Colored glass is beautiful in a fountain because it really sparkles in the water.
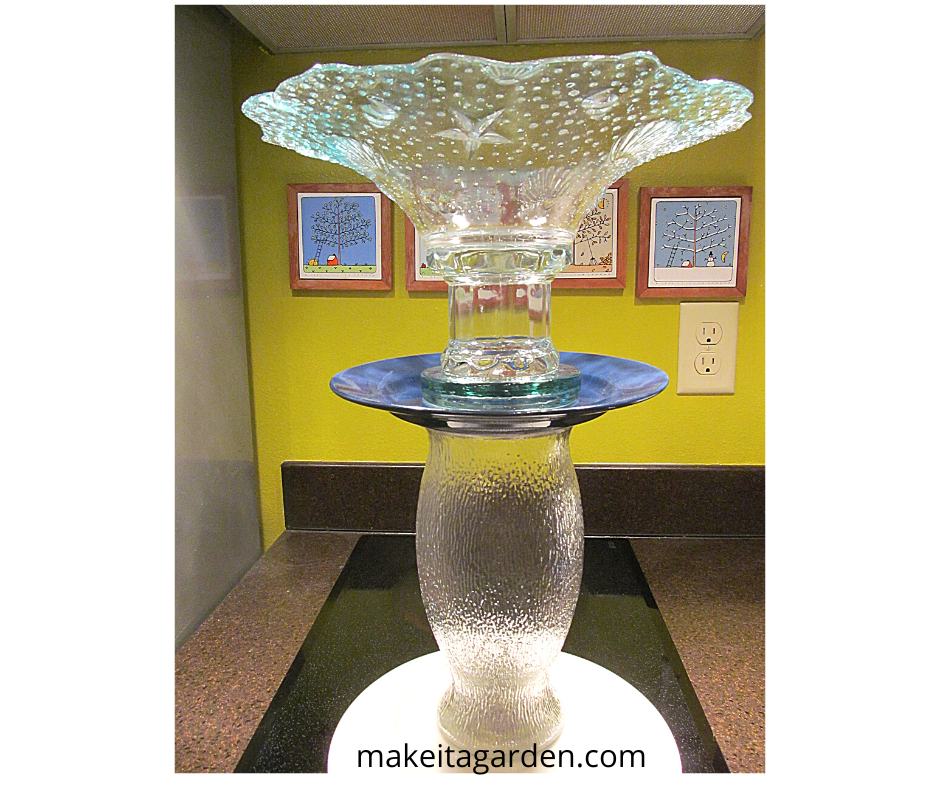
A fountain’s base is important, too
Next, I needed a BASE for the fountain; a kind of pedestal to display the piece and give it some height. Flower vases that are good and sturdy work wonderfully for this and are a dime a dozen at the thrift store.

In this case, a vase with a rain water texture became a thrilling find. The perfect complimentary piece for an ocean or beach-theme fountain, wouldn’t you say? And again, it’s the glass. Glass really sparkles in the sunlight. Although the flower vase was only two dollars, it makes my mermaid fountain look extravagant.
TIP: Every single element of a garden totem or fountain is important because it contributes to the artistry and appeal of the entire thing.
The navy blue and white ceramic plates are colors associated with the ocean.
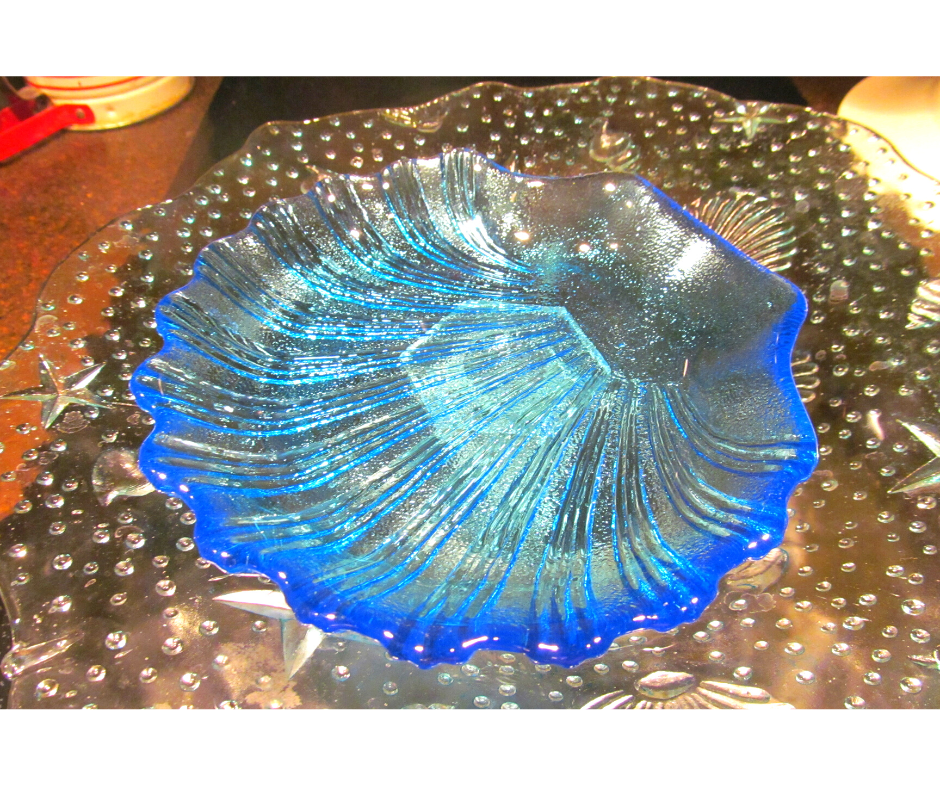
The necessity of the right bowl
The BOWL can be any vessel that holds water. For a small tabletop fountain, you might use a Pyrex mixing bowl, a galvanized metal trough, any vintage or farmhouse style ceramic wash basin. Whatever will work and ideally fit the theme you wish to create.
However, it must be deep enough to fully immerse the pump. Like the base, you want the bowl to be good and sturdy. The decorative bowl I used for my little mermaid fountain is a bit on the delicate side, yet not overly fragile, either.
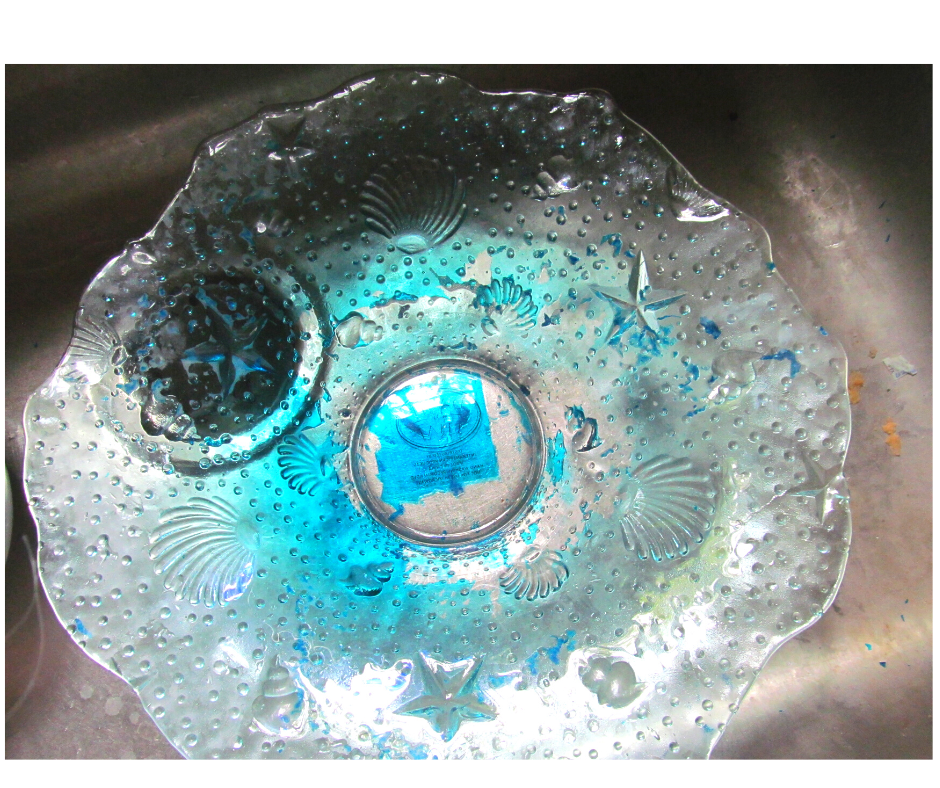
The bowl came with some kind of sprayed-on color on the back. Either it was made that way or added by a DIYer to give it more of an ocean hue. Due to noticeable scratches in the color, it looked terrible.
Fortunately, a long soak in isopropyl alcohol (rubbing alcohol) followed by some intensive scrubbing was all that was needed to remove the paint.
TIP: If you want an extraordinary garden totem or fountain, use extraordinary pieces.
Gluing the pieces together
In my experience, the best glue to use for glass and ceramic garden art is 100% Silicone which isn’t really a ‘glue’ at all; it’s a sealant!
While a craft glue like E-6000 is a good, strong-bonding glue, it has it’s limitations for use outdoors in the weather. In hot climates like California and Texas etc., the glass absorbs heat causing the glue to soften like melted butter.

Instead, use 100% Silicone – Clear/for doors and windows (exterior). I won’t go into too much detail, but you can see my professional review of Silicone HERE.
Silicone is low odor, thick and easy to work with. It fills in the gaps between two pieces fitted together and really grips. In an outside environment such as your porch or patio, it is water-proof as well as sun-proof. It won’t melt or turn brittle and crumble apart.
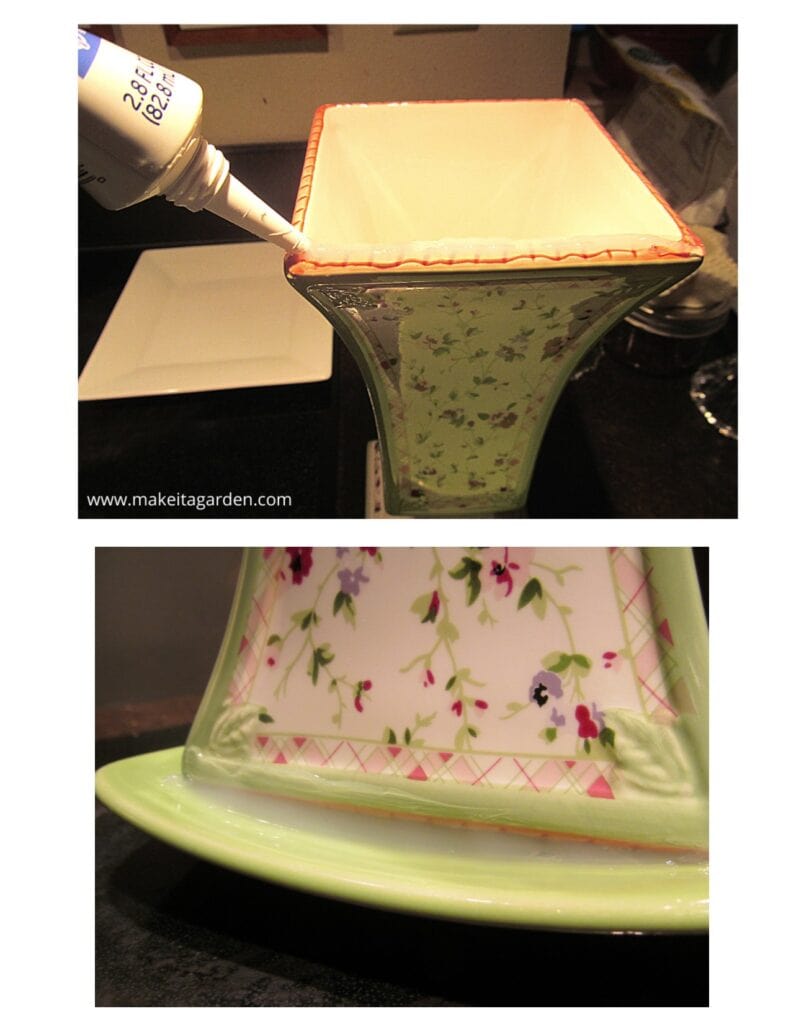
If you have ever made a garden totem, arranging your pieces together for a tabletop fountain uses the exact same technique. Here is an example of how to correctly apply the silicone. (Upper image) When you press two pieces together, some of the silicone squishes out the sides. This is GOOD! Simply use your finger to wipe along the edge and smooth it out. (SEE Lower image) When dry, the silicone is hardly visible.
Specialized Glue for Fountains
Regular 100% silicone is a great adhesive for creating your BASE, because it’s applied to an outside surface. Although it’s water-proof, it’s not suitable for gluing anything that will be under the water once the fountain is turned on and running.
TIP: READ THE LABEL! It’s so important to read the label or do a little on-line research to ensure you are using the right product. Don’t rely solely on reviews or the sales person at the box store.
I viewed a tutorial where the crafter used plumbers putty for his fountain. But according to the label, plumbers putty isn’t made to be under the water. In fact, most plumbing adhesives are made to be applied to the outside.
Marine glues are especially made for under water. You’ll find them at Lowes and Home Depot. However, they don’t come in ‘clear’. That may or may not matter to you. But because I’m gluing glass, and my little mermaid fountain was such a special piece, I was ok with being ultra picky this time. I kept calling around to various places until one guy suggested a pet store! A pet store? For glue? Absolutely, because they deal in fish and aquariums and aquarium repair.
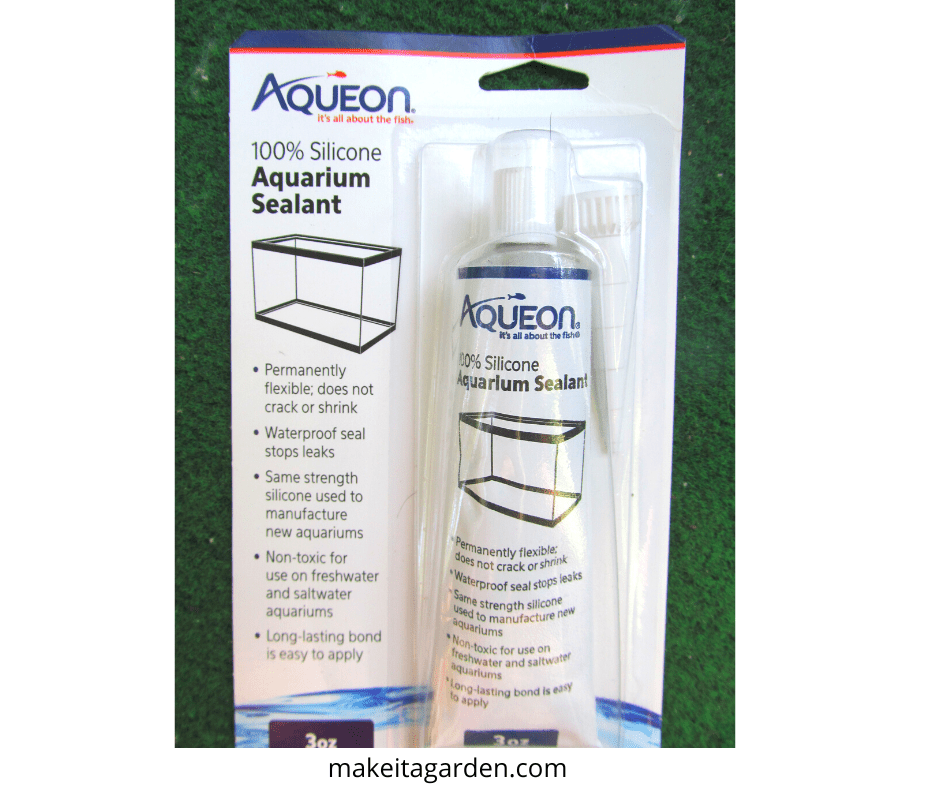
In this case, it’s my local Pet Zoo to the rescue! The product they use to seal and repair aquariums is also a silicone, but a special type of silicone made for under water. The big plus for me is that “Aqueon” is CLEAR!
I glued two glass candlestick holders together and used the aquarium sealant to glue the stand to the bottom of the bowl. I also used it to glue on the blue clam shell and the mermaid figurine as both would be in water.
Using the right-size pump
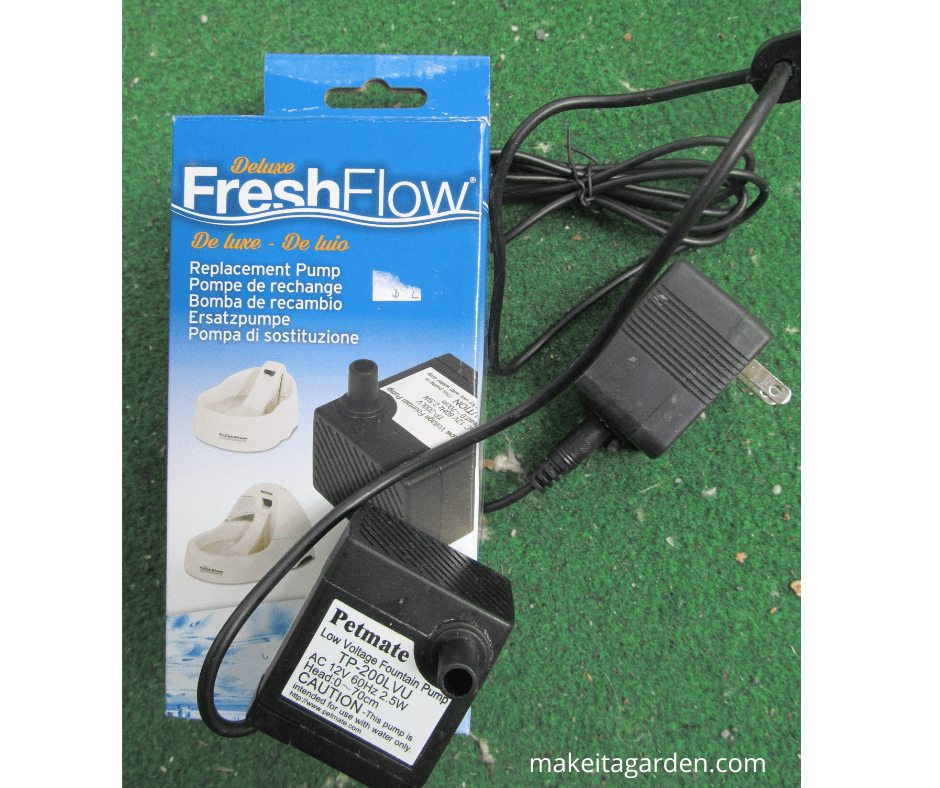
As it turned out, Everything I needed for my little mermaid fountain was at Pet Zoo of all places! The pump is the same one used in dog and cat water bowls. And the effect is the same; a slow flowing, gentle trickle of water. (as in the Video)
Depending on the size of your tabletop fountain and the water capacity of your bowl, you could probably go with the next size pump or one beyond that if you desire a little more action. Make sure the pump is a fully submersible pump.
The plastic tube is also available at Pet Zoo.
TIP: To preserve the longevity of your pump, do not use well-water. The reason is that all the mineral deposits (lime, rust and scale build up) will over time, clog up the pump and hinder its performance. Get your water from another source or use the inexpensive drinking water that comes in jugs.
Putting the fountain into action
Tabletop fountains are typically made with two vessels; a bottom and a top. The bottom one contains the water and the pump. This style of fountain requires drilling a hole in the bottom unit to slip the pump cord through. And then it’s sealed, of course. Another hole is drilled in the upper vessel to feed the tube through from the bottom level to the top. The water exits out the tube and drains back down into the bottom.
A simple fountain design
But you don’t have to do it that way! In fact, it would be IMPOSSIBLE for the little mermaid fountain because the glass bowl cannot be drilled. It’s true that some glass is thick enough to be drilled without breaking. But not this one!
So, I just found another way for this fountain to work. That’s why it has only one vessel which contains the pump. I just drape the pump cord over the edge of the bowl, hiding it on the backside. That way, when the fountain is on display, the cord will not be too visible. I plan to disguise the pump, too. Maybe I’ll place a sea shell over it.
Precautions for resin figurines
Resin figurines fade quite easily in the sun. And the mermaid will be in constant contact with water. (as mermaids usually are). I decided to spray her down with a few coats of a wood preservative called Spar Urethane, which is supposed to seal out water. It also prevents fading for wood decks and fences. I get the stuff in a spray can. It comes in different sheens, like paint; satin, semi-gloss and gloss. Just something to consider if you use a resin figure, too.
Directing the water flow
Finally, I wrapped the plastic tube around the mermaid’s backside and found that it lodges perfectly underneath her arm. In this position, the water flows exactly the way I wanted it to. Additionally, it has everything to do with how your fountain sounds. The way the water flows adds to the imagery and brings excitement to the fountain.
First, it fills up the small clam shell the mermaid cradles on her lap. Then, it overflows and spills into the larger blue clam shell. Then, it drips out the shell into the bowl.
Your fountain will be different and come with its own set of challenges to make it work and look the way you want it to. Bottom line, strive for the least obvious so your fountain looks as natural and realistic as possible.
“Now he is certainly sailing above, he on whom my wishes hang, and in whose hand I should like to lay my life’s happiness. I will dare everything to win him and an immortal soul.”
― Hans Christian Andersen, The Little Mermaid
Final Thoughts
At it’s simplest, all you really need is 1) a bowl, 2) some kind of base to rest it on 3) pump and tubing. The types of dishes, plates and bowls you use…their color, shape and style…will convey the overall theme of your fountain.
Swap your pieces around until you come up with a pleasing arrangement. Then glue them together. I recommend clear, 100% silicone in the squeeze tube because it’s easier to control in your hand when applying. Remember to switch to an “under-water” adhesive for any parts that will be continually in water.
Hope I’ve jump-started your imagination. After finishing my little mermaid fountain, I’ve concluded that it’s well worth the extra time and attention to detail to make it as fanciful and magical as it can be.
Now, I’m going swimming!
More whimsical garden crafts for you
Take Your Garden Totem to the next level

I just have to ask where you are. In your fountain photos, I have seen 2 items, the blue clam shell and the floral vase, that I had and then gave them to a local thrift store. So I was curious.
Also, Now I am sorry that I had given many pieces away. I have just started making yard art.
I am so glad to have found your site.
Thanks for dropping a line, Jeri! I’m in Alaska. But thrift store donations travel all over the place! I’ve had that blue glass clam shell for at least 2 years and was planning to do an ocean-themed garden totem. And then when I found the large bowl with the shell motif and the mermaid figurine…it all came together into a fountain. That’s kind of how “art” seems to work out for me. I’m so glad you found my site and are interested in making yard art. I hope you’ll find it as stimulating and fun as a lot of us here, do! ~Kristen