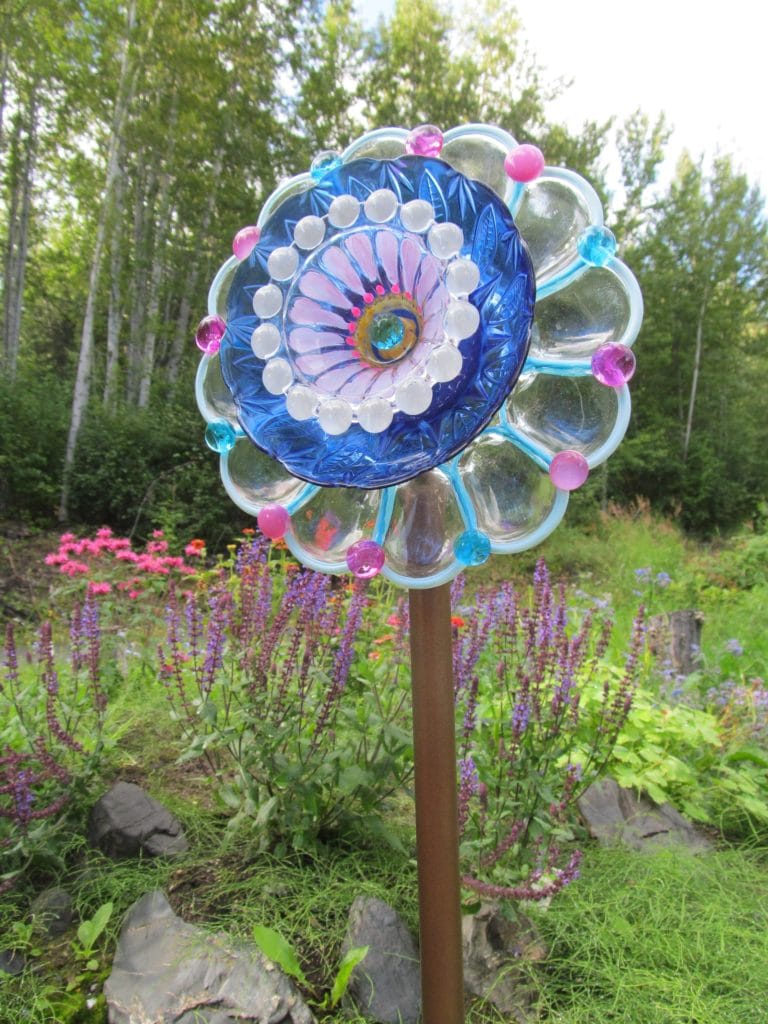
Who doesn’t love dish flowers? Their whimsical personality is winning popularity contests as the most sought after garden art. You may have seen them on Pinterest or other on-line sites or even at a craft show.
But making a dish flower is not as easy as it may look. Maybe you found this out, and perhaps that’s why you are reading this. You’re not alone. Many crafters have expressed frustration with making dish flowers because they come apart and break, and that’s disheartening!
Why dish flowers come apart
Is it the glue? Is it the method of construction? OR, is it something else?
As an artist who makes and sells my own dish flowers, I’ve heard these questions a zillion times. Generally, there are TWO MAIN reasons for this problem.
- Glue Failure
- Construction Method
A word about glue
When it comes to glass garden art, you want a glue that’s made for glass and one that is strong-bonding. E-6000 is frequently recommended for this craft. I use it myself. The only problem is that E-6000 is only rated to 180 degrees for those sunbathing beauties in your flower bed.
A lot of people tend to forget about outdoor temperatures. In some climates (mid-west, Southern California, Texas etc.) those glass and ceramic plates not only absorb heat, but retain heat. It’s no stretch at all for them to become hot, hot, hot and that glue starts to soften, taking its toll on your dish flower. Remember too, that all those dishes have weight.
You can’t blame the glue when it is tasked beyond it’s capacity. Other strong bonding glues or adhesives may not be suitable for an outdoors application, so it’s always good to do a little research first.
Here’s my full review of E-6000 as it applies to garden art.
About Silicone
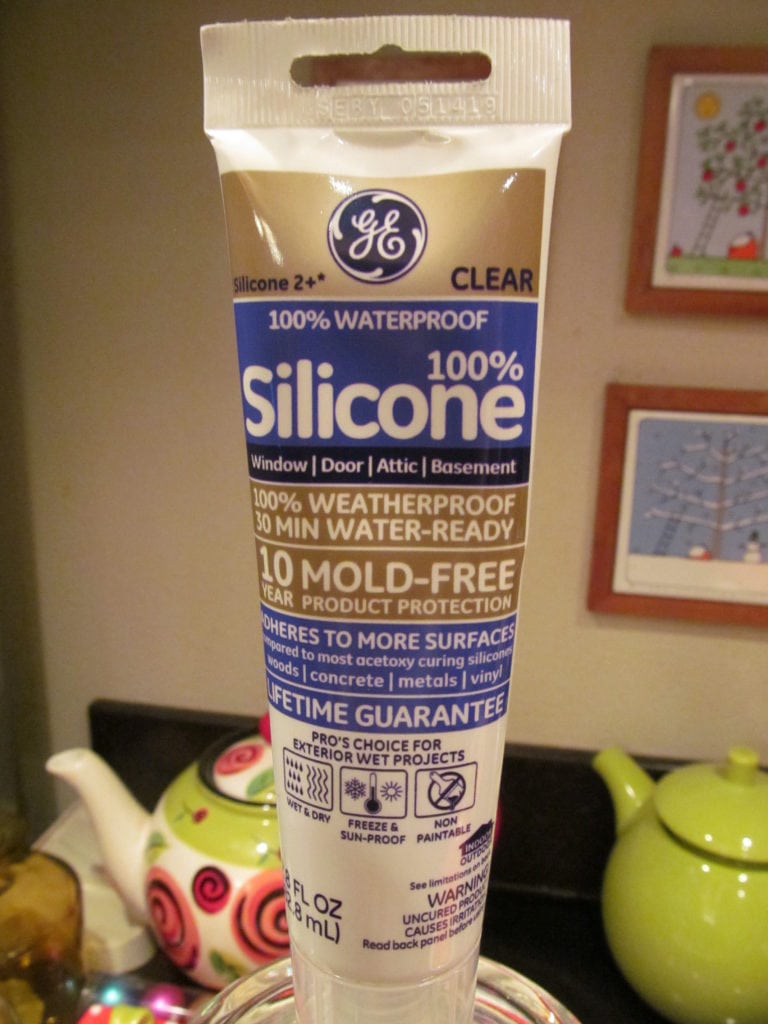
In my experience, GE’s 100% silicone II (for exterior) is the way to go. Silicone is actually not a ‘glue’ at all, but a sealant. It’s primarily used to seal/caulk around the outside of a window. So you can trust it’s strength and durability. It’s not only water-proof, but sun proof, too! Silicone stays pliable and withstands temperatures up to 400 degrees. As long as the glue is fully cured before you put your art piece on display in the yard, it’s highly unlikely your dish flowers will come apart and break.
Construction methods
It’s no secret that crafters have wrestled for years to find no fuss ways to attach the dish flower to the post. Here are a few you may have seen on Pinterest or elsewhere. Note: I do not recommend either of these.
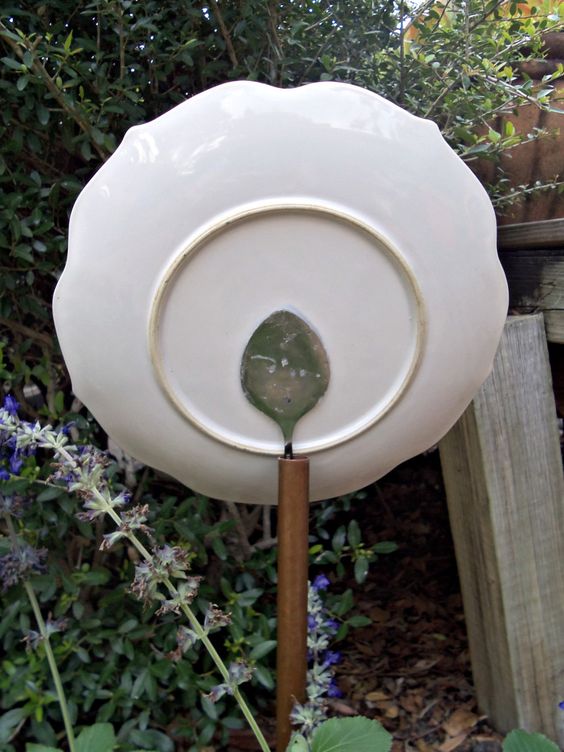
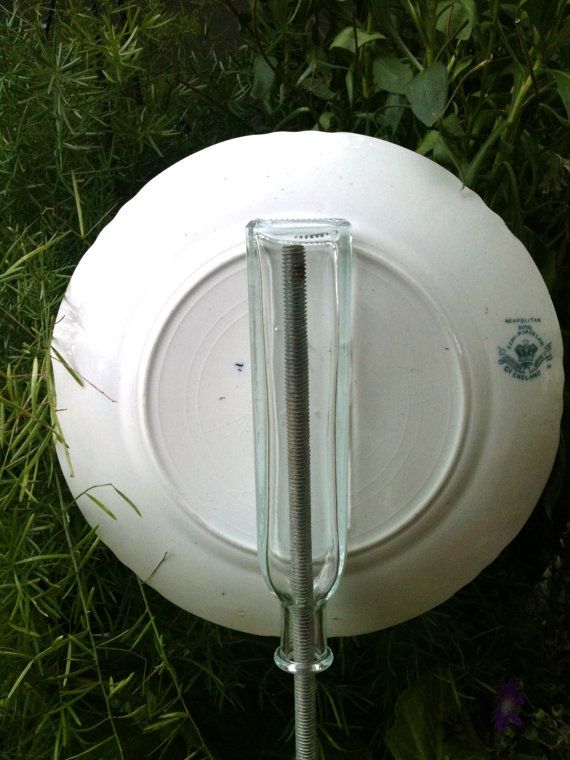
As I mentioned above, I do not use nor recommend either of these methods because they are not always reliable. For one, there is not nearly enough surface contact to support the weight of those plates. Should the glue become compromised, the art piece slips right off. Crash!
This is why, as an artist, I use the drill method.
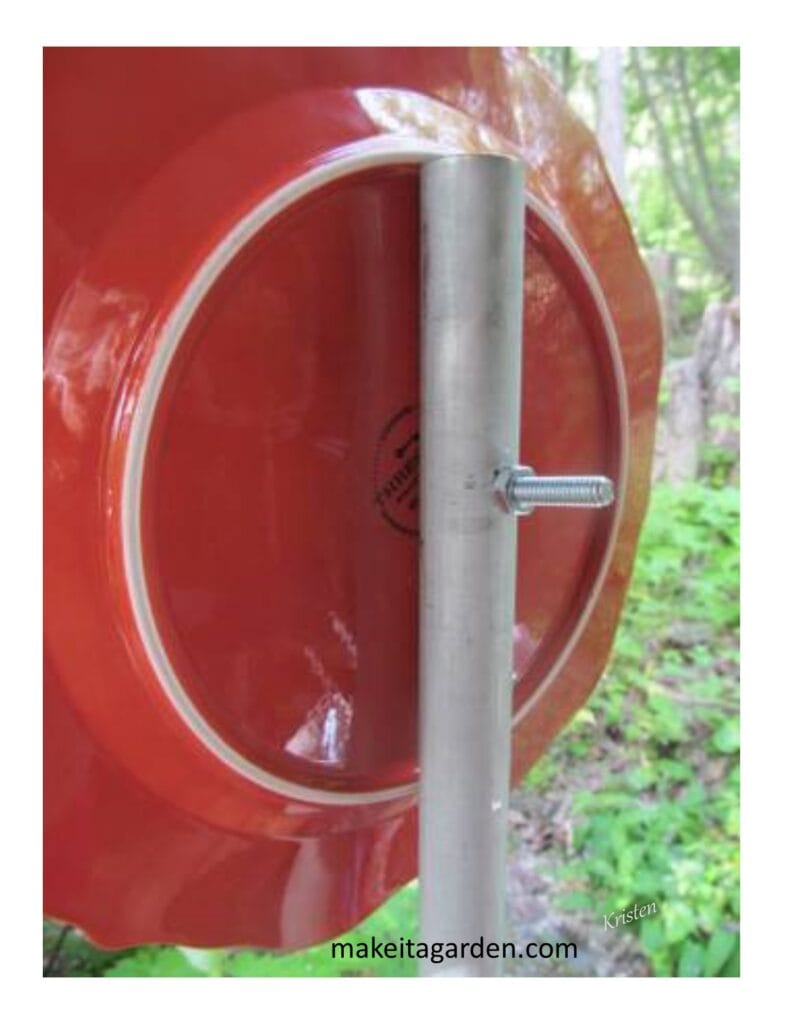
When I decided to make and sell my dish flowers, I wanted to find the most secure method of mounting the flower piece to the post, to gain the customer’s confidence. That alone will tell you how often folks have had their dish flower come apart and break, or at least heard something about it. So, I wanted to offer them an artwork to enjoy year after year…and I don’t even live in a hot climate!
The rear plate is drilled (more accurately, a grinding process). It is securely fastened to a galvanized metal post with a bolt, supported in 2 places; the entry and exit hole. Use the link above to understand more about this method and how to drill a plate. It’s a crafting skill worth learning, too!
A better way to make dish flowers
Depending on where you live, some of those ‘easy’ methods may indeed work for you. Just make sure you use the right glue made for an outdoors application. But if you’re ready to try something else, you may be interested in my comprehensive Dish Flower Tutorial. It’s jam-packed with all those wonderful little details and tips to help your next dish flower project turn out beautiful. And I’m always available to answer your questions, too!

Was this helpful to you? Your feedback is really appreciated so leave a comment below. We’d love to have you join our growing art and garden lovers community, too. Scroll down just a bit to sign up for our monthly newsletter. No spam or weeds. Just enjoyable garden and art related topics.
Look for Make it a Garden on Pinterest!
The form you have selected does not exist.
This was very helpful. I’ve been searching for just the right dishes in every thrift store I’ve come across. I think I now have enough lovely dishes to get started. Thanks for the tutorial!
Wonderful! You’ll have fun making your own pretties for the garden!
It would be more believable if the plate held up at the end was the same one as the sample being drilled… When using thrift store and/or garage sale findings there’s no simple replacement it if it cracks. Plus, you need to drill a hole in the pole. And find the right length bolt to hold it all together. For someone doing it as a business, it might make sense, but not really for someone just making one or two.
We plan to make some this summer, so this has been helpful to see one perspective.
There are several ways to make dish flowers. Use the method that works best for you! Thanks for visiting my site and taking the time to comment. Wanna add, too, that I was afraid of drilling plates at one time. Afraid of glass breaking. But once I learned a good technique, some of those fears began to fade. Yes, I have broken some, but you learn quickly which types of plates are suitable for drilling and which are not. A trick I learned from another maker, was to drill in the sink under water. Water is required for the drilling process. And should a plate break, it is contained in the sink for easy clean up. My goal for “Make it a Garden” is to help others have success with dish flowers. Many have given up hope when the glue fails. It’s disappointing when you’ve worked so hard to make one. So I have written several in-depth articles about glue and drilling glass and have included other methods to try even if I don’t personally vouch for them. Sometimes simply switching adhesives is enough for someone to have succeess with their project.