
Light-weight alternatives to using glass
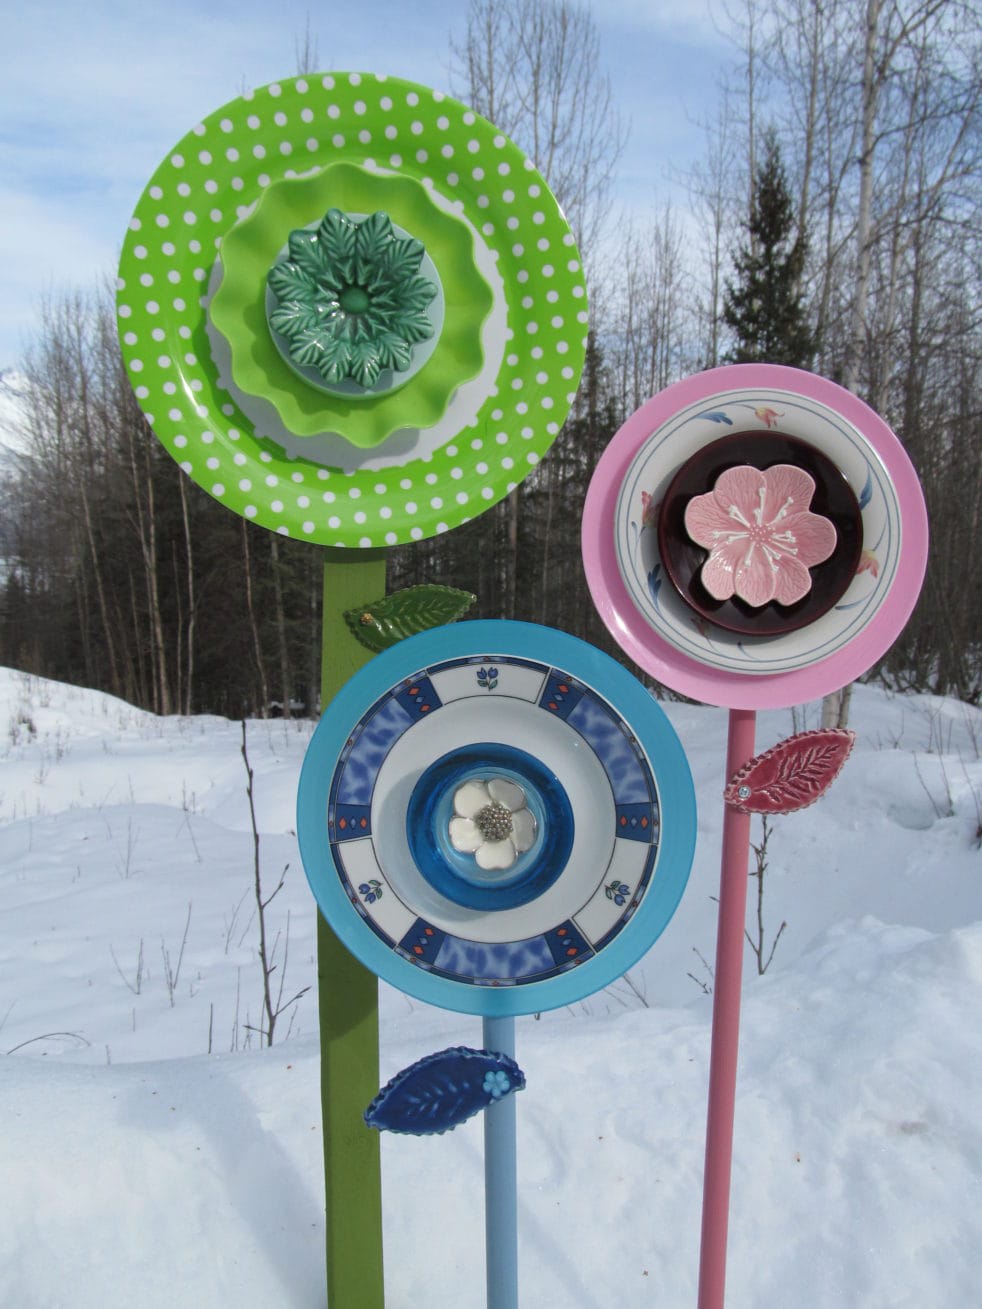
Plastic dishes make cheerful flowers for the garden. They are just as colorful and whimsical as their heavy, glass and ceramic counterparts. If you’ve wanted to make your own dish flowers, but found that working with glass dishes is a bit more than you really want to get into, then this Tutorial is for you!
Here are some good reasons for using plastic materials:
- Less complicated to make
- cheaper to buy
- super light weight
- Easier garden art for seniors or someone with a disability to manage
- Less likely to break
The only downside to using plastic dishes is that they will fade over time with exposure to the sun. Although they will last much longer indoors. A plastic dish flower will really brighten a room stuck in among your houseplants. It really doesn’t matter because they’re so cheap and easy to make, you can always make another one.

Where to get materials
The most inexpensive way to go, is to find your plastic plates at a garage sale or thrift store. At Bishops Attic and The Salvation Army store in my little town, they’re always under one dollar a piece. Nonetheless, if you see plates with pretty patterns or colors at Wal-Mart or Fred Meyer, there’s no reason why you can’t use brand new ones, because you only need three. As long as you can buy them individually.
A basic dish flower is comprised of 3 plates: 1 large, dinner size, 1 medium, salad size plate, and one small, saucer size. Plus something for a center. I’ve used Tupperware lids orange juice squeezers, sunglasses and votive candle parts for centers.
Since a lot of plastic dishes are made for Summer entertaining, they tend to come in bright floral colors and patterns. As you can see, plastic dishes make cheerful flowers!

How to make plastic dish flowers
Materials List
- Plastic dishes
- standard wood stake 3ft x 1-1/2″
- green craft paint (to paint the stake)
- Cordless drill
- small drill bit
- Flathead screw #8- 3/4″, 1″ or 1-1/4″ depending on thickness of plates
- 1 tube GE 100% silicone, clear- exterior OR E-6000
Directions:
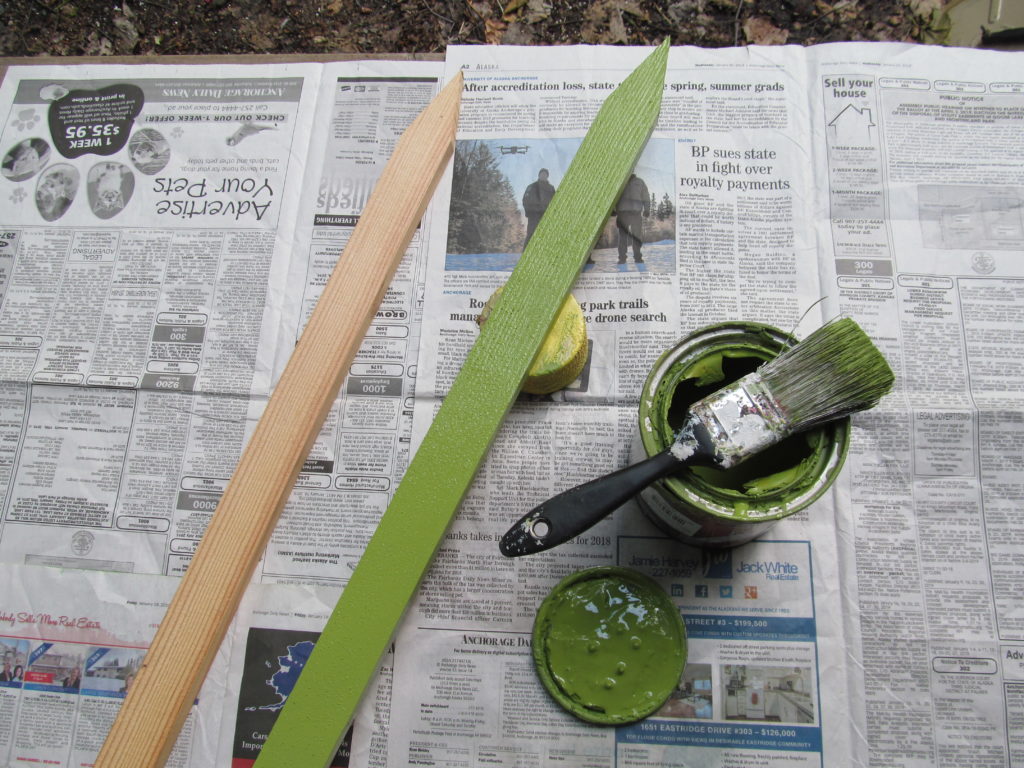
- Use green craft paint to paint both sides of the wood stake. This is the “stem”
- With a sharpie marker, mark a dot in the center of each plate.
- Drill a hole through each plate separately
- Drill pilot hole in wood stake
- insert flat-head screw through the plates
- Screw the plates to the wood stake. Do not screw too tightly as the pressure may crack a plate.
Drilling the hole
Some plastic is soft and pliable and is really easy to drill through. (as opposed to glass or ceramics) However, hard plastic plates like melamine can still break if you’re not careful. So, don’t apply too much pressure. Don’t push down too hard when drilling. It may take a few minutes to drill the hole.


Assemble the plates
Hold the largest plate up against the wood stake and mark the point to make your pilot hole. Drill a pilot hole in the wood stake.
Insert the flathead screw through the plates to join them together. Some plates may be a bit thicker than others when stacked one on top of the other, so you may need a longer screw. IMPORTANT: You do not want the screw to protrude out the backside of the stake.

Fasten plates to wood stake
With the tip of the screw in the pilot hole, fasten the plates to the wood stake. IMPORTANT: Do not screw too tightly or the pressure may crack the plate.
If you are not adding a centerpiece, you can simply paint the screw so it doesn’t show. But you may also add an additional centerpiece by gluing it over the top of the screw. In my case, I found a little ceramic tulip salt shaker and I’m going to use it for a center.
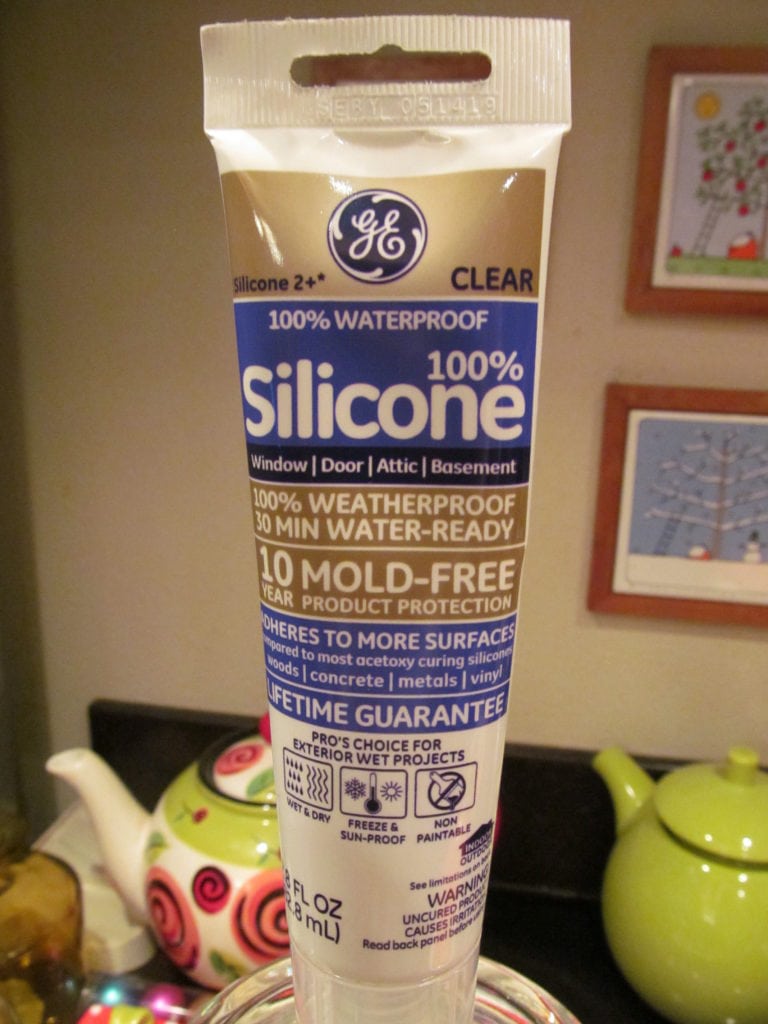
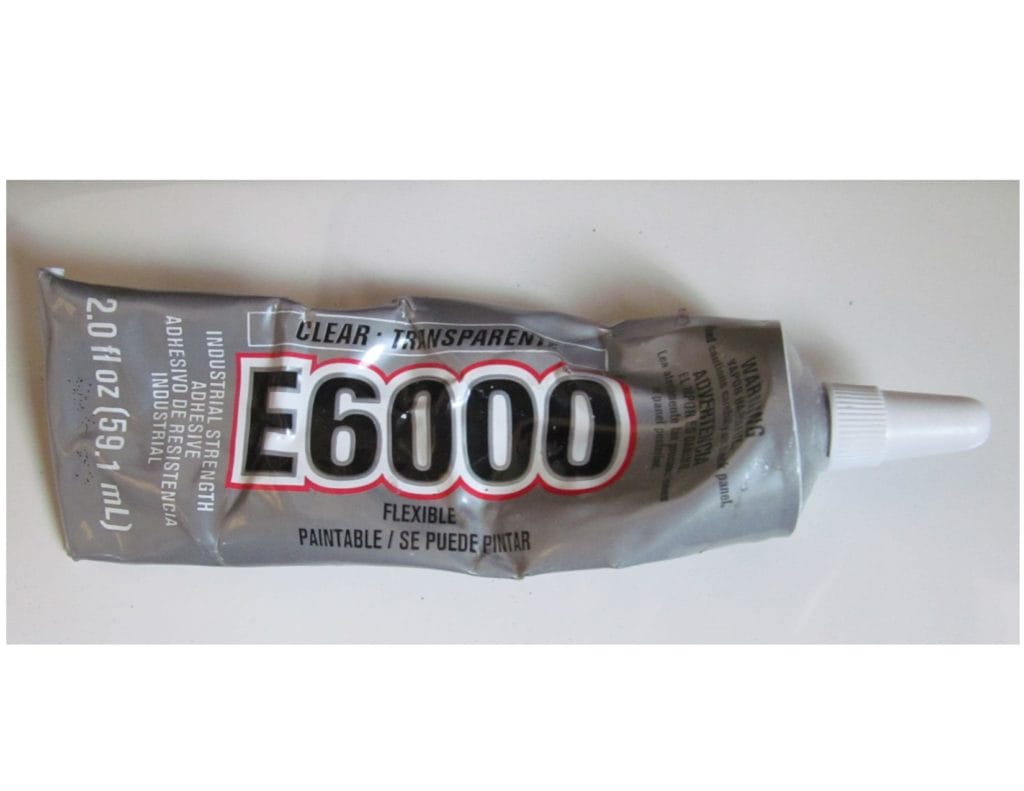
NOTE: non-stick plastics and glue. Few adhesives will bond well with the chemicals in non-stick plastics. Silicone sticks initially. It’s just that anything glued to a non-stick surface tends to come off fairly easily. It’s not a problem if you’re screwing it to something. But if you want to decorate a non-stick plate with glass beads or glue on a centerpiece, it could be temporary. You may also wish to try the glue E-6000. to I’ve But bottom line—I would steer clear of using soft, non-stick plastics.
Glue the center piece
What makes a good centerpiece? I’ve used cabinet knobs, salt shakers, an orange juice squeezer, votive candle parts, and even sunglasses! Use the 100% silicone to glue the centerpiece over the top of the screw. SEE Below.
Allow the glue to dry overnight and you’re ready to plant your dish flower in the garden the next day.

DON’T FORGET YOUR FREEBIE! Scroll down just a bit to sign up. You’ll receive “10 Artistic Ways to Make Your Yard or Garden Beautiful” and our monthly newsletter free of advertising. We never send weeds (or spam). Just enjoyable garden and art-related content.
Final Thoughts
I hope you’ll make some pretty garden art this summer. Either for yourself or to give as a gift. Imagine someone you love waking up in the morning and finding cheerful dish flowers in their garden.
Plastic dishes make cheerful flowers that are very inexpensive, easy to make, and best of all, you don’t have to worry about them breaking. Because they are light weight, that makes them easy to handle for older seniors or individuals with a disability.
Although the glass dish flowers sure are beautiful, they’re pretty heavy. Think about the weight of three of your regular dinner plates, plus a metal post to support that weight. In addition, they’re more difficult to make. It requires a few extra specialty tools and a bit of skill. But it’s not too hard to learn…after all, I did! If you’d like to try working with glass or ceramic plates, here’s a link the Tutorial here: “How to make your own glass dish flowers”.
If you enjoyed this article, then “like” us on Facebook or Pinterest. Or simply forward this tutorial to someone you know who would love to make some plastic dish flowers of their own. Happy crafting!
The form you have selected does not exist.
Very nice article! Easy and concise. I always browse through the plastic plate area at GoodWill and other thrift stores. It’s amazing how many pretty ones you can find.
Thank you! Glad you enjoyed the article. There are gobs of pretty plastic dishware for making pretty garden art. If you make one, send me a photo and I’ll put it up on our ‘Braggin’ Board’ for everyone to see. – Kristen
That is certainly a danger when talking about a plate carrier loaded with steel plates. Of course, other factors will come into play as well. First and foremost, the environmental temperature where the plate carrier will be worn.
Thanks for reading and yes, exactly. Your comments didn’t quite translate over perfectly, but we know what you’re referring to.
Why is it called a pilot hole?
Also what did you use for the leaf shape in the photos?
Don’t know why it’s called that, but the purpose is to keep the wood from splitting when you put the screw through. I’ve had that happen more than once when I was first starting out and figured it would be easier just to skip this step. (ha!) Take your chances! So, in essence, the pilot hole takes pressure off the wood so the screw can then be drilled without splitting the wood.
As for the leaf…I found those ceramic leaves at a thrift store…glazed, with a small hole at the end. Guessing they were made to be wind chime or for a dream catcher or something. Decided to use them with my flower. They ought to be easy enough to make with a cookie cutter leaf shape. Or even by hand.