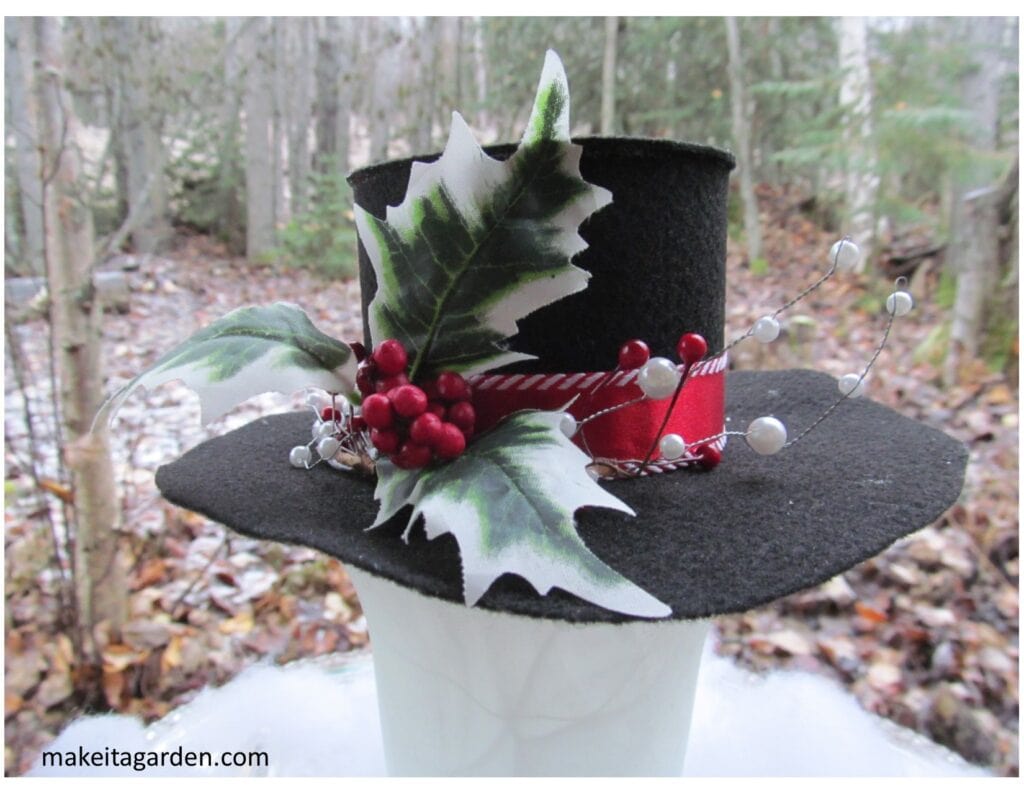
“Necessity is the mother of invention”, goes the old proverb. There’s a few reasons that come to mind for making your own felt snowman top hat.
First off, you can make one that’s exactly the size you need for your craft project. It may be faster and easier to buy one, but what if the store is out of stock? That happens around the holidays. And even shopping online doesn’t guarantee you can find what you need or have it delivered in time. That’s important if you’re on a deadline to finish your snowman.
Following these basic instructions, you’ll be able to make a felt top hat to be proud of, because it actually turns out better!
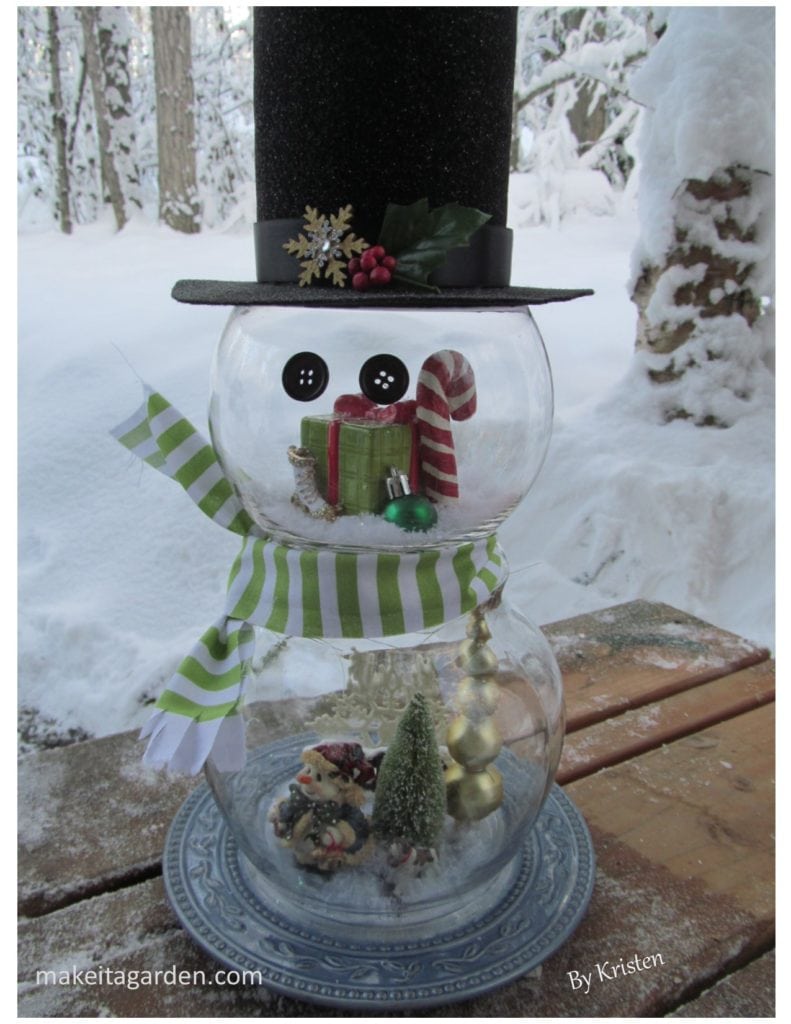
Directions for felt snowman top hat
Here’s a quick, un-complicated way to throw together a felt top hat. The one I made for this tutorial is 7-1/2″ diameter, sized for a lighted, glass block snowman. But it’s the same process for any size hat you need.
Materials:
- 1 sheet 8-1/2 x 11 rigid black felt (matt or glittery)
- 1 sheet 8-1/2 x 11 regular ‘floppy’ black felt (optional)
- Craft Glue
- Scissors
- various holiday embellishments (mini snowflakes, ribbon, floral pics)
- Glitter spray (optional)
- fabric marker (optional)
TIP: use the rigid, thicker felt because it’s easier to work with and has a nice, firm shape. It comes in a matt finish or a glitter finish. You can always spritz the matt felt with glitter spray and get the same results.
If you’re making a larger top hat, you might also try a sheet of black foam with a sticky backing that has even more stiffness.
Step 1) Make the hat brim
Measure.
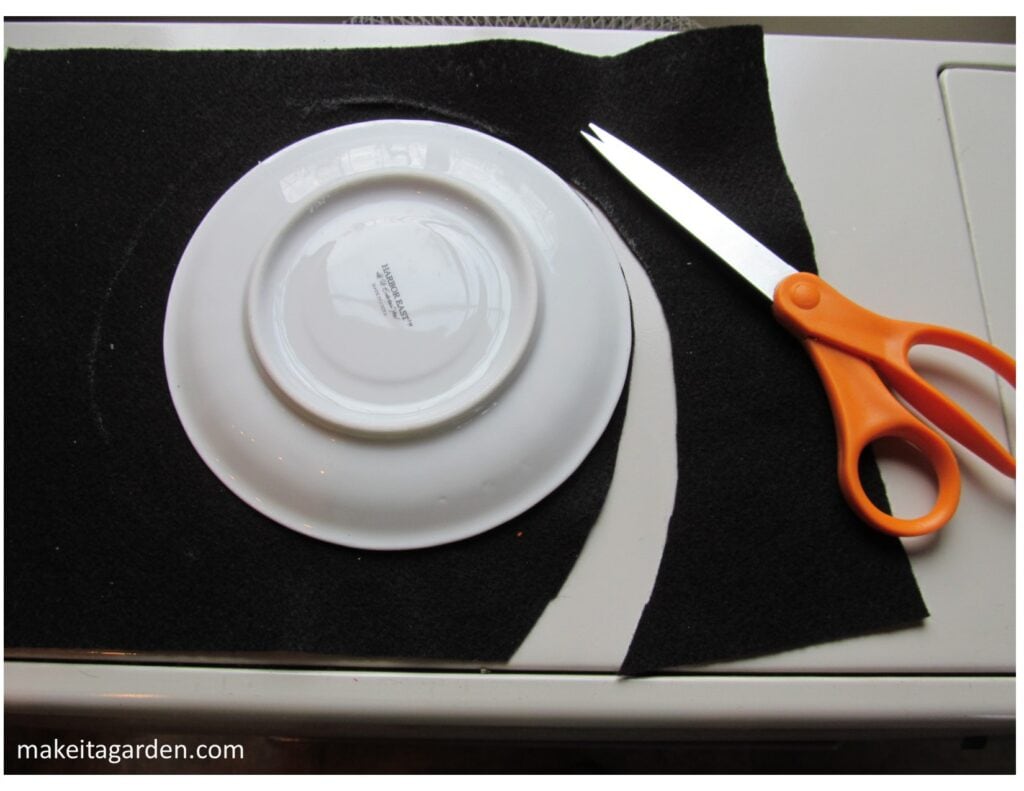
The hardest part for me is getting the size right for my snowman. I don’t know about you, but it helps me visualize things better if I cut a hat brim out of paper first, to check the dimensions. I then use the paper to trace it onto the felt. Use a fabric marker to draw your cutting line.
In the photo below, I used the regular, thinner felt (instead of the thicker one) to make the hat brim because I wanted the hat to have a bit of a flop to it.
Keep in mind that a snowman hat doesn’t have to be in perfect proportion. The use of exaggeration— an almost too big hat or a tiny one— can add comedic character to your snowman.
Step 2) Make the crown part
The “crown” is the vertical part of a top hat.
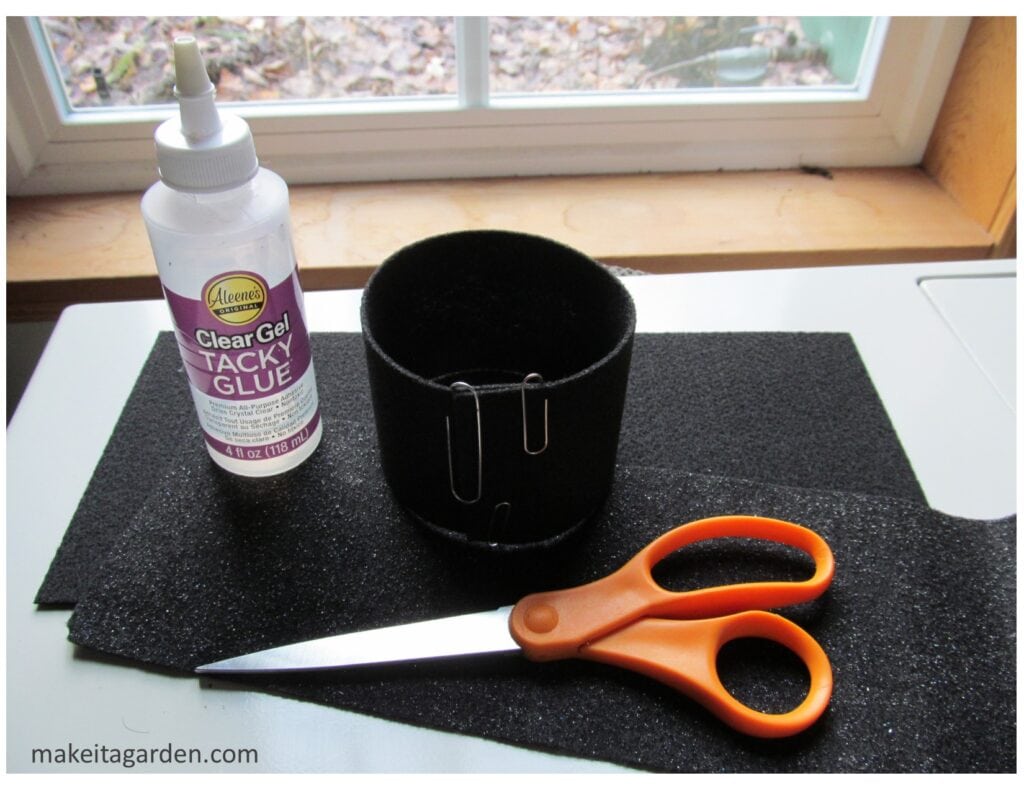
Measure for size–the height and width you desire–and cut a strip of the rigid felt. Cut the strip about 1/2 -3/4 inch longer for a bit of overlap when gluing.
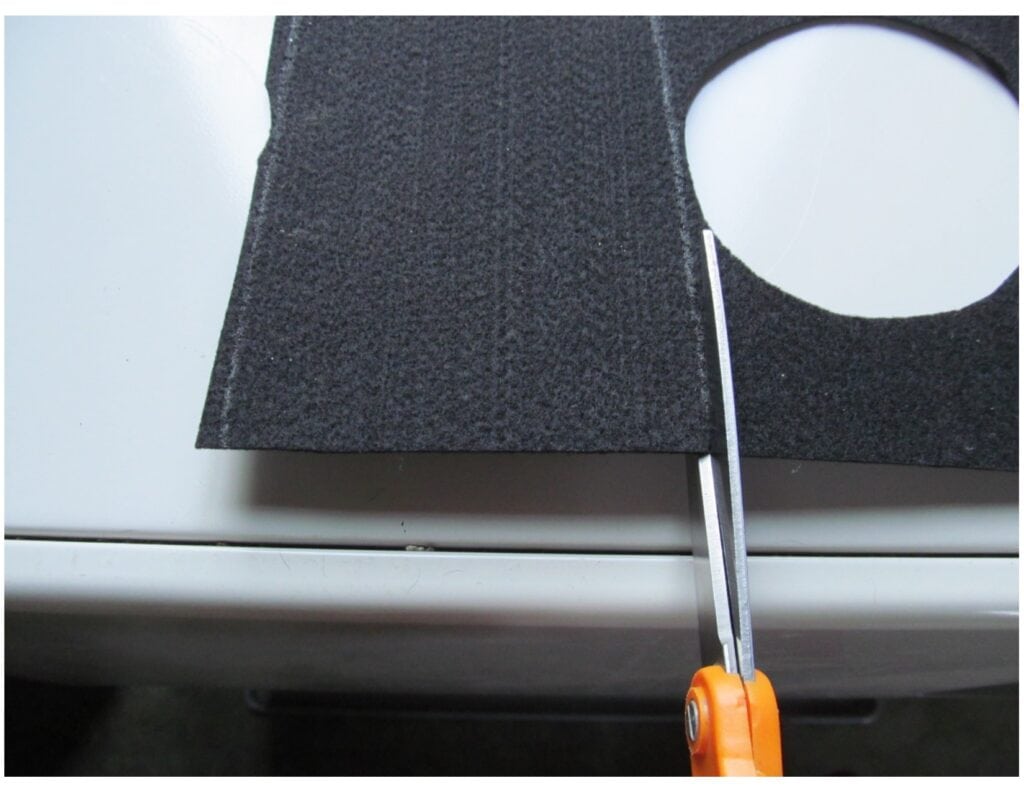
Make a cylinder and glue the ends together.
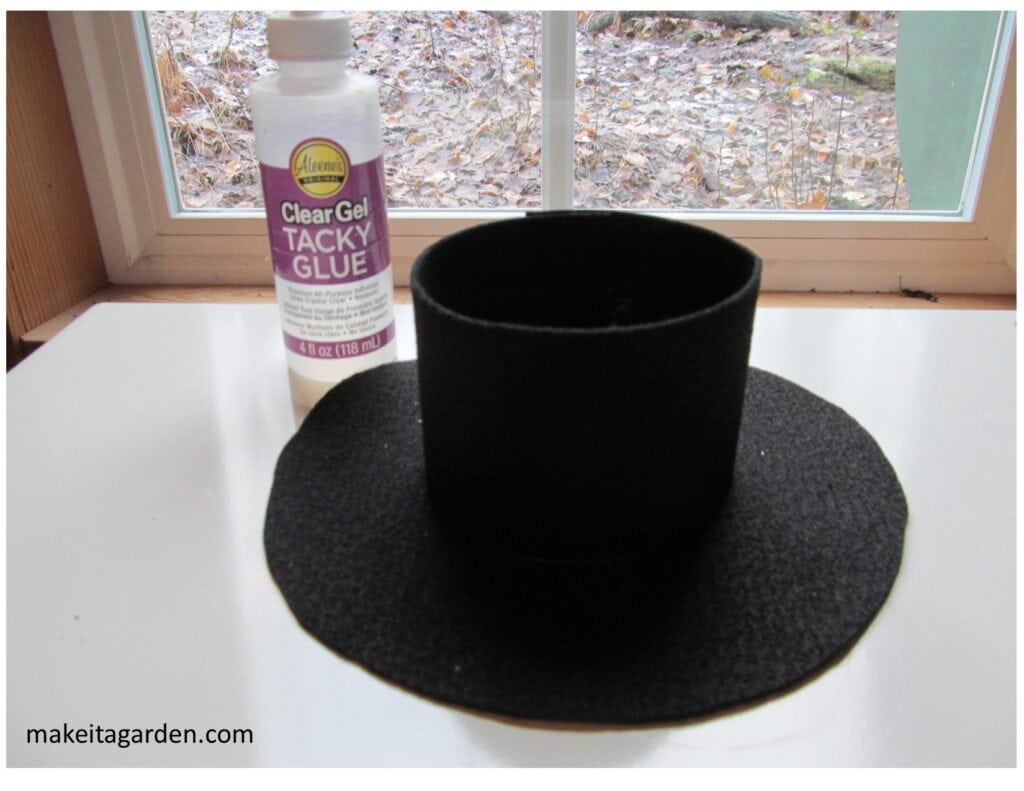
Glue the crown and the hat brim together.
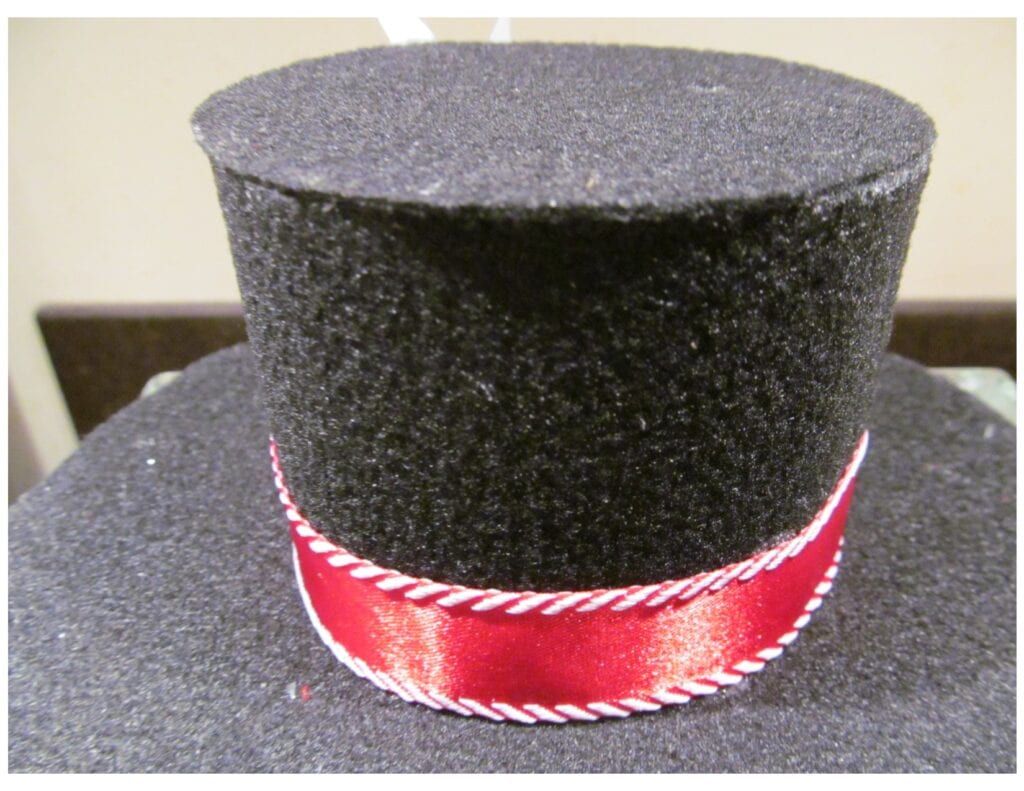
Cut a round piece of the rigid felt and glue it on top.
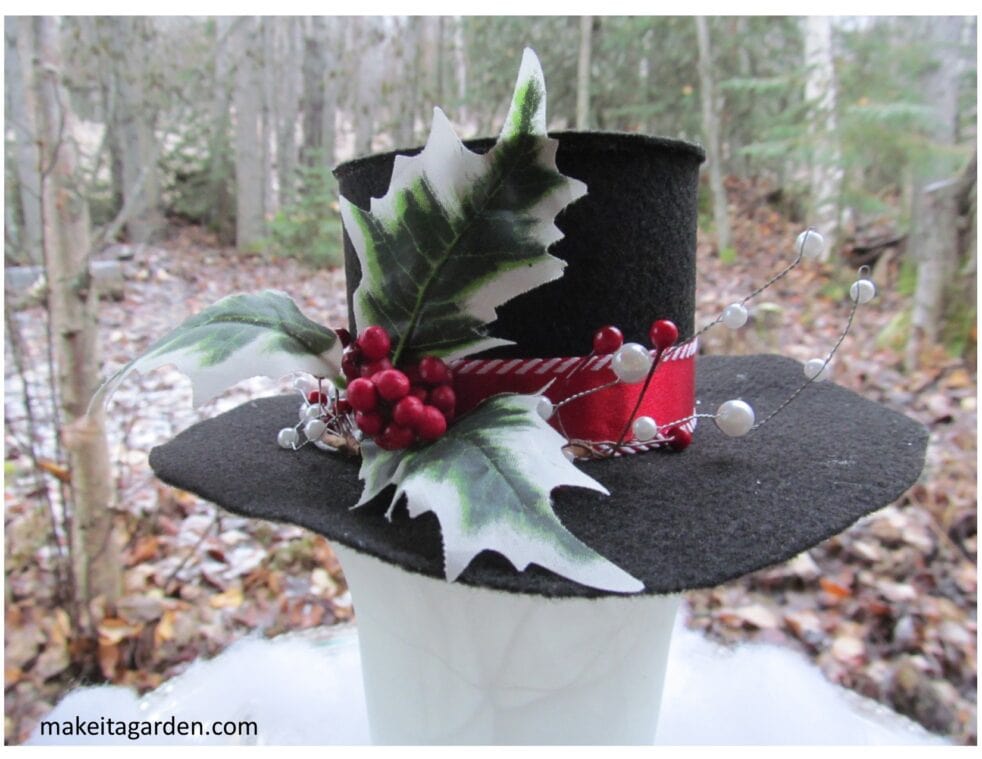
Step 3) Decorate the top hat
This is most fun part! Get out your tote of ribbons, buttons and Christmas trimmings and see what you can find to decorate your newly created felt snowman top hat. Be sure to check your local thrift store for ribbon and bows and other holiday items and save money! There’s more than enough Christmas stuff to go around…why pay more?
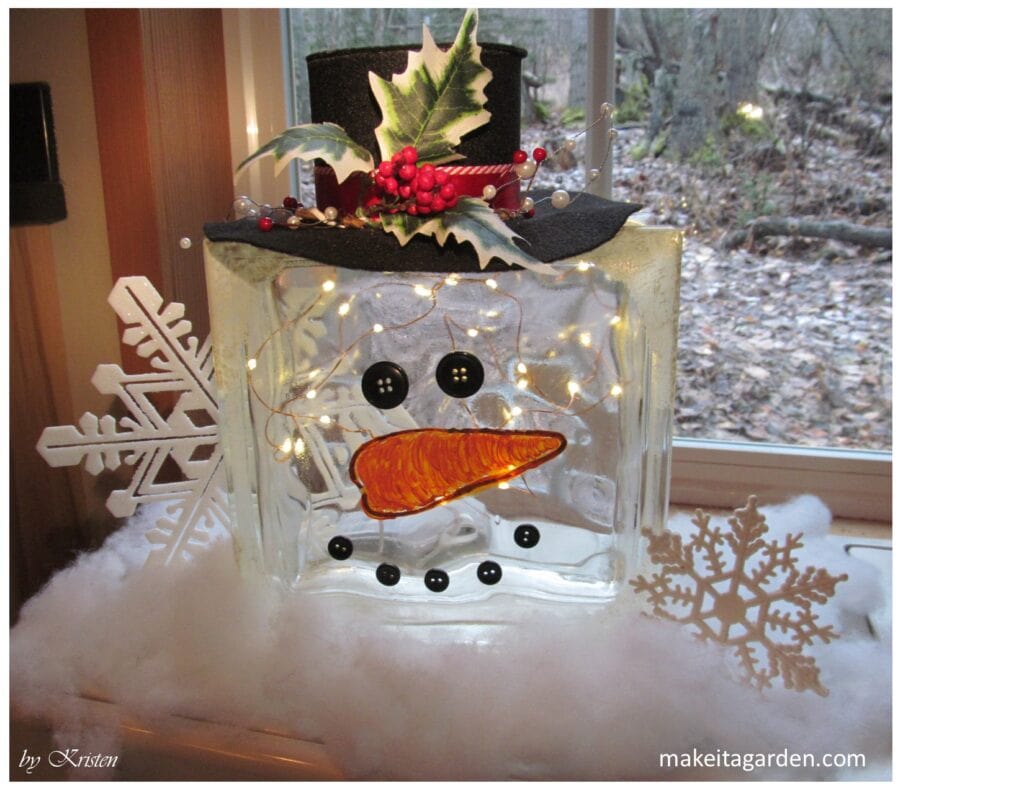
Final thoughts
I love snowmen, if it isn’t obvious by now! That means making lots of top hats of all shapes and sizes for holiday craft projects. With black felt that’s so easy to find at the craft store, why not make your own exactly to your specifications?
Try the ridged foam felt, the sparkly glitter felt or even other colors to make your craft unique. For example, using brown or tan felt makes it look like a western, cowboy hat. There’s so many creative possibilities!
Merry Christmas and happy crafting!
More holiday crafts you’ll love
The form you have selected does not exist.

Yay, snowmen!
Thanks, I had a hunch snowman would be a hit! – Kristen